
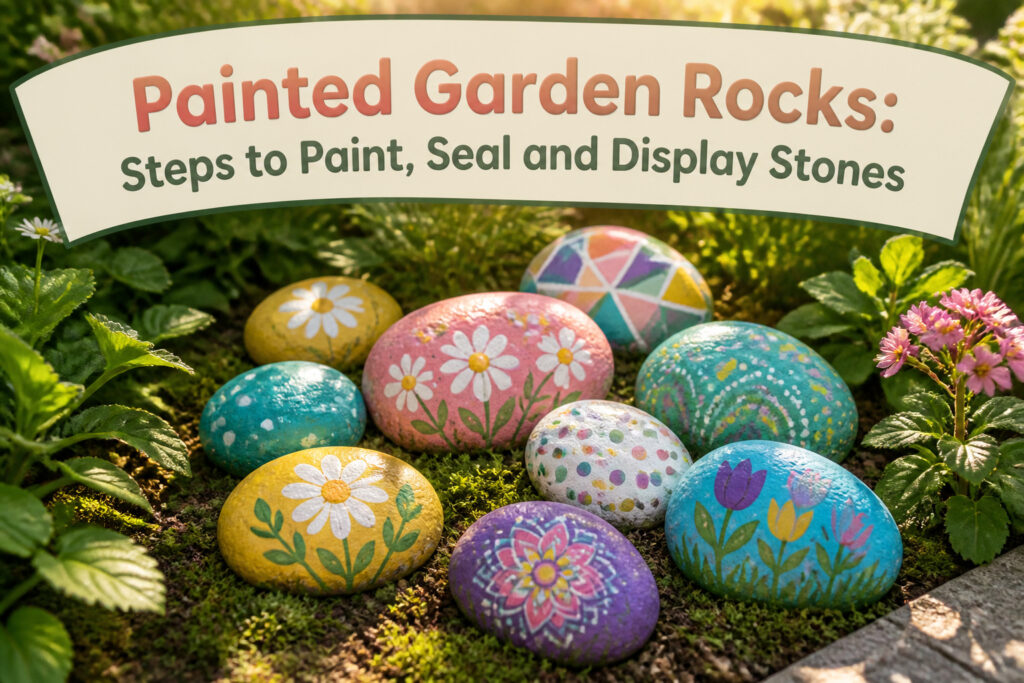
Painted garden rocks are smooth stones cleaned, primed, and painted with outdoor acrylics for garden display. The sealant matters more than the paint choice: a rock under a covered porch needs one coat of spray sealer, while one in an open flower bed needs patio paint plus two coats of brush-on polyurethane to survive. That difference, between water sitting on the rock and merely threatening to, is what determines whether the design lasts a season or three.
1. Choose Smooth Rocks
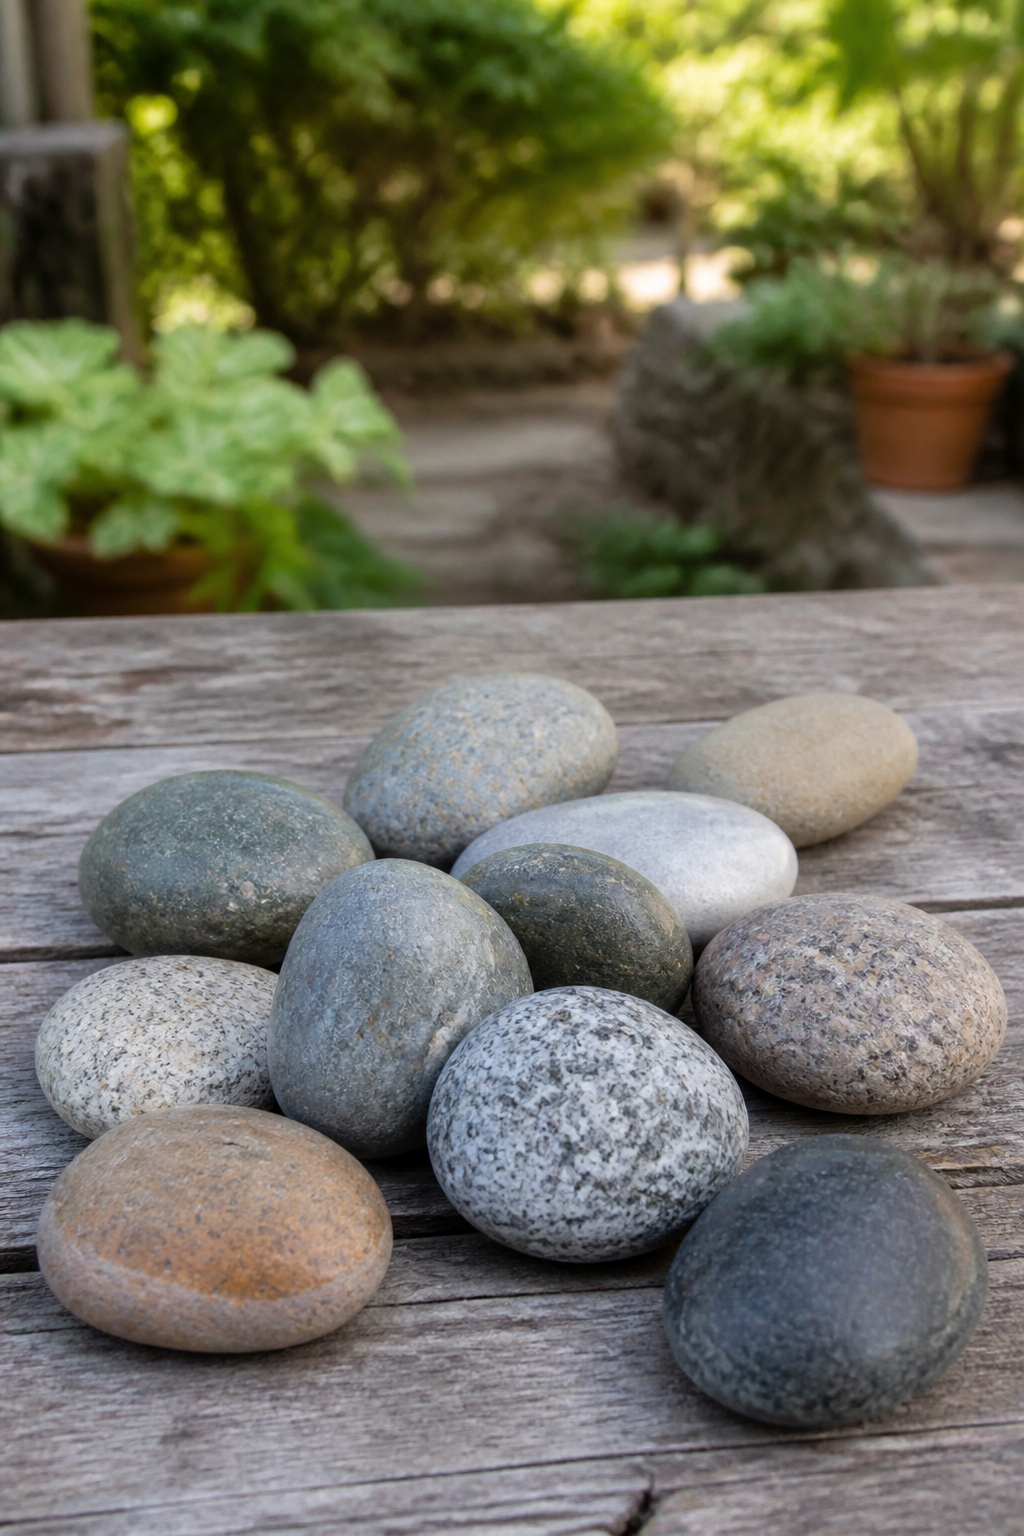
Smooth rocks give paint something to grip instead of fighting every bump and crack. Aim for stones roughly five inches long and three inches wide: big enough for detail work, small enough to move around without a wheelbarrow.
Landscape stones from a hardware or landscaping yard usually come already smooth, which saves an hour with a file. Craft stores sell bags of river rocks if you want to start tonight instead of hunting. Beach pebbles or park stones work too, though the shapes vary more than you’d expect.
What to skip: anything with a waxy film, which repels paint, and rocks with hairline cracks that will split after the first freeze. Porous or pitted surfaces drink primer and still look chalky after three coats. Flat tops beat rounded ones for designs that sit still instead of sliding downhill.
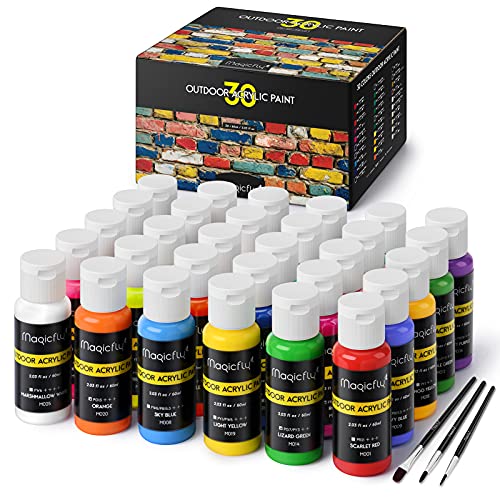
【Fantastic Outdoor Acrylic Paint Set】Package includes 30 Colors/Tubes (60ml, 2oz/each) and 3 brushes, well package by colored box. More colors for your free creation! Ideal gift choice for art enthusiasts, painters, students, etc.
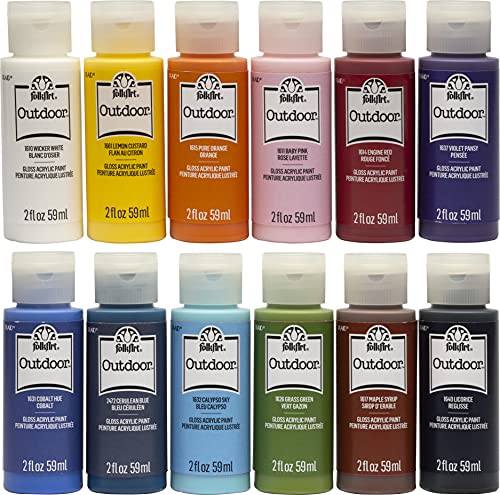
CONVENIENT SIZE - This outdoor acrylic paint set includes 12 - 2 oz bottles of outdoor craft paint. The colors in this paint set include: FolkArt Wicker White, Lemon Custard, Baby Pink, Pure Orange, Engine Red, Violet Pansy, Grass Green, Calypso Sky, Cobalt Hue, Cerulean Blue, Maple Syrup, and Licorice

25 VIBRANT COLORS: Shuttle Art outdoor acrylic paint set includes 25 high quality outdoor acrylic paints: 20 classic colors, 3 glow in the dark shades, and 2 metallic finishes, each in 60 ml/2 oz bottles. It also comes with 10 paint brushes, a mixing palette, a mini UV light, a color wheel, and an instructional guide, providing everything you need for endless creative possibilities
2. Clean the Rocks
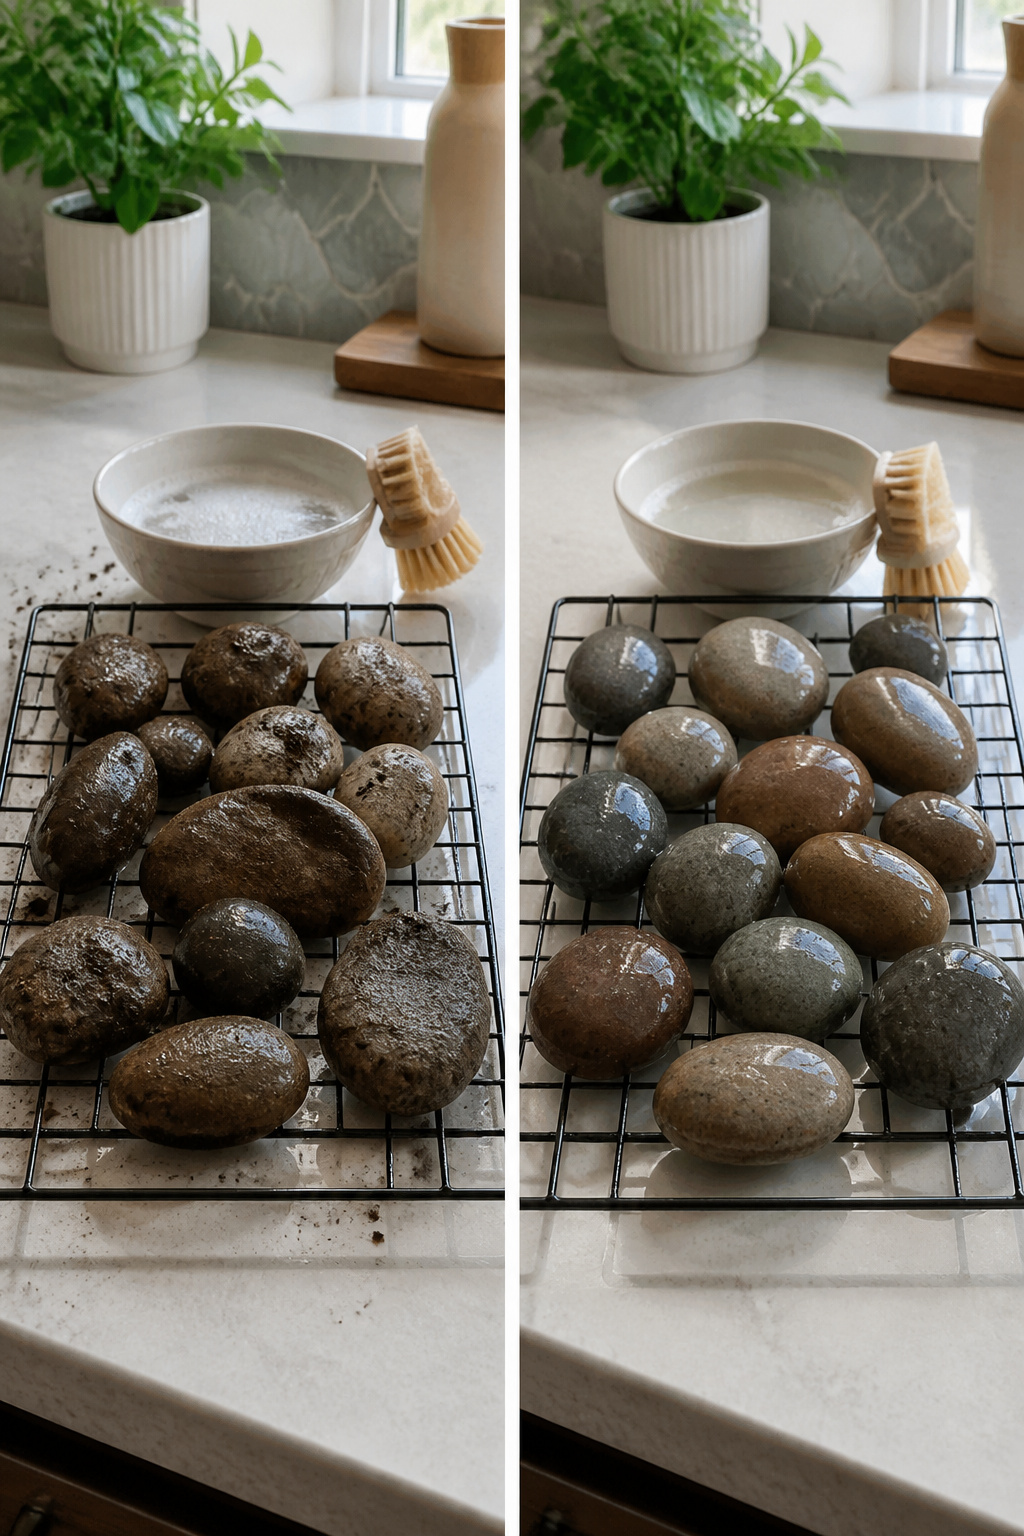
Dirt left on a rock is the fastest way to ruin paint that looked perfect on day one. I wash every stone with soap and water, scrubbing the surface with my hands or a soft brush to lift off soil, dust, and whatever residue the garden left behind. The passages note that dirt can mess up designs, which understates it: paint sitting on grime has nothing to grip, and the first rain or temperature swing sends it flaking away within weeks.
After rinsing, the rocks need to dry completely before any paint touches them. Sun-drying works, though I set mine on a wire rack indoors when the weather turns. A surface that still holds moisture traps the paint layer above it, and that hidden water escapes later as bubbles or peeling edges you will not notice until the project is sealed and sitting in a flower bed. The wait feels like dead time, but it is the difference between a design that lasts a season and one that lasts until you decide to change it.

Made in United States

Made in United States
It remains our goal to earn your trust through the traditional way we do business
3. Apply Primer
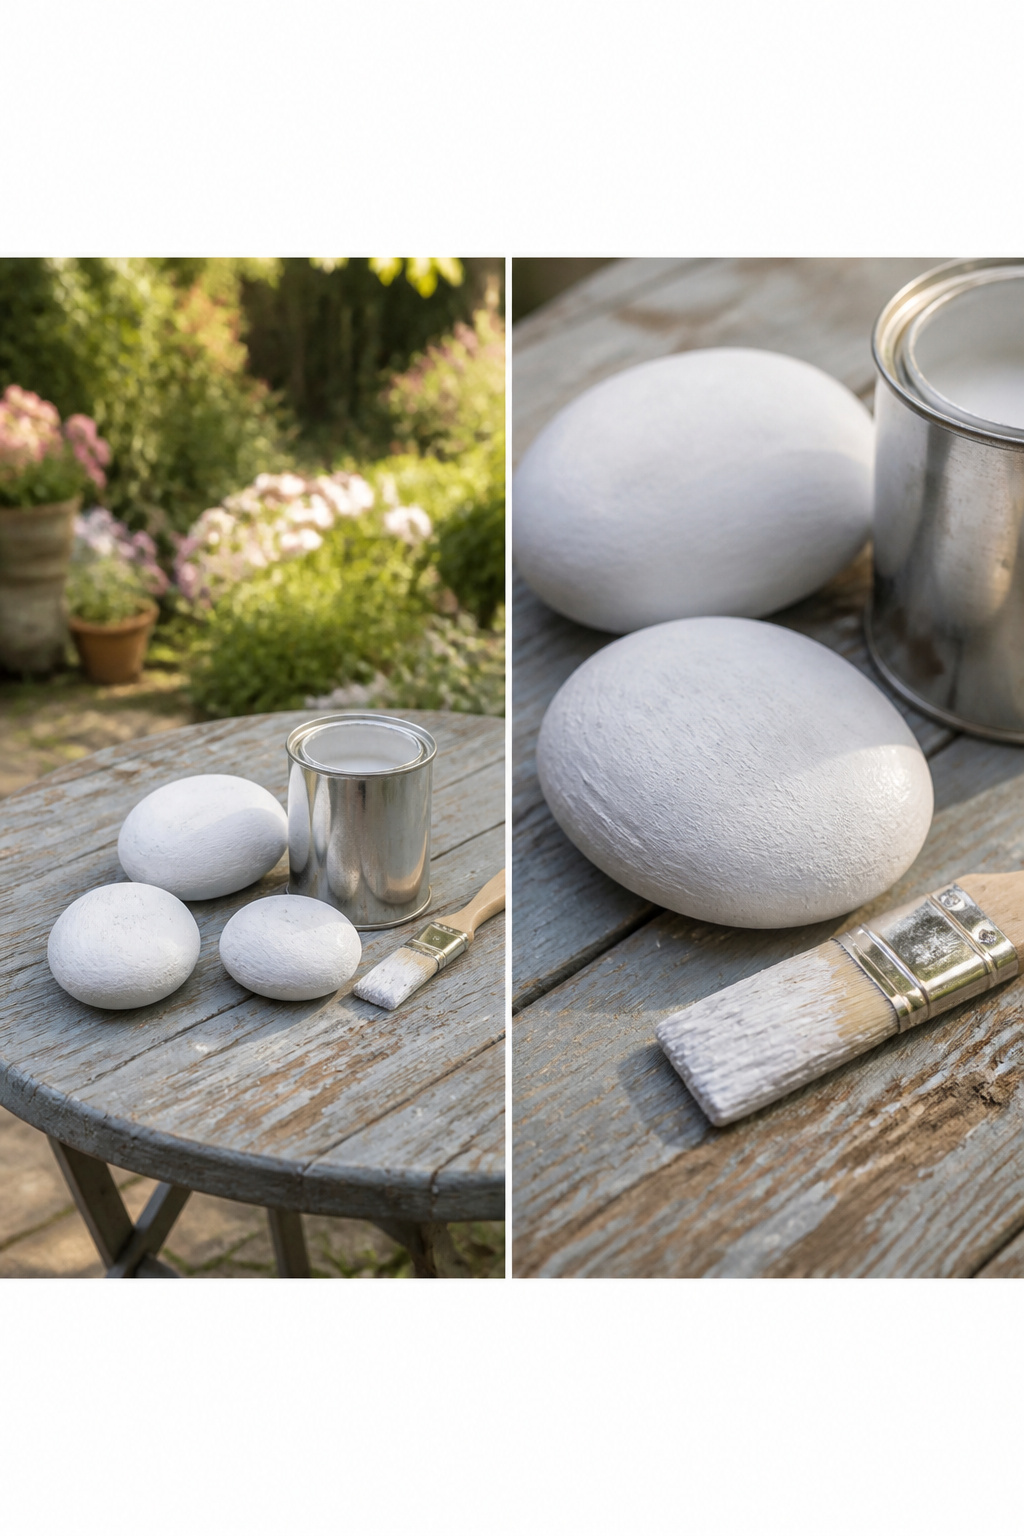
A coat of primer turns a rough stone into something paint actually wants to stick to. Without it, acrylic sits on top of the surface instead of bonding with it, and the first rain or kicked pebble takes your design with it. The stone itself is porous and uneven; primer fills those tiny pits and gives you a smooth, consistent ground to work on. Skipping this step to save twenty minutes cost me an extra hour of touch-ups on my first batch, where the colors went patchy and the details bled at the edges. White primer works for most designs, though gray keeps darker base colors from needing as many coats later. Two thin layers beat one thick one; the second goes on after the first is fully dry to the touch, usually inside half an hour on a warm day. The brush marks left in primer are far easier to sand smooth than paint ridges would be.

【25PCS Painting Stones】This is a set of 25 river rocks for painting, 2-3" in size. Please pay attention to the size. Uniform size to meet your various painting needs and painted effect stones

**DUAL TIP VERSATILITY:** Each marker features a flexible brush tip for smooth blending and a precise fine tip for detailed line work, making them ideal for any project.

4. Plan Your Design
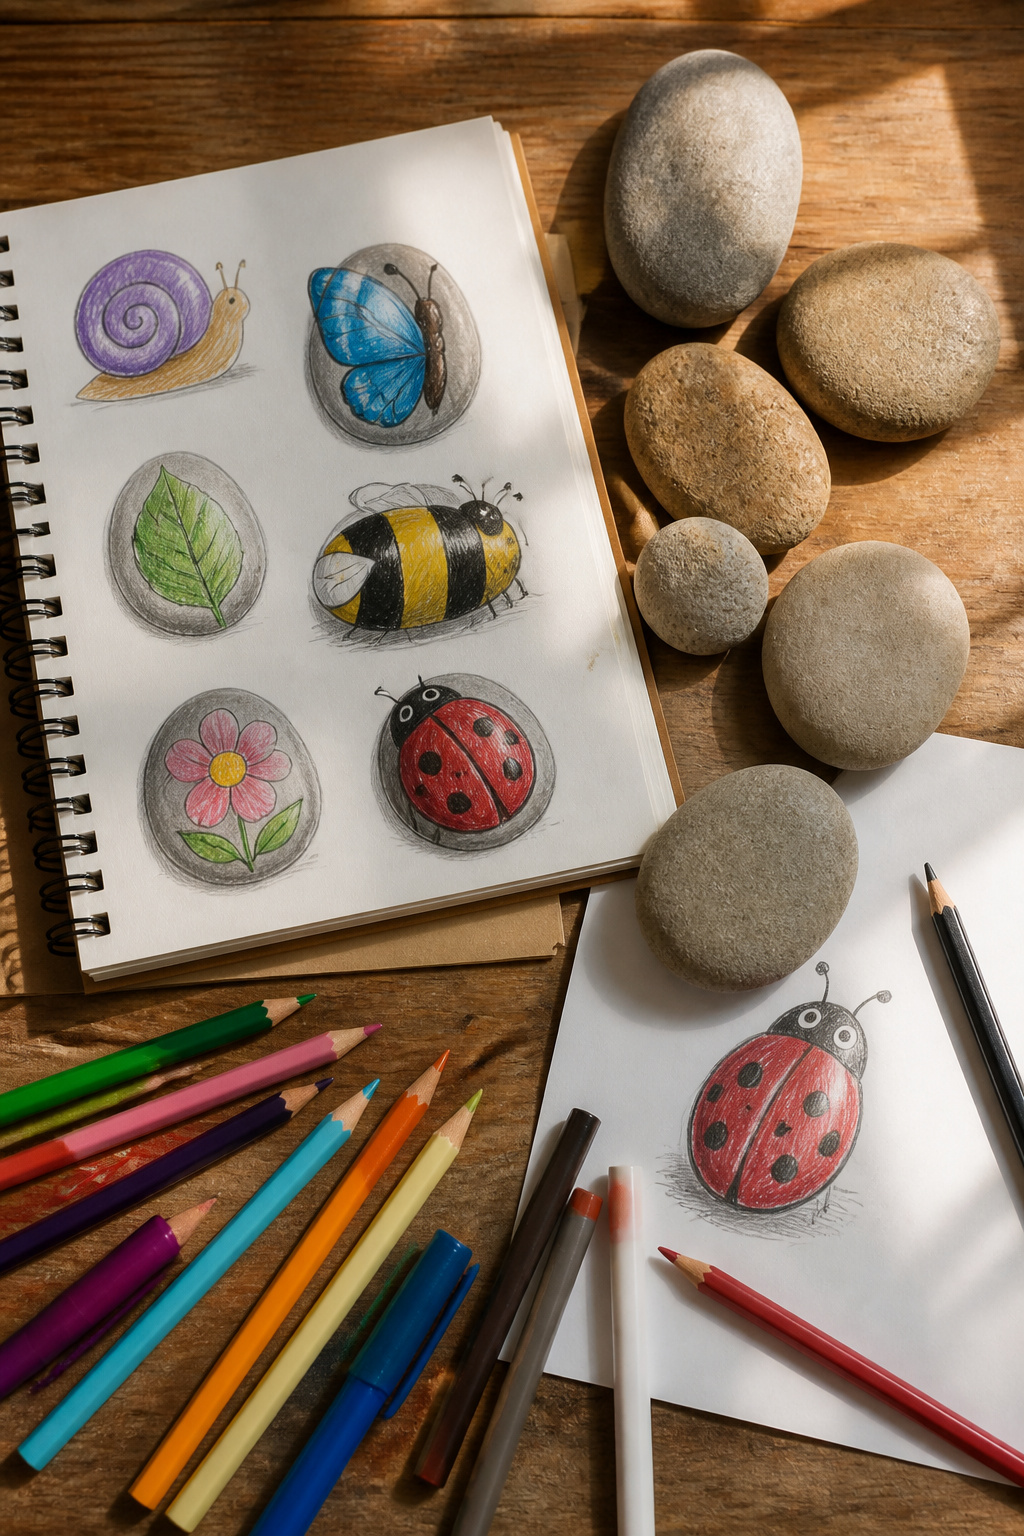
A flat sketch on paper saves a painted rock from a lopsided ladybug or a cactus that looks more like a pickle. I learned this the hard way with a "fairy garden" stone that turned out to have a door wider than the house above it; the rock’s curve had tricked my eye until I traced the outline first.
Let the rock’s shape guide the design, not fight it. A low, rounded stone wants to be a sleeping cat or a plump sunflower head. A tall, narrow piece already looks like a cactus or a standing heron. Lin Wellford’s books on painting animals and flowers on rocks lean heavily into this; the rock does half the composition work if you listen to it.
Themed designs like fairy gardens need planning most of all. A door, windows, and a mossy path crammed onto one stone looks busy; spread the idea across three or four rocks and sketch the group together so the scale stays honest. For inspirational messages, paper shows you whether the words fit before you’ve committed paint to a surface that does not take erasing well. Simple designs like smiley faces or polka dots can skip the sketch, but anything with parts that need to relate to each other, animals and flowers especially, earns the extra five minutes.

Ideal for professional artists and decorative crafters

Big Chip Brushes: 3 inch (75mm) wide Paint Brush allows for a wider stroke from small edges to large surface painting, and allows you to attain all of your decorating styles. It is specially used as a varnish brush, a masonry brush, a limewash brush or a paste brush. This disposable paint brush is economical and practical, also suitable for both interior and exterior painting works

【MESS-FREE 2-IN-1 DESIGN】 Features an innovative built-in brush head that eliminates the need for messy trays or separate tools. Simply squeeze the bottle to control the flow and apply evenly—no drips, no cleanup required.
5. Paint the Rocks

High-quality outdoor acrylic paint makes the difference between rocks that look fresh after one rainy season and rocks that look fresh after three. DecoArt’s Multi-Surface Satin Acrylic Paint is the one I keep reaching for; it sticks to stone without the chalky finish regular craft paint leaves behind.
A white base coat changes everything. The same yellow reads as school-bus bright over white, but turns muddy over gray stone. I learned that the hard way on my first batch of canary-colored bees.
Layering is where the time goes. Each coat needs to dry completely before the next, otherwise colors bleed at the edges and fine details sink into wet paint underneath. Five hours total sounds generous until you count the waiting: base coat, design layer, touch-ups, maybe a second pass on the eyes or lettering. A hairdryer on low speeds things up, but rushing still costs more than it saves.
Fine brushes or extra-fine paint pens handle the details Sharpies only pretend to. Sky blue dots for flower centers, thin black lines for outlines, the extra step that makes a rock look considered rather than hurried. Small mistakes paint over easily on stone; the hard part is walking away until the layer underneath is truly dry.

Black landscape foam offers superior adhesion, fills gaps and voids providing superior adhesion for landscaping projects

Ready to Use with Advanced Locking Formula:This spray glue requires no mixing or dilution—just open and spray, powered by advanced acrylate polymer technology, the rock glue for landscaping quickly binds gravel, mulch, and pine straw to help reduce loosening, shifting, and scattering, keeping your landscape neat and well-maintained

【Resist the effects of wind and rain】Tired of mulch washing onto sidewalks or pea gravel scattering into your walkways after every storm? Powered by an 8000 mPa·s high-viscosity formula, this mulch binder forms a durable bonding layer that helps hold wood chips, bark, pine straw, pine needles, hay, leaves, pea gravel, decorative gravel, river rock, crushed stone, shells and sand in place. rock glue for landscaping stops mulch washout and rock blowouts—so your beds stay clean, even after wind, rain or active pets.Reduce fatigue from repetitive labor
6. Seal the Painted Rocks
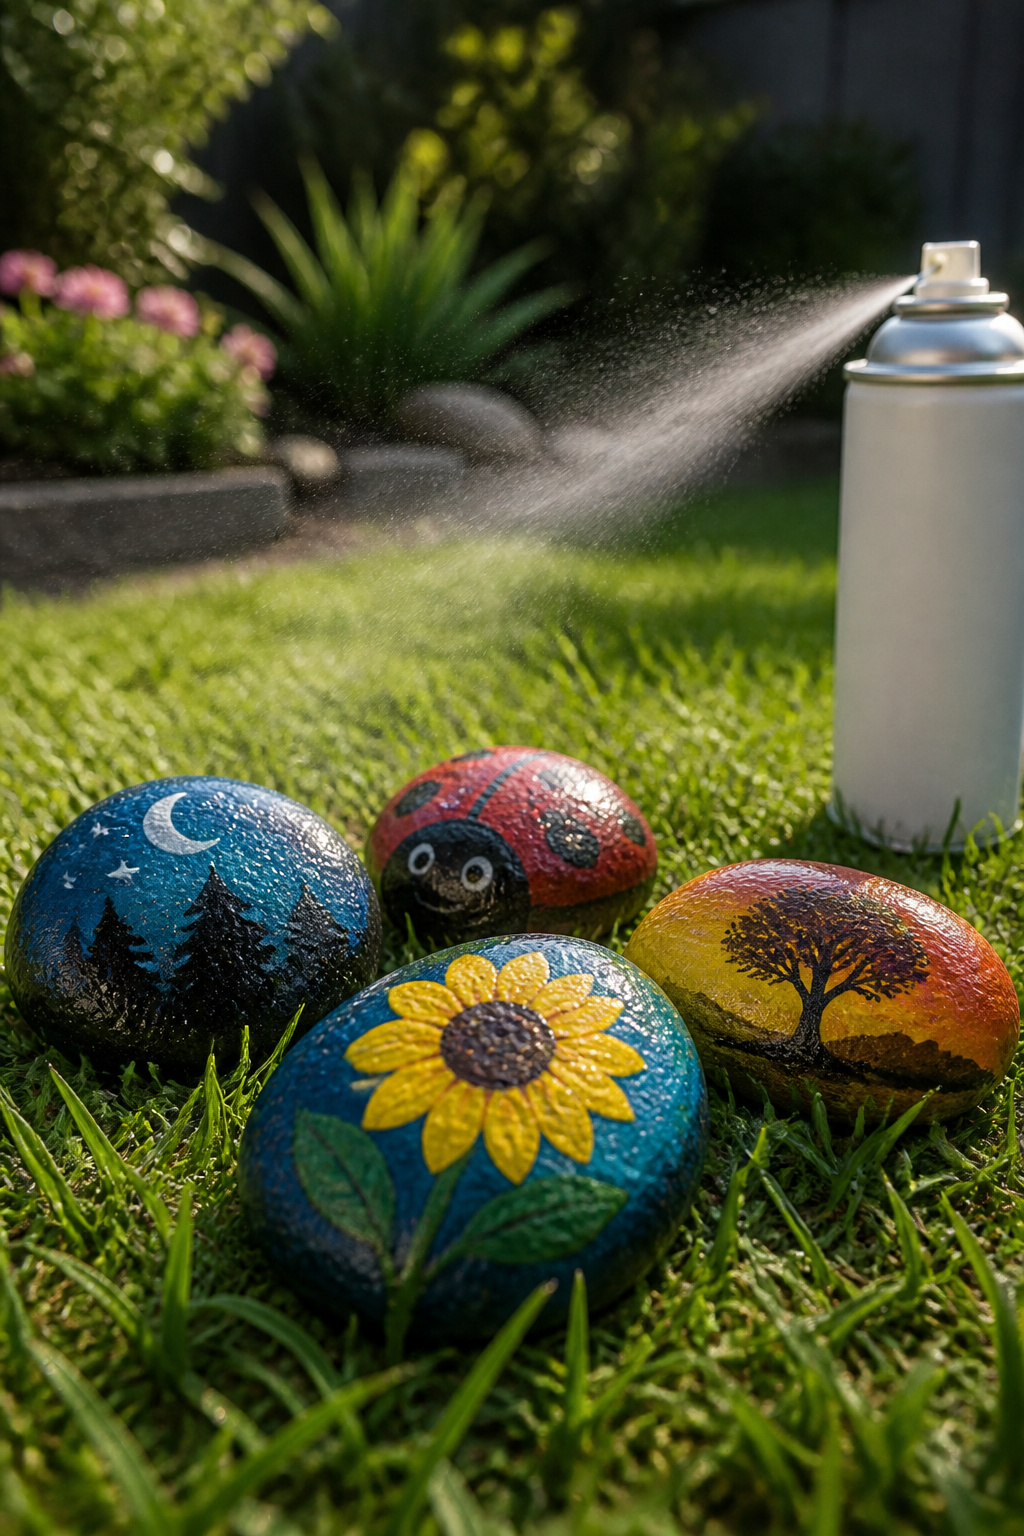
Acrylic paint on a rock left outside will peel or fade within a single season of sun and rain, so a clear outdoor sealer is non-negotiable for any stone that lives in the garden. I have used both brush-on varnish and spray sealers, and the spray wins for coverage on irregular stone surfaces. Krylon ColorMaster Acrylic Crystal Clear is one option that goes on in thin, even coats without pooling in cracks.
Varnish brushed on gives you control and costs less per ounce, but it leaves brush marks and tends to collect dust while curing. Spray sealers dry faster and reach every side of a rock without flipping it mid-coat. Two light passes beats one heavy one; thick layers turn cloudy or crack when the stone heats in sun. Coat all sides, including the bottom, or moisture wicks up through the unsealed face and lifts paint from underneath.

36 VIBRANT COLORS: Shuttle Art outdoor acrylic paint set includes 36 high quality outdoor acrylic paints: 25 classic colors, 5 glow in the dark shades, and 6 metallic finishes, each in 60 ml/2 oz bottles. It also comes with 10 paint brushes, a mixing palette, a mini UV light, a color wheel, and an instructional guide, providing everything you need for endless creative possibilities

12 OUTDOOR BULK PAINT: Shuttle Art outdoor acrylic paint set includes 12 vibrant colors, each in a large 8.45 oz/250 ml bottle. The paint set also comes with a painting knife, sponge, and color wheel, offering essential tools to enhance your creative process. Ideal for artists, beginners, kids, and adults working on handcraft projects

24 Essential Outdoor Paint Colors: A complete starter palette of DecoArt Patio Paints — perfect for DIYers, garden enthusiasts, and artists looking to bring color to outdoor spaces.
7. Display the Rocks
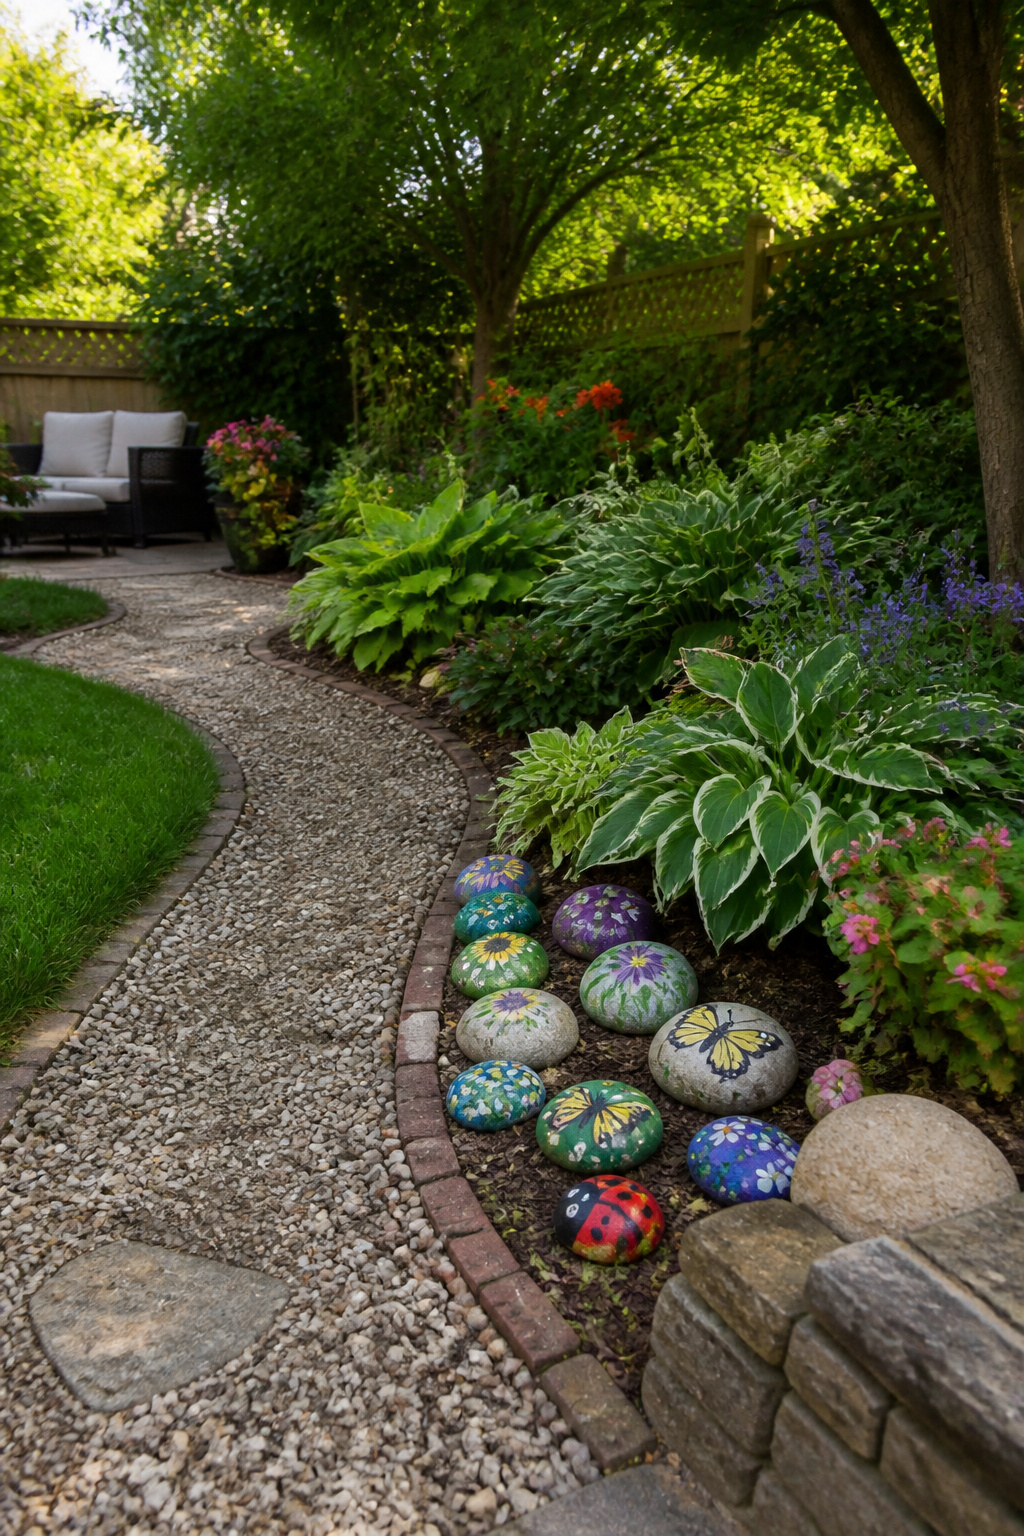
Placing painted rocks where they actually get seen takes more thought than scattering them like mulch. Clustered groups read as intentional; a single stone disappears against soil or bark. I set mine at the base of a low hosta or along the edge of a paver path, where the color pops against green or gray without competing with it.
Keep every rock at least six inches back from any walking surface, and never set one in grass that gets mowed. A stone the size of a softball still disappears under fescue in two weeks, and the blade that finds it first will cost you the paint job and maybe the blade. Beds, borders, and the pockets between established shrubs are the useful territory. If the design has a clear front, angle it toward the path someone actually walks; these are small pieces, and the detail you spent an hour on faces one direction only. The sealant holds up better on the top surface if water drains away, so nestle the rock slightly into the soil rather than perching it on top like a display egg.

Ideal for use on metal, wood, fiberglass and other surfaces

Interior/Exterior use on new or previously painted drywall, concrete, wood, masonry, metal and glossy or difficult surfaces

Materials and Cost
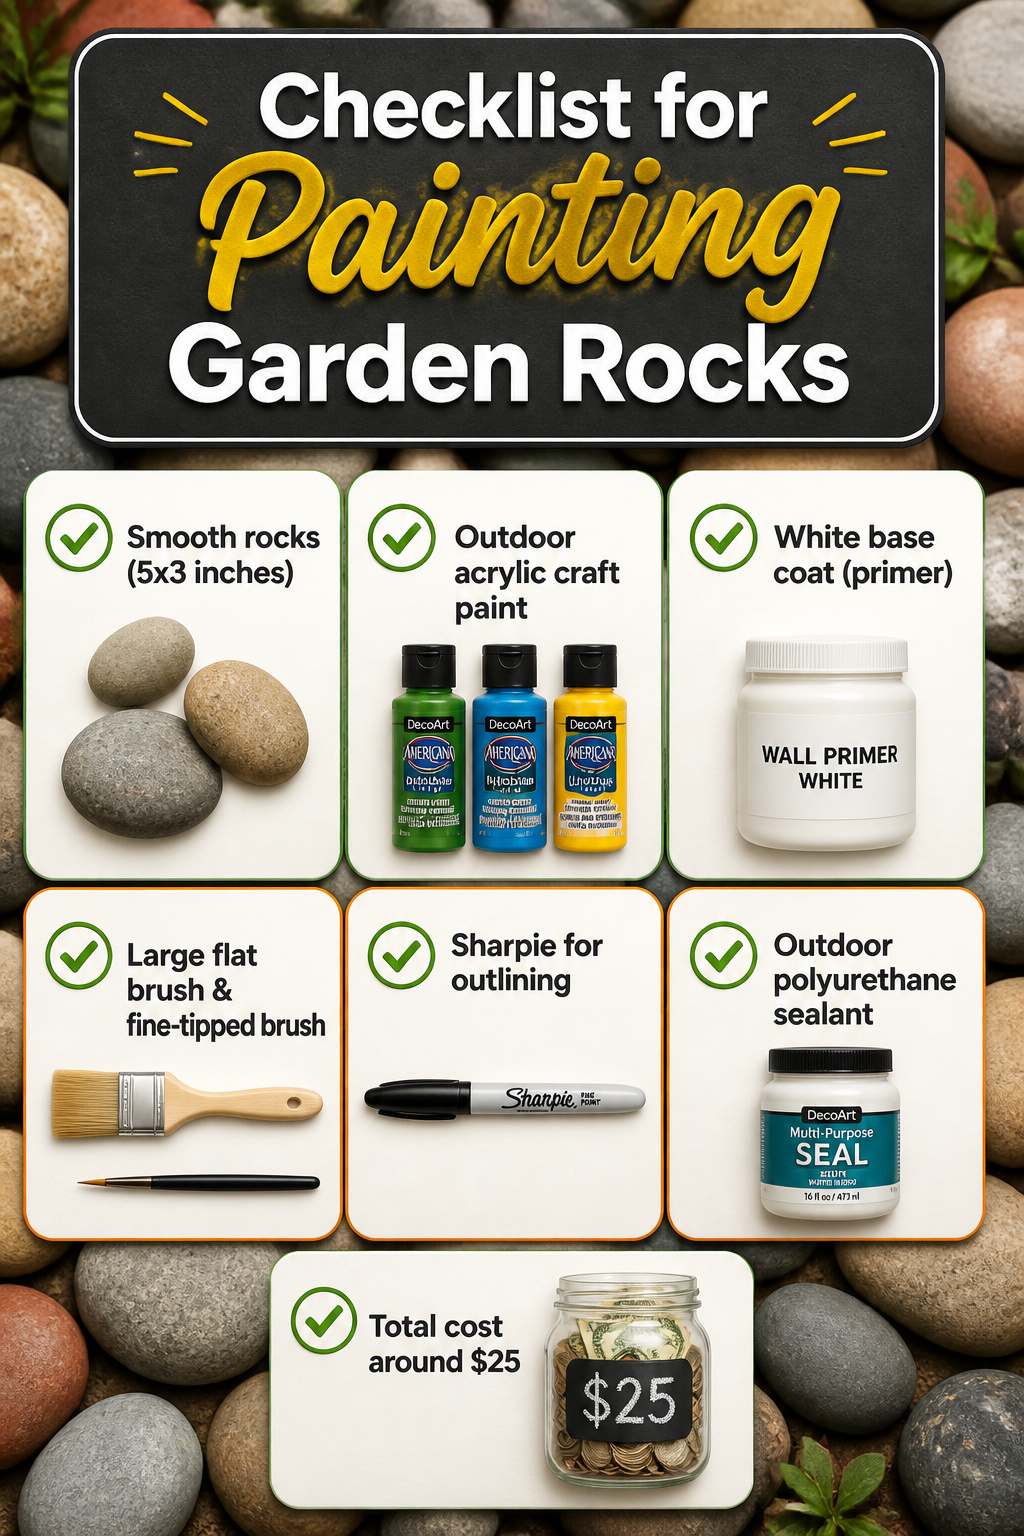
Smooth rocks about the size of your hand, roughly 5 inches long by 3 inches wide, form the starting point. River stones or any evenly surfaced rock works; the flat face matters more than the exact dimensions.
Outdoor acrylic craft paint runs the show here, and the outdoor rating is non-negotiable. Patio paints by DecoArt or Martha Stewart hold up against sun and rain in ways standard craft acrylics do not. A white base coat, even leftover wall primer, helps colors read brighter and gives pencil guidelines something to grip.
Brushes need only be decent: one larger flat brush and one fine-tipped detail brush cover most jobs. Specific brands are not where the money goes. A pencil, a Sharpie for outlining, and something to make dots, a pencil eraser or the brush handle end, round out the toolkit.
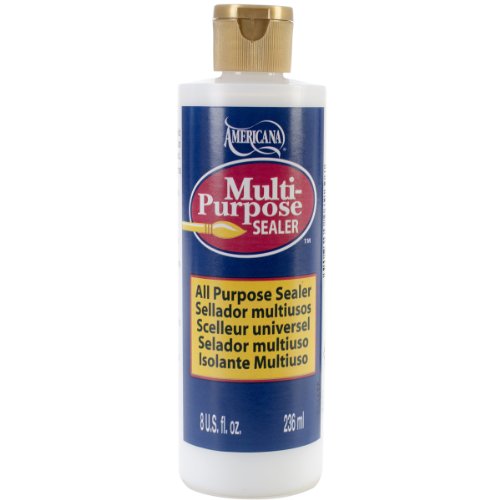
Sealer finishes the job. Outdoor polyurethane or a clear acrylic sealant with UV protection keeps the paint from fading or flaking. Mod Podge works in a pinch if it is explicitly waterproof, though a dedicated product like Deco Art Multi-Purpose Seal is the safer bet.
The whole supply list lands around $25, less if you already own primer or brushes. Skip the designer paint sets; the rock and the weather will not know the difference.


DECOART-Patio Paint Metallics

Paint Types and Sealers
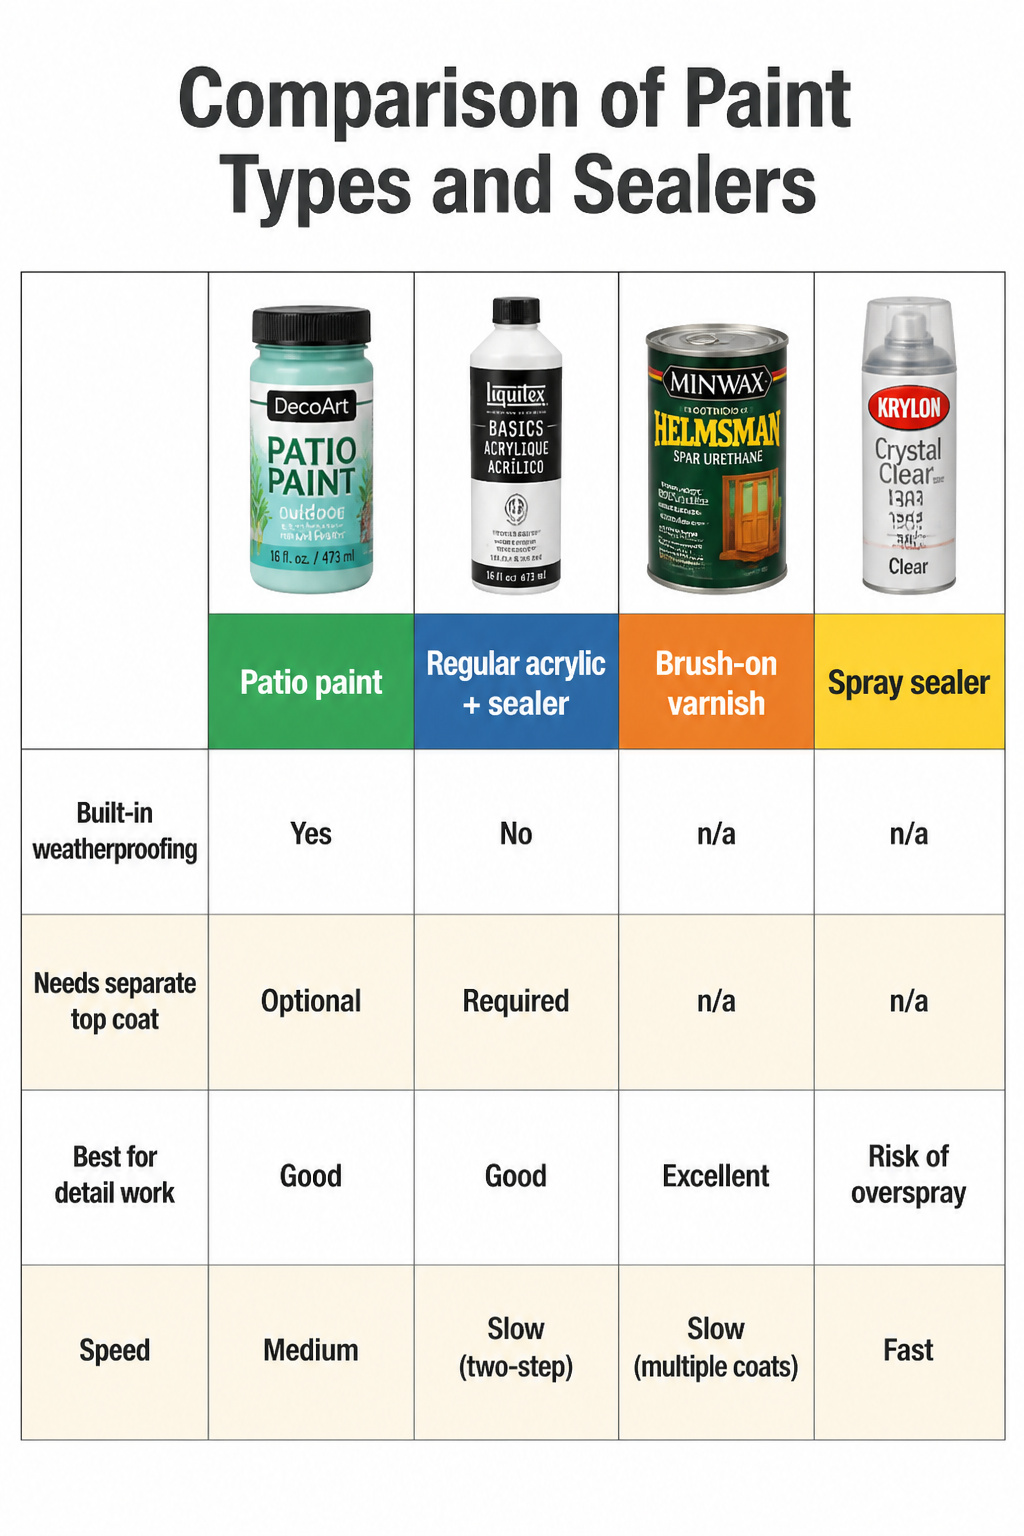
Patio paint and regular acrylic paint split the difference on weatherproofing, not on color. Patio paints from DecoArt or Martha Stewart carry their own UV and moisture resistance right in the formula. Regular acrylic needs backup: a durable exterior clear sealer, preferably spray form, sprayed on every side once the paint cures. The Krylon ColorMaster Acrylic Crystal Clear handles that job.
Seal itself can mean two things. A brush-on outdoor polyurethane builds a visible skin, layer by layer. Mod Podge or a spray sealer like Deco Art Multi-Purpose Seal goes faster and thinner. Brush-on gives control for rocks that sit in dirt and splash; spray wins for rocks with fine detail you do not want to smear with a loaded brush.
| Patio paint | Regular acrylic + sealer | Brush-on varnish | Spray sealer | |
|---|---|---|---|---|
| Built-in weatherproofing | Yes | No | n/a | n/a |
| Needs separate top coat | Optional | Required | n/a | n/a |
| Best for detail work | Good | Good | Excellent | Risk of overspray |
| Speed | Medium | Slow (two-step) | Slow (multiple coats) | Fast |
My own painted garden rocks land on the simplest setup that matches where they live. A rock under a covered porch, out of direct rain, gets acrylic plus one coat of spray sealer and stops there. The ones lining an open flower bed get patio paint and two coats of brush-on polyurethane, because that is where the seal actually gets tested. Upgrade to the heavier seal only when water sits on the rock, not when it might.
Use for a variety of indoor and outdoor project surfaces including wood, metal, plaster, masonry or unglazed ceramic

MARINE SEALANT: Our liquid formula creates a UV-stable coating for protection against the elements, saltwater spray, and water damage. Marine is a protector for outdoor furniture, thermally modified wood, and boat docks. Marine is safe for use over open water and is non-hazardous to aquatic life. ** This product is NOT intended for hardwoods such as ipe, mahogany and teak. NOT intended for wood submerged under water or on wooden boats **

WATER-BASED WOOD FINISH: Our sealant provides top-notch protection against wear and tear in high traffic areas. It's odorless and suitable for use on wood siding, log homes, swing sets, outdoor furniture, wooden deck and fence, and more
Animal and Flower Designs

Ladybugs, frogs, and owls belong in every starter collection of painted garden rocks because the shapes do half the work. A round stone already wants to be a ladybug; you add the red base, black dots, and a thin line down the middle where the wings meet. Frogs need an oblong piece with a slight bump for eyes, and owls sit naturally on anything taller than it is wide, with two ear tufts penciled at the top. The forgiving part is that the animal’s outline hides wobbly brushwork; a lopsided ladybug dot still reads as a ladybug, whereas a crooked geometric pattern just looks off.
Daisies and simple florals follow the same logic. Five petals radiating from a yellow center do not have to be identical to read as a flower, and clustering three small blooms on one stone covers more ground with less precision than a single large composition. Detail work pays off in the eyes and the wing separation lines: a tiny white highlight on a ladybug’s black head, or a thin dark stroke between an owl’s chest feathers, turns a blob into something that photographs well for the hour it took.
For anyone who wants to push past the basics, Lin Wellford’s The Art of Painting Animals on Rocks breaks down fur texture, feather layering, and how to map an animal’s anatomy onto an irregular surface. The book is where I found the trick of painting the shadow side of a frog’s leg in blue-gray rather than black, which keeps the figure from flattening out in outdoor light.

【Say No to Messy Garden Landscapes】Still troubled by the disorder caused by wind and rain in your garden? YiJiAre Mulch Glue can firmly secure all coverings, bidding farewell to scattered pebbles and weeds. It makes it easier and more convenient for you to create a beautiful and tidy garden landscape.

STRONG ROCK GLUE FOR LANDSCAPING – Designed to help lock pea gravel, small pebbles, decorative stones, river rock and landscape rock in place. This gravel glue for landscaping forms a durable bond that helps reduce loose rock movement from wind, normal rainfall and routine yard cleanup. One 1.3 Gallon container covers up to 489 sq ft under standard application conditions, great for medium-sized backyard rock landscapes and stone surrounds around outdoor fire pits.

【ONE-TOUCH ELECTRIC SPRAYER + READY-TO-USE — NO MIX, NO MEASURE, NO EFFORT】Forget mixing, measuring, and hand-pumping. This complete rock glue for landscaping with sprayer pairs a pre-mixed, ready-to-use formula with a one-touch electric sprayer. Just press the button and spray—even coverage, zero guesswork. Designed for homeowners who want fast, clean, professional-looking results without the hassle.
Frequently Asked Questions
What materials do you need to paint rocks?
You need smooth rocks about five inches long and three inches wide, outdoor acrylic paint, a larger flat brush, a fine-tipped detail brush, a pencil, a Sharpie for outlining, and a clear outdoor sealer with UV protection. The whole supply list runs around $25, less if you already own primer or brushes. Skip designer paint sets; the rock and weather will not know the difference.
How do you make a painted rock?
Clean the rock with soap and water, let it dry fully, apply primer or a white base coat, sketch your design if needed, paint with outdoor acrylics letting each layer dry completely, then seal with a clear outdoor sealer. Each coat needs to dry before the next, otherwise colors bleed and details sink. A hairdryer on low can speed things up, but rushing costs more time than it saves.
What kind of paint do you use on rocks?
Use high-quality outdoor acrylic paint rated for exterior use, such as DecoArt’s Multi-Surface Satin Acrylic Paint or patio paints by DecoArt or Martha Stewart. The outdoor rating is non-negotiable; standard craft acrylics lack the UV and moisture resistance needed for garden stones. A white base coat, even leftover wall primer, helps colors read brighter and gives pencil guidelines something to grip.
How do you seal painted rocks?
Apply a clear outdoor sealer with UV protection to all sides of the rock, including the bottom, using either a spray sealer or brush-on outdoor polyurethane. Spray sealers like Krylon ColorMaster Acrylic Crystal Clear work faster and reach irregular surfaces better; brush-on gives more control but leaves marks and collects dust while curing. Two light passes beat one heavy coat, since thick layers turn cloudy or crack in sun. Coat the bottom too, or moisture wicks up and lifts paint from underneath.
Where do you get rocks for painting?
Landscape stones from hardware or landscaping yards come already smooth and save filing time. Craft stores sell bags of river rocks if you want to start tonight. Beach pebbles or park stones work too, though shapes vary more than you would expect. Look for stones roughly five inches long and three inches wide: big enough for detail work, small enough to move without a wheelbarrow.