
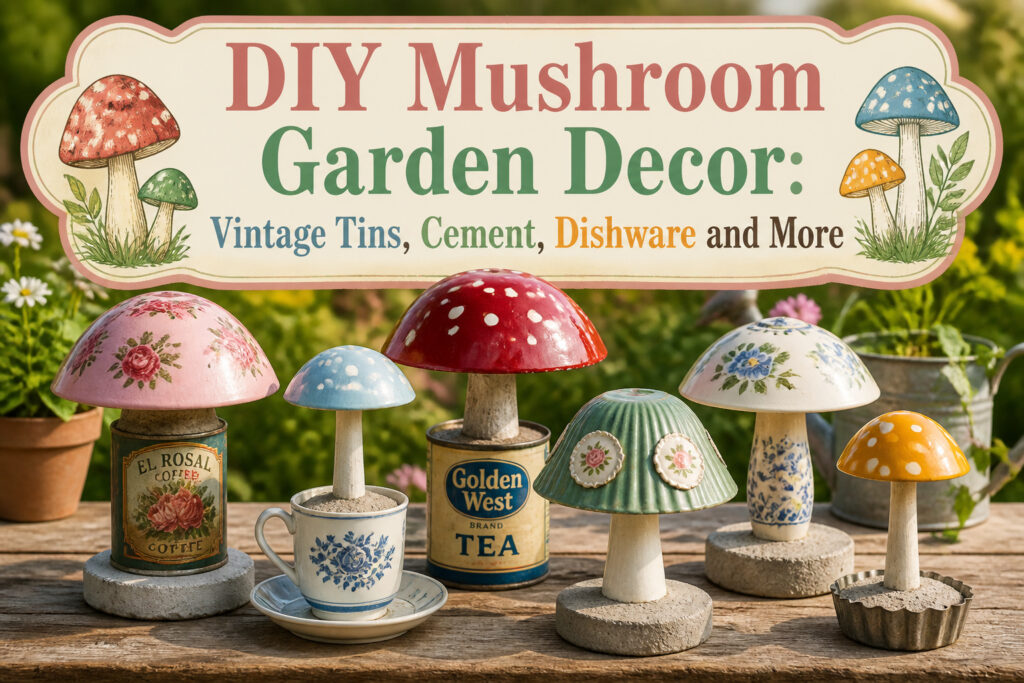
DIY mushroom garden decor turns kitchen scraps and hardware-store basics into weatherproof lawn ornaments. The catch is weight: a hollow plastic cap glued to a narrow stem becomes a sail the moment wind hits, which is why every project here includes either ballast, a buried stake, or a cement base. A 60-pound bag of Quikrete runs under $5 and covers a small batch of poured caps and stems.
Vintage Tin Mushrooms

Vintage measuring cups and kitchen tins make the most convincing mushroom caps because they already carry the right silhouette: wide, low, and slightly domed. I scout flea markets and estate sales for aluminum or tin sets with dents that do not matter once paint goes on. A 1-cup measure sits about right for a mid-size garden mushroom, while a full sifter or flour tin reads as the big statement piece.
Driftwood sticks, not dowels or fresh-cut branches, give these their weight and stance. Weathered wood has already done its warping; it will not twist the cap sideways after a season of rain. I look for pieces an inch or so thick, snapped to 8–12 inches depending on how much height the bed needs.
Fusion Mineral Paint in Fort York Red covers metal in one coat without primer, which matters when you are batching six mushrooms on a Saturday. Two coats plus a dry-brush of white on the spots, and the vintage kitchen look comes through clean. Let the red cure overnight before spotting it; Fusion sets fast to the touch but still dents under tape or a brush handle for hours.
Attachment is the fussy part. Marine epoxy or a two-part exterior adhesive bonds the tin rim to the driftwood end grain; the flat base of a measuring cup gives more contact than a rounded tin bottom, so I favor cups when I find them. A clamp and a level garage floor beat trying to hold things straight in garden soil.

Enchanting Vintage Design This metal tin sign showcases a classic mushroom street scene with a retro color palette and distressed finish, adding a touch of whimsical charm and character to your space.

Fun Retro Design: Features a vintage round shape with a funny artistic theme; adds charm and humor to kitchen walls, living rooms, or bathroom doors; suits holiday parties or everyday home accents

Size: Tin Sign is 12x8 inches.The sign size is suitable for many places
Cement Mushrooms
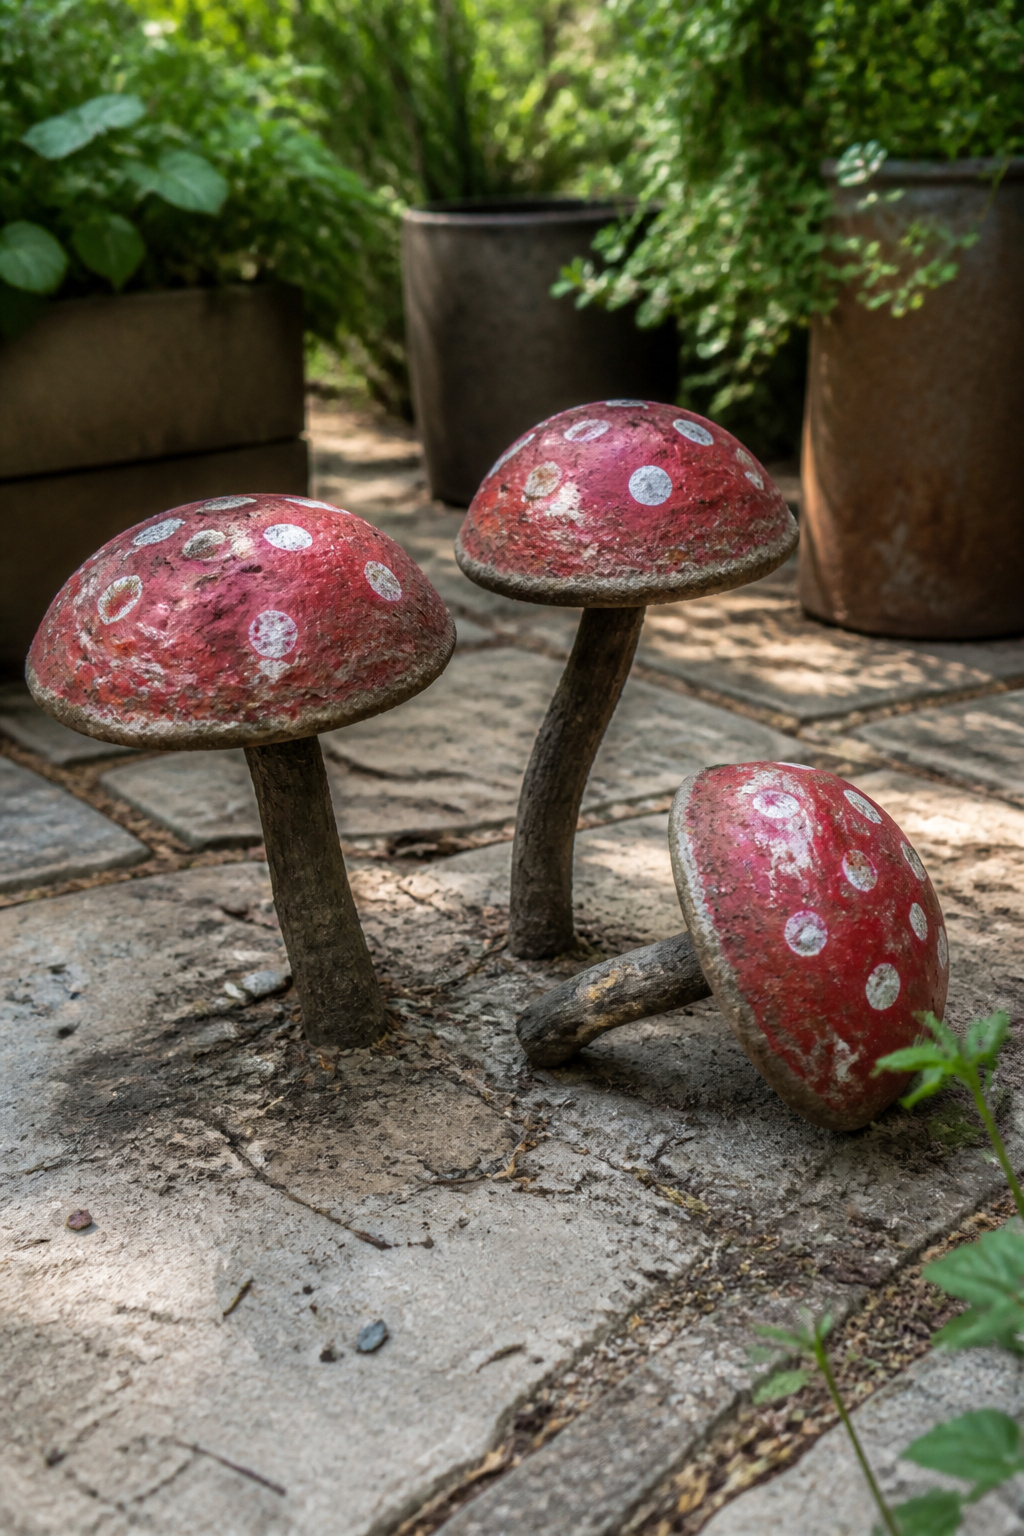
Cement mushrooms are the heaviest and most weatherproof option in the mix, which matters if your garden sees wind or you want them on a patio without stakes. The mix is 1 part cement to 2 parts sand, plus water until it reaches a thick, scoopable consistency. Quikrete concrete works here, and a 60-pound bag runs under $5, enough for a small batch of caps and stems.
For molds, old glassware or plastic containers do the job. Bowls, cups, even small storage tubs give you different cap shapes. Coat the inside with vegetable oil so the cured cement releases without fighting you. A rubber mallet helps tap the mold free once the cement has set, usually overnight.
Twisty sticks pressed into the wet cement become the stem, or you can pour stems separately in narrow cups and join them later. The cement darkens whatever it touches, so the finished piece reads as stone rather than bright plastic, a look that suits older gardens.
Once demolded and fully dry, red acrylic paint with white dots applied by cotton swab gives the classic toadstool look. An outdoor sealer or stone lacquer keeps the color from washing out through a season of rain.
A 60-pound bag of Quikrete concrete costs under $5, and the whole project takes two steps and as little as a dollar per mushroom.
That price assumes you already have the molds and paint on hand, which most weekend makers do.

Whimsical Mushroom Design – Sculpted cap texture adds natural woodland charm to gardens and décor spaces

Rustic Metal Mushroom Garden Statues: Feature a charming mushrooms, crafted from durable metal with an antique bronze finish that mimics natural texture.
Faux Dishware Mushrooms
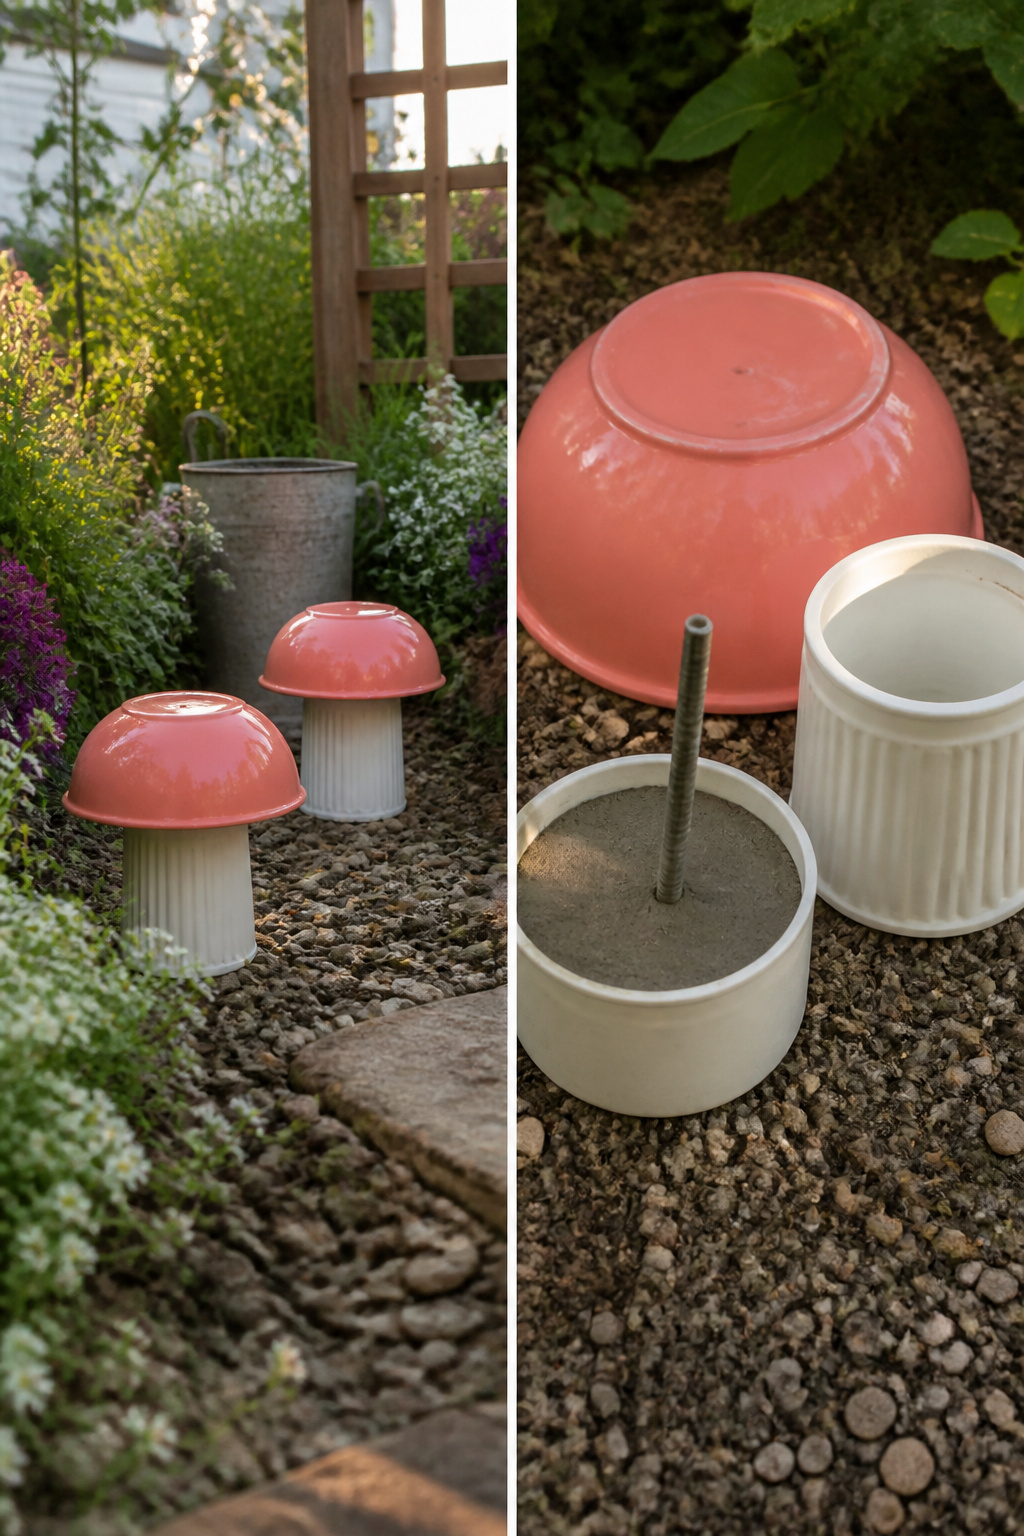
Plastic dishes from the dollar store or a thrift bin stack into mushroom shapes faster than you’d expect. A salad bowl flipped upside down becomes the cap; a smaller bowl or a thick ramekin turned the same way makes the stem. GE GE500 Silicone 2+ Window and Door Caulk is the adhesive that actually survives a season of freeze and thaw. Epoxy or waterproof outdoor glue will bond the pieces, but silicone buys you working time and forgiveness if the first placement drifts.
Weight is the part most tutorials skip. A hollow plastic mushroom catches wind like a sail. Two fixes work: pour a few inches of concrete into the stem bowl before you glue the cap on, or set the finished mushroom over a rebar stake driven into the ground so the stake runs up through the stem. Without either ballast or anchoring, the first autumn storm relocates your whole colony into the neighbor’s hostas.
Paint after assembly, not before. Spray paint on plastic wants light coats and patience; brushing acrylic over the caulk seam hides the joint. Frosted spray paint in coral or sea foam green reads vintage without trying too hard, though flat exterior house paint in a red-and-white scheme holds up longer.


【SILICONE PLANTER MOLD】The package includes 1x mushroom stump embossed container mold. You could use it to make practical craft for little plant, storage items or holding candle. A great size to make succulent pot, candle bowl for home, party and so on

CREATE BEAUTIFUL SUNFLOWER GARDEN ART: Turn ordinary concrete into a stunning sunflower stepping stone with detailed raised petals and a textured flower center. Create decorative pathway stones that add warmth and personality to your outdoor space.
Painted Terra Cotta Mushrooms
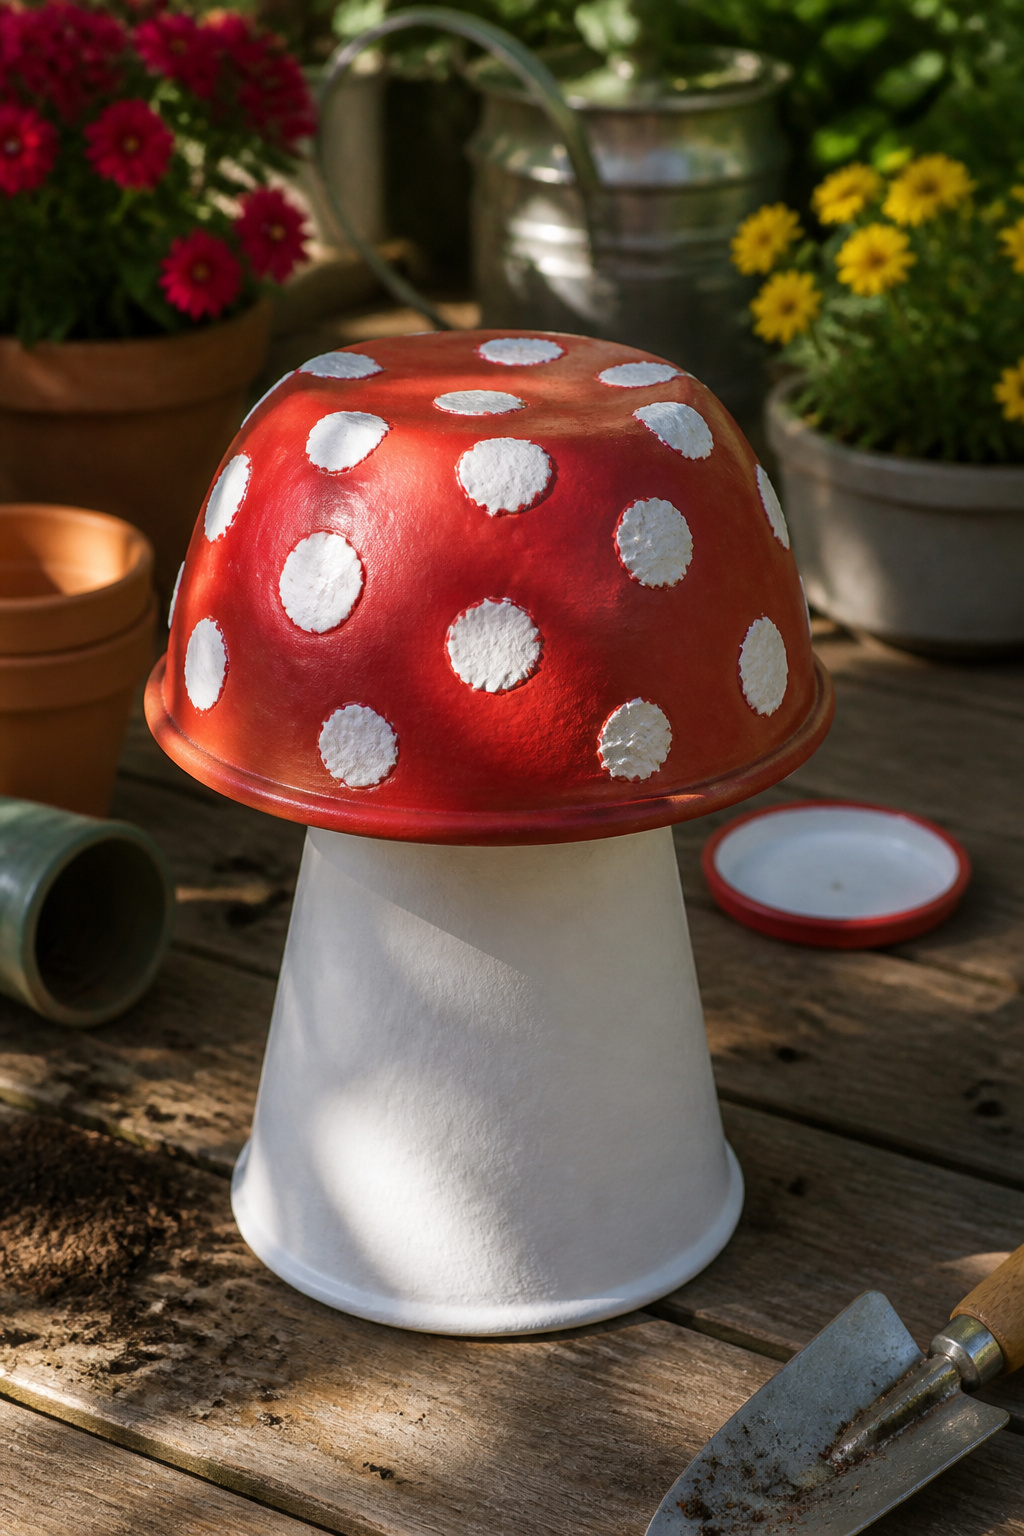
Painted terra cotta mushrooms start with 2 to 3 round terra cotta pots and matching drain plates, each plate 3 to 5 inches wider than the pot bottom it will sit on. The plate becomes the cap, the pot becomes the stem, and the size gap between them gives that classic mushroom silhouette without any cutting.
Spray paint handles the base color faster than brushing, especially on the rough terra cotta surface. White goes on the stem; reds, yellows, or whatever cap color you want go on the plate. For the spots, a 2-inch round sponge or spouncer dipped in white acrylic craft paint stamps cleaner circles than a brush ever will. The sponge leaves a slightly uneven edge that reads as hand-painted charm, not mistake.
Outdoor durability depends on sealing. A waterproof clear sealer, either brush-on or spray, needs to cover every surface, including the interior of the pot and the underside of the plate where water pools. Skip the inside, and freeze-thaw cycles will flake your paint from beneath. Epoxy or waterproof outdoor glue between the plate and pot keeps the cap from shifting in wind; the pieces are light enough to move around the yard, which also means they are light enough to blow over if you skip this step.

Ready-to-use liquid weld for rigid parts: Metal epoxy glue bonds aluminum, steel, stainless, and cast iron; also wood, ceramic, glass, rigid plastics, and concrete—ideal for auto repair, marine hardware, plumbing leak repair, and home fixes.

✅ INDUSTRIAL-STRENGTH BONDING POWER – Specially engineered for metal repairs, our metal glue heavy duty waterproof formula creates an ultra-strong, permanent bond that won’t crack or weaken over time. Perfect for iron, stainless steel, aluminum, or tools—this metal bonding adhesive lets you bond metal to metal without welding for lasting durability.

DAP Weldwood Contact Cement forms an instant high strength bond on interior and exterior surfaces including high pressure laminates, wood and plastic veneers, paneling and more
Thrift Store Glassware Mushrooms
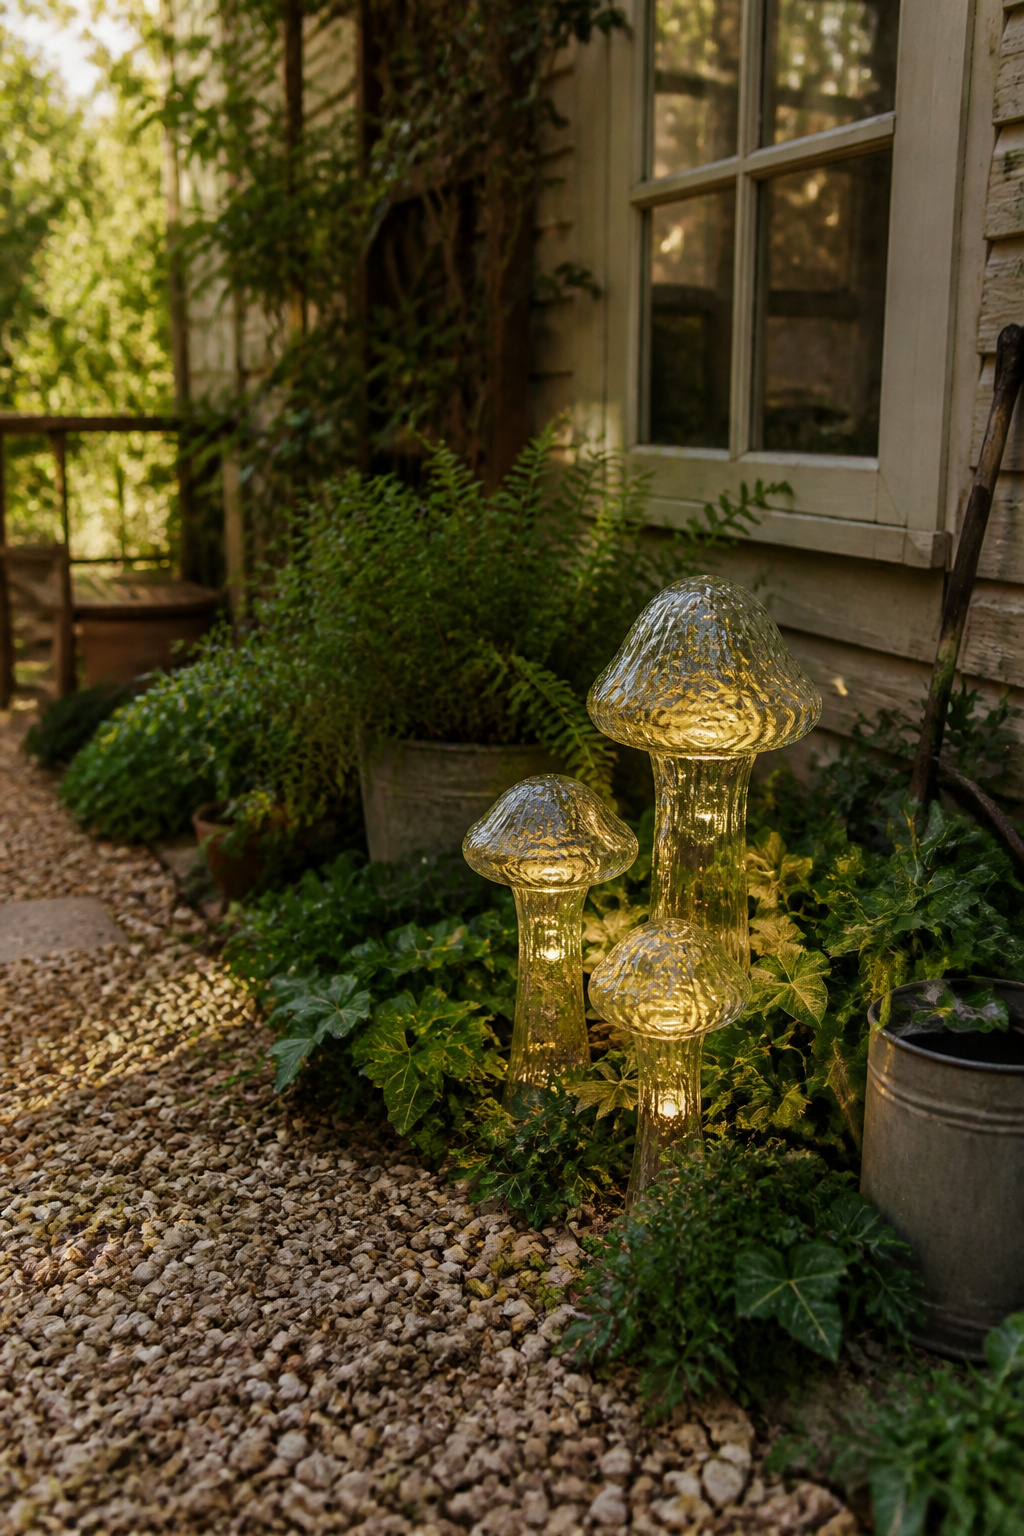
Thrifted glassware makes some of the most convincing mushroom caps because the curves are already there. A rounded vase or a wide-mouthed jar flipped over a matching base reads as a toadstool without much work. The solar light is what turns it from lawn ornament into something worth walking the garden path at dusk to see.
Two arrangements actually work. You can flip the vase upside down and glue the solar light to what is now the bottom, centering it between the cap and the base so the glow filters through the glass. Or you can set the light inside a clear jar filled with glass gems, which scatter the beam and hide the hardware. The second option is easier to service; the first looks cleaner from a few feet away.
Dollar Tree solar lights come on a stake that needs removing before you glue anything. The cell and LED housing is small, but the fit still matters. A light that rattles inside a loose cap will tilt and throw its beam at the ground. Hot glue holds well enough for a season, though a ring of construction adhesive around the rim buys you longer before you are resecuring it. Either way, check the placement for a full day before you commit; solar lights need direct sun to charge, and a spot that looks magical at 9 PM can be a dim disappointment if afternoon shade hits the cell.

【Enchanting Mushroom Decor】 Add a whimsical touch to your garden with these dreamy metal mushroom stakes. Perfect for patios, lawns, flower pots, and walkways, they bring a playful and artistic vibe to any outdoor or indoor space.These metal mushrooms also come with 2 garden stakes & 4 straps, they can be inserted deeper and more securely by adding a gardening ground stake at the bottom, allowing for better display of the mushrooms

Wide Decor Scenarios: Perfect for houseplant pots, succulent planters, fairy miniature garden, patio, yard, flower beds, and indoor tabletop decoration

Great for gardeners and homeowners searching antique yet functional decors to elevating flower beds or pathway
Materials That Actually Work
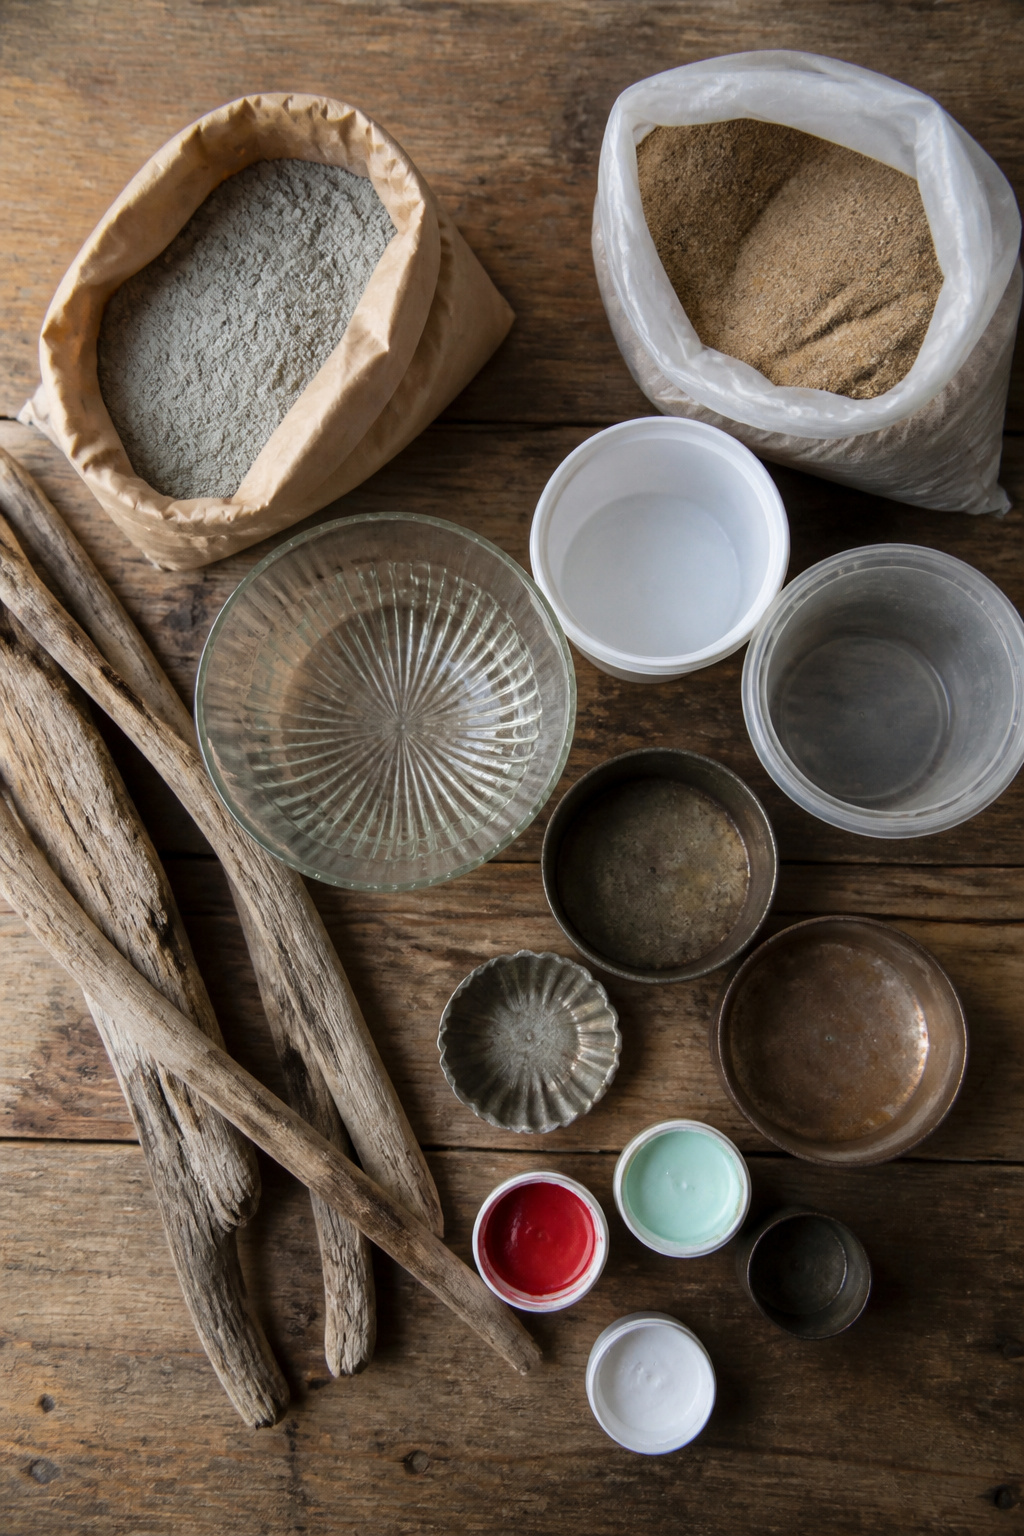
The five projects pull from overlapping supply lists, so grouping by job keeps the cart lighter than buying per project.
For the mold and pour work, cement and sand run at a 1:2 ratio with water added gradually. Quikrete is the ready-mix shortcut if you skip measuring your own batch. Old glassware or plastic containers shape the caps, and a light coat of vegetable oil inside the mold saves the piece when you tap it free with a rubber mallet. Damp sand packed into a bucket or tub props up batch pours while they cure.
For stems and structure, driftwood sticks anchor vintage tins through a puddle of hot glue, while twisty sticks set into wet cement for the poured versions. Terra cotta pots pair with drain plates three to five inches wider than the pot bottom to make the classic cap-and-stem silhouette.
For the solar glassware build, GE GE500 Silicone 2+ Window and Door Caulk beds glass gems with flat backs against clear bowls, and Dollar Tree solar stake lights slip inside. Frosted spray paint in Frosted Coral, Frosted Orchid, or Sea Foam Green hides the hardware if you want color.
For finish and weatherproofing, red and white acrylic paint or chalky paint cover the tins, with a 2-inch sponge or spouncer for polka dots. Satin spray sealer or outdoor stone lacquer locks it in. Cotton swabs help with spot detail. A paint-on or spray waterproof sealer is non-negotiable on anything that sits outside through freeze-thaw.

Vibrant Garden Decor: Crafted from premium, lightweight tin with weather-resistant coating, this metal garden decor piece boasts fade-proof colors that stay bright outdoors. Ideal for adding a pop of color to your garden wall decor or farmhouse spaces.

【Funny Metal Tin Sign】2 pcs 8"x12" metal tin signs,Made of high quality tin gold, exquisite and beautiful.

SIZE FOR TIN SIGNS VINTAGE : 12 x 8 inch personalized text " Do What Makes You Happy " to add fun and color to your bedroom.
Painting and Sealing for Weather
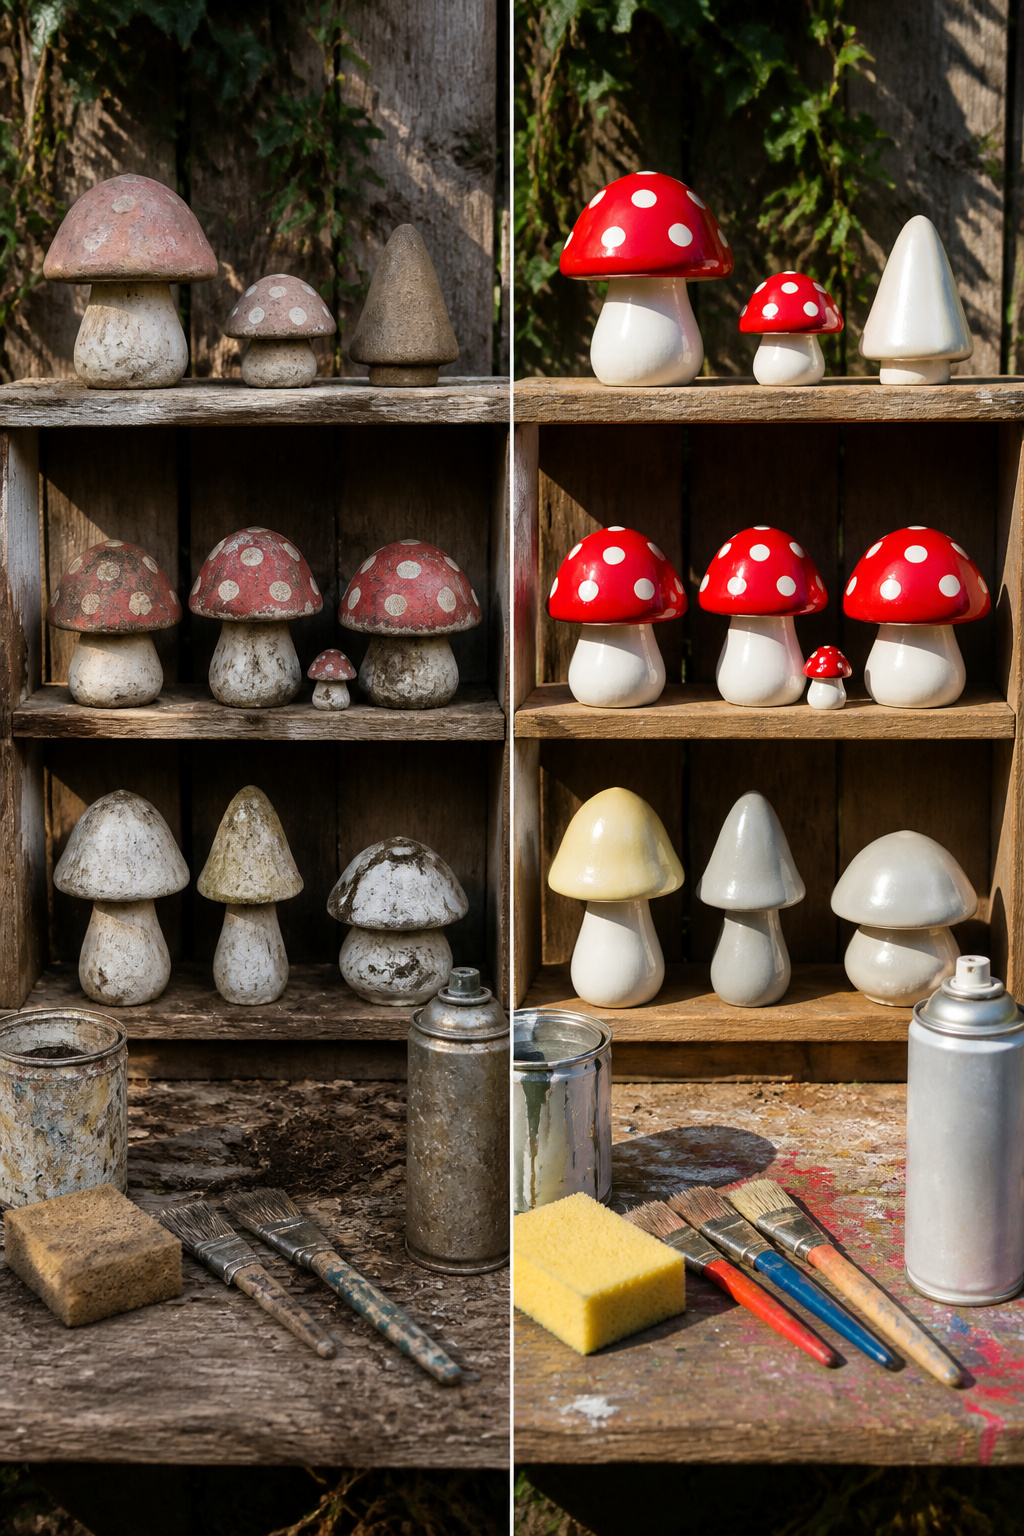
Acrylics hold up fine on cement if you give them a primer first, but spray paint is the faster route for terra cotta and metal. Two coats of white on the pot, something bolder on the cap. I used Fusion Mineral Paint in Fort York Red for one tin mushroom cap and the coverage was solid, no bleed-through from whatever floral pattern lived underneath.
The real work is the sealer. Skipping it means the paint chalks, flakes, or lets water freeze underneath within a single winter. Waterproof clear paint-on sealer gives you control in the crevices; spray sealer is faster for broad curves. One coat of outdoor lacquer is technically enough, two if the piece sits in a bed that gets sprinkler spray. Let each coat dry the full 24 hours, same as the paint beneath it. Rushing here costs you the whole paint job, not just the afternoon.

Sized Display: This set includes two freestanding mushroom statues, each measuring 8 inches tall, 5.25 inches wide, and 5.25 inches deep for easy display on a patio, porch, shelf, or garden spot.
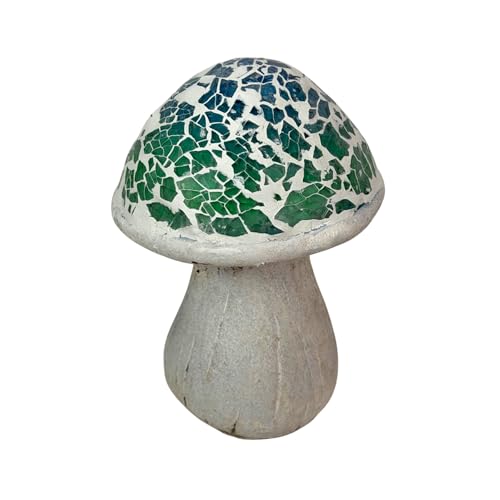
Compact Size: Measuring 5 inches tall and 4 inches deep, this freestanding mushroom figurine adds a small decorative accent to shelves, porch tables, plant stands, or garden displays.

Elevate your outdoor space with our 3-pack large mushroom garden decor, the ultimate outdoor mushroom decor to add whimsical charm to any lawn, garden bed, or patio. These handcrafted metal mushroom statues are designed as eye-catching garden mushrooms outdoor decor, turning ordinary yards into enchanting, rustic landscapes that stand out from ordinary garden accents.
Keeping Them Standing
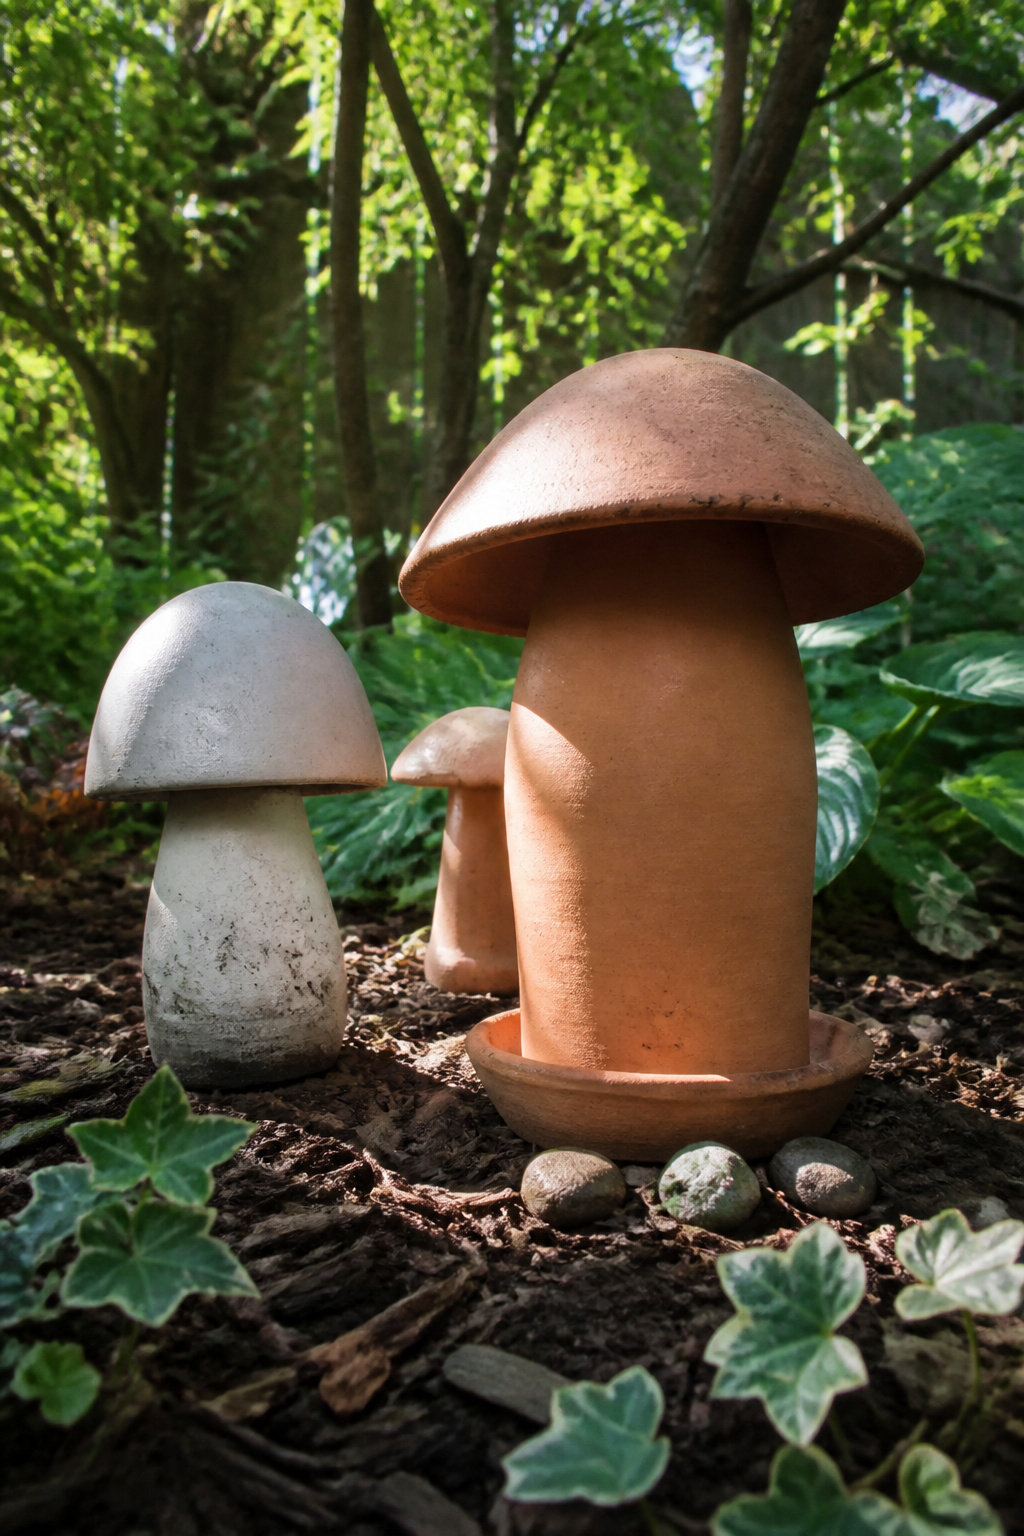
A mushroom cap glued to a narrow stem looks charming until the first gust. The terra cotta builds I have watched hold up come from matching the drain plate to a pot base that is 3 to 5 inches narrower, so the cap overhangs like a real toadstool but the glue line sits close to the center of gravity. Epoxy or waterproof outdoor glue between the plate and the upside-down pot is the standard bond, and it works because the pot itself is already dead weight.
Lightweight stuff, plastic or thin dishware, needs ballast inside the hollow. A handful of pebbles or a disk of scrap wood dropped into the stem before you seal the base does more than a wider foot ever could. Wind wants sail area; a low, rounded cap catches less than a flat plate tilted skyward. Base design follows the same rule: the wider and lower the footprint, the less the piece wobbles. A pot sunk an inch into soil or mulch beats a stem ending in a sharp point that rocks on hard ground.
If you are stacking materials, say a glass bowl on a rebar stem, the joint is where it fails. Glue alone flexes; a mechanical lock, a bolt through a drilled hole or a sleeve of PVC slipped over the rod, carries torque the adhesive cannot. Check the piece after a hard rain. Soft earth shifts, and a mushroom that stood firm in June may lean by October.

Use with epoxy resin, soap, cement, concrete, clay,

【SILICONE PLANTER MOLD】The package includes 1x Ocean Wave theme embossed container mold. You could use it to make practical craft for little plant, storage items or holding candle. A great size to make succulent pot, candle bowl for home, party and so on

Sold multiple mold for making Statues Mushrooms
Frequently Asked Questions
How do you make DIY garden mushrooms?
You have five main options. Vintage tin mushrooms use flea-market kitchen tins or measuring cups glued to driftwood sticks. Cement mushrooms pour a 1:2 cement-to-sand mix into oiled glassware or plastic molds. Faux dishware mushrooms stack plastic bowls and glue them with silicone caulk, adding concrete inside for weight. Terra cotta mushrooms flip drain plates over pots 3–5 inches wider. Thrifted glassware mushrooms pair curved vases with solar lights for glow at dusk.
What materials do I need for DIY mushroom decor?
Your list depends on the style. All builds need paint and sealer. Tin versions need vintage metal cups, driftwood, and marine epoxy. Cement needs Quikrete, sand, molds, and vegetable oil for release. Dishware builds need plastic bowls, GE GE500 Silicone 2+ caulk, and ballast like concrete or rebar. Terra cotta needs pots, drain plates, and sponge daubers for dots. Glassware adds solar stake lights and glass gems.
How do you seal painted garden mushrooms?
Use a waterproof clear paint-on or spray sealer, and cover every surface including interiors where water pools. One coat of outdoor lacquer works for sheltered spots; two coats if sprinkler spray hits the piece. Let each coat dry a full 24 hours before adding another or exposing to weather. Skipping this step lets water freeze beneath the paint and flake it off within one winter.