You can have a working balcony herb garden for the price of a few pots, bagged potting mix and 3–5 starter plants.
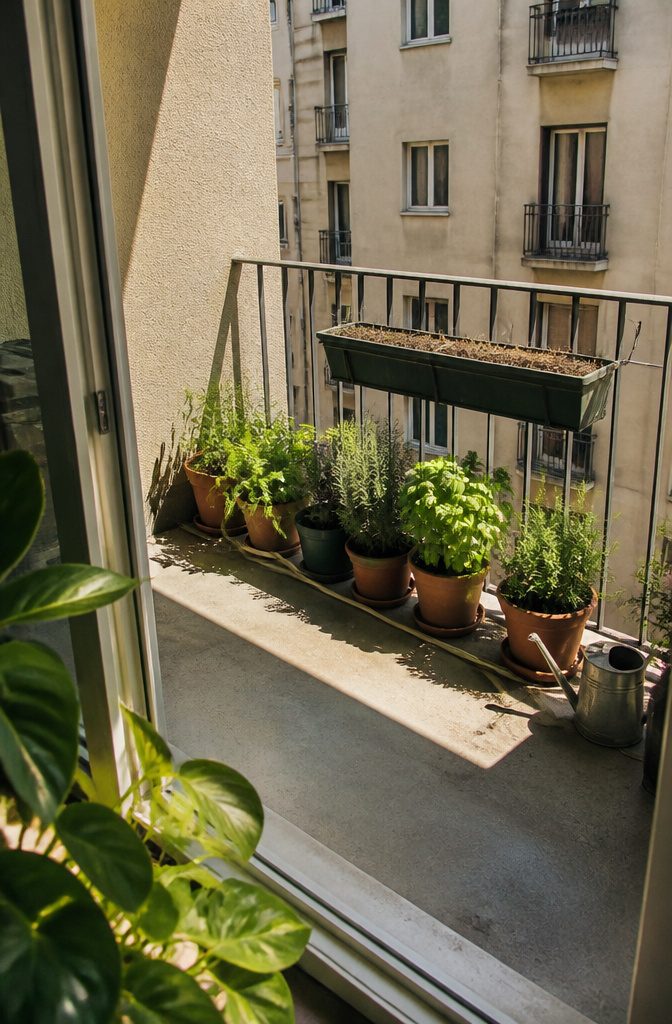
The stage people get wrong is light. Plan on 6 hours of direct sun; with less, stick to chives, parsley, mint, oregano and cilantro, and check the balcony at different times of day first.
1. Read Your Balcony’s Light
Sun numbers vary from page to page: 4–6 hours, at least 6, even 6–8.
I plan around 6 hours of direct sun, because it works for the most herbs and the lower figure only suits the forgiving ones. Under that, you’re picking shade-tolerant herbs like chives, parsley, mint, oregano and cilantro.
Facing matters.
North-facing balconies get about 2 hours at most, while east-facing ones catch sun from morning to early afternoon. Check the balcony at different times of day, since a neighbor’s balcony or a nearby building can steal hours.
Then look at wind and reflected heat.
A railing planter can dry twice as fast as a pot against the wall. Finally, measure the walk from your water source to the farthest pot.
2. Pick Herbs for Your Light
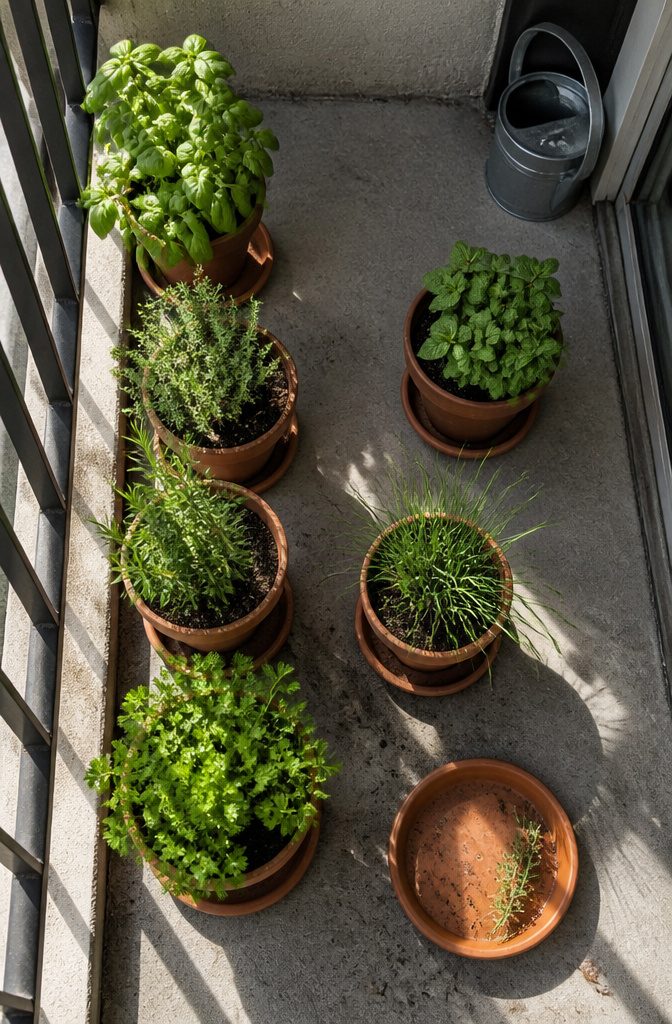
Basil, thyme, oregano and rosemary want the strongest sun your balcony offers, and they sulk without it.
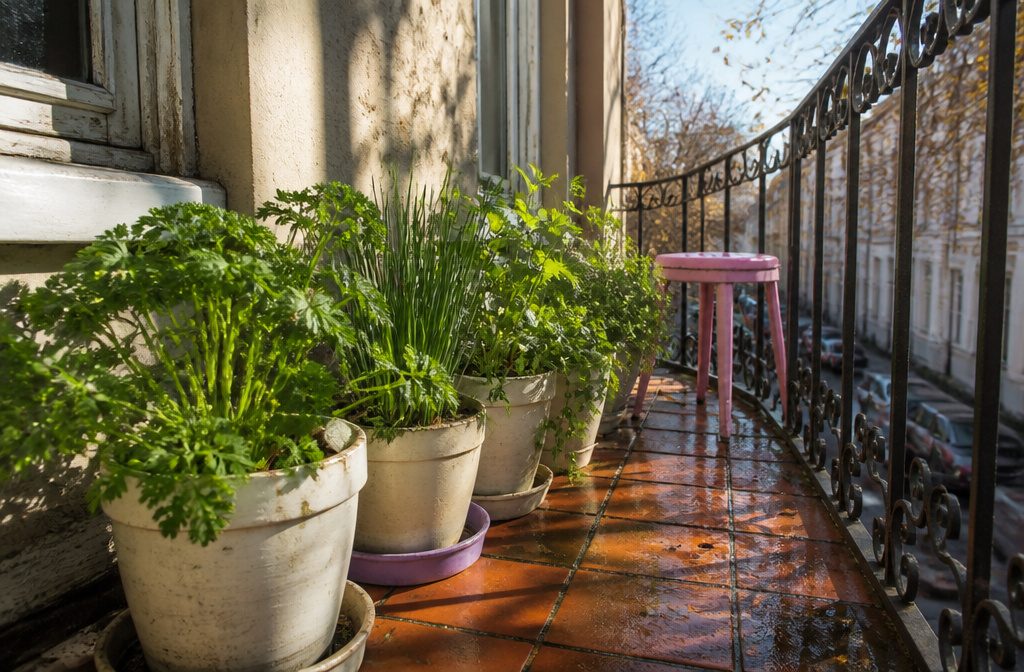
Parsley, chives, mint and cilantro put up with partial shade, which makes them the honest choice for a balcony hemmed in by a neighbor’s wall.
If your balcony doesn’t have good sun exposure, some herbs that grow well in partial shade include parsley, chervil, cilantro, and tarragon.
Pick from that shade list instead of forcing a sun lineup into a dim corner.
Start with three to five herbs, not a dozen.
That is enough to learn how fast your pots dry out without a watering chore you will drop by week two. Mint gets its own pot, always; I’d never share a planter with it.
3. Seeds or Starter Plants
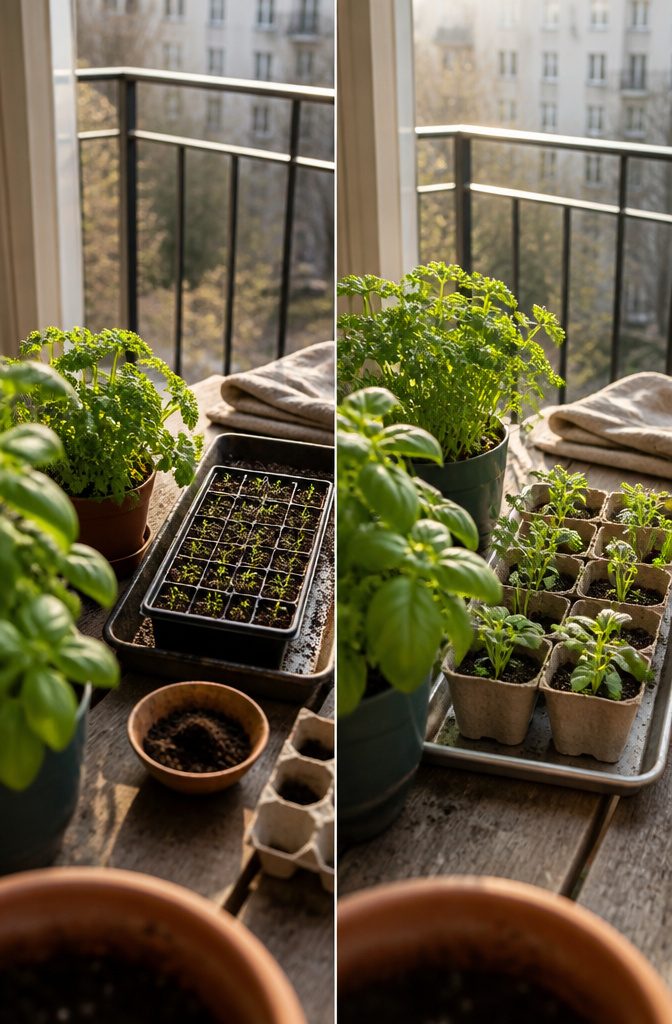
Starter plants are the easier route for a first balcony herb garden. They arrive already sprouted, so you can tell basil from parsley on sight, and you start harvesting weeks sooner than you would from a seed packet.
Seeds win on variety and cost.
A garden center shelf carries the usual handful of herbs, while a seed rack gives you far more choice. Mixing both works well: buy starters for the herbs you cook with weekly, and sow seeds for the odd ones.
Seeds that need an indoor start go into seed starting mix, not regular potting soil, because it is clean and free of weed seeds and fungus. It needs no fertilizer at first.
Egg cartons set in a baking tray work, but they are small and dry out fast, so seed trays are the better buy. Transplant once seedlings are sturdy.
4. Choose Containers and Drainage
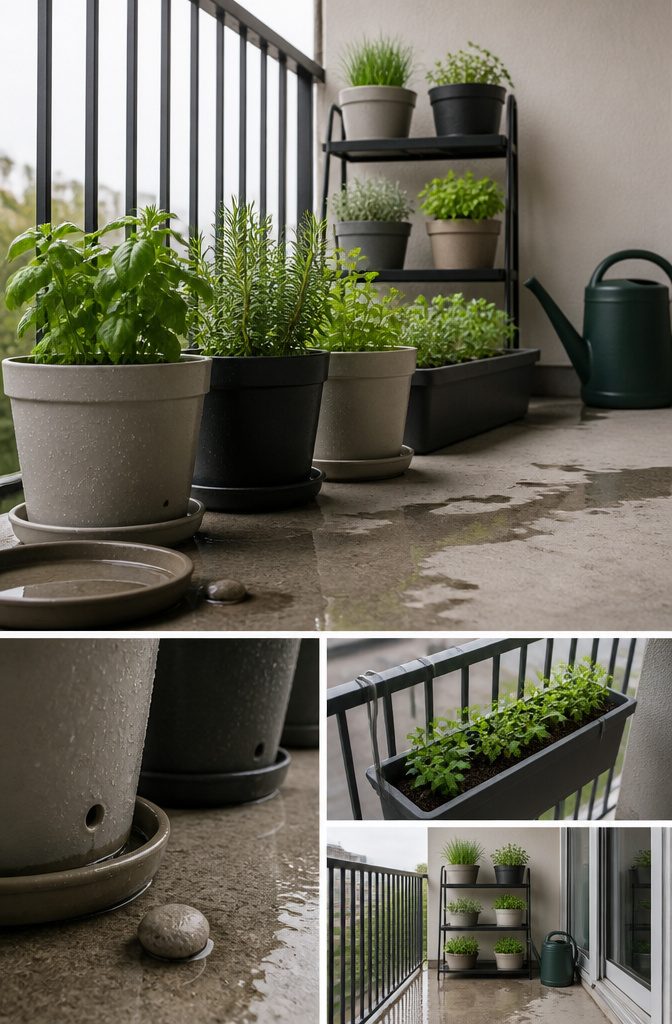
Containers around 8–12 inches wide are the easiest for a beginner, because more soil holds moisture longer and spares herbs the swing between soggy and bone dry.
Thin rail boxes dry out fast and tip more easily. Light plastic or resin beats clay on a balcony: you can slide it around, though on a windy one it needs securing.
Drainage holes are required. A mug, tin can or jug works once you’ve punched holes in the bottom.
If a pot has none, a layer of pebbles keeps roots from sitting in water, but water it off the wall and let it drain before rehanging.
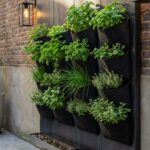
For walls, a trellis or picture hooks need screws and anchors, and aluminum takes pilot holes easily. Renters who can’t drill can use a freestanding tiered stand.
5. Fill and Plant
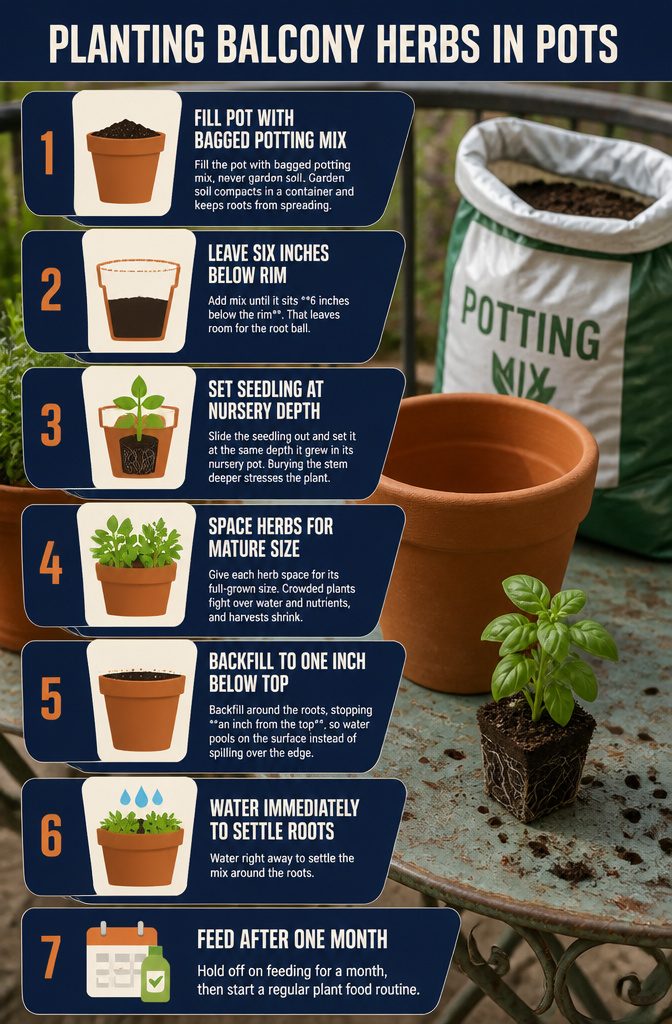
- Fill the pot with bagged potting mix, never garden soil. Garden soil compacts in a container and keeps roots from spreading.
- Add mix until it sits 6 inches below the rim. That leaves room for the root ball.
- Slide the seedling out and set it at the same depth it grew in its nursery pot. Burying the stem deeper stresses the plant.
- Give each herb space for its full-grown size. Crowded plants fight over water and nutrients, and harvests shrink.
- Backfill around the roots, stopping an inch from the top, so water pools on the surface instead of spilling over the edge.
- Water right away to settle the mix around the roots.
- Hold off on feeding for a month, then start a regular plant food routine.
6. Arrange Pots and Water
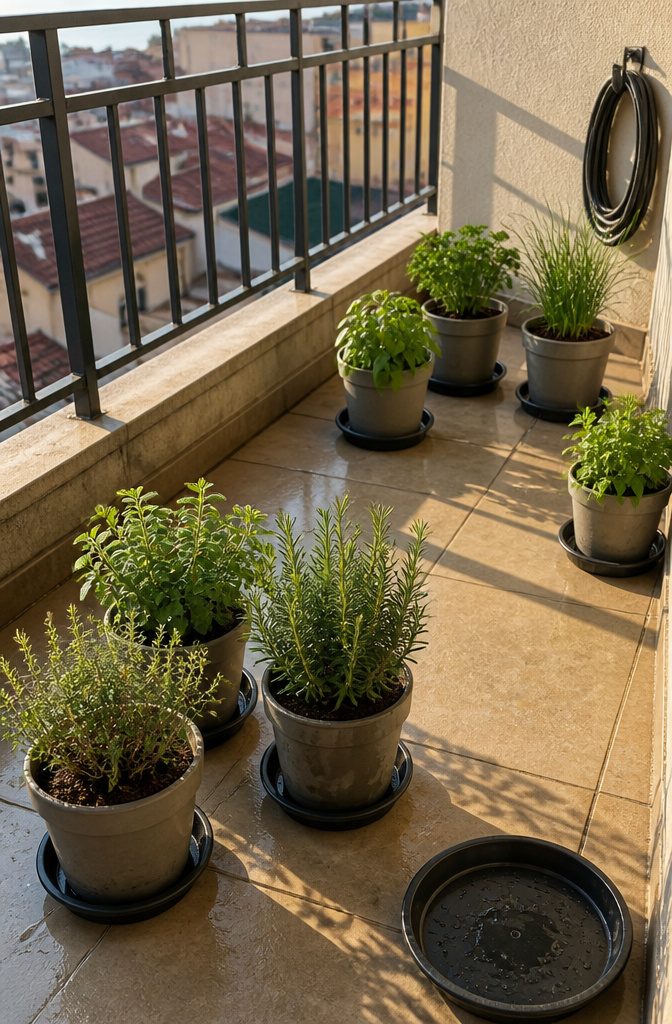
Put thyme, oregano and rosemary on the hot, sunny edge, where small pots dry out fastest. Basil, parsley and chives sit one step back in a bright spot with a little shelter.
Mint does better in a softer corner. Crowding the pots makes watering uneven, so leave gaps.
Water by touch, not by calendar.
Push a finger about an inch into the soil; if it feels dry, water. A hot, windy balcony can need water up to twice a day, and light pots there tip easily, so go heavier.
Set trays under the pots to catch overflow, and empty them before water sits.
If you tire of the routine, 1/4-inch drip lines with emitters every 6 inches will do the job.
7. Maintain, Protect and Harvest
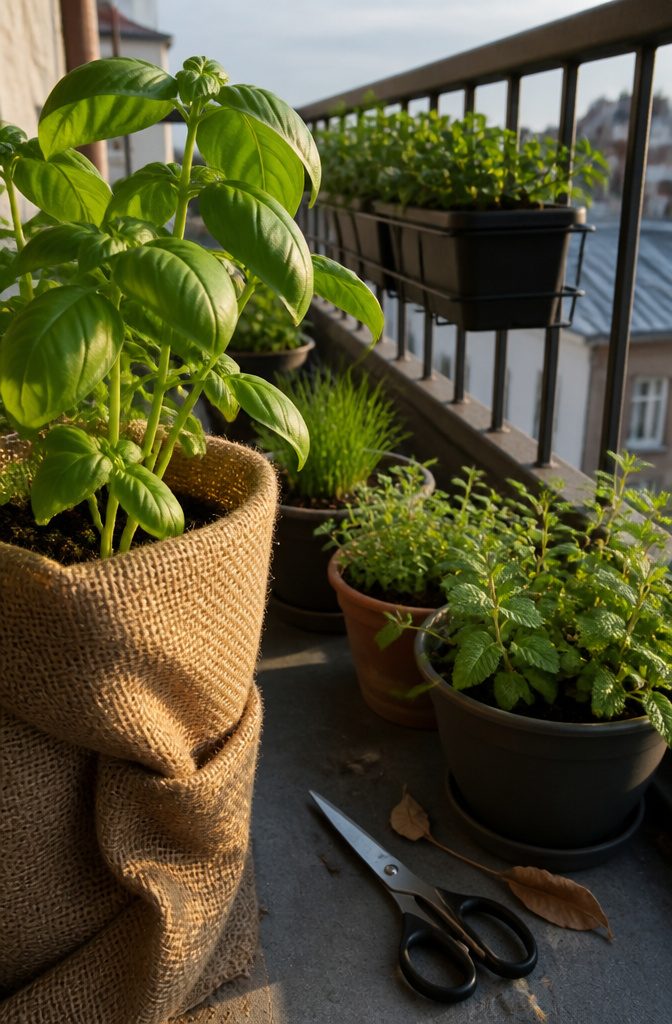
Harvest in the morning, after the dew dries but before the day’s heat, when the oils in the leaves are most concentrated.
Cut just above a leaf node with scissors or pinch with your fingers, and never take more than one-third of a plant at once. Light, regular picking keeps new leaves coming all season.
Each herb has its own habit. On basil, snip from the top, not the bottom.
Oregano and mint can be snipped anywhere on the plant. Chives can be cut right down to the soil.
Check leaves for pests every few days, since birds, rodents and insects find balconies anyway.
Fasten every pot to something stable so wind can’t knock it onto people below. In cold snaps, group pots together, wrap them in burlap and bring tender ones inside.
Check Rules and Weight Limits
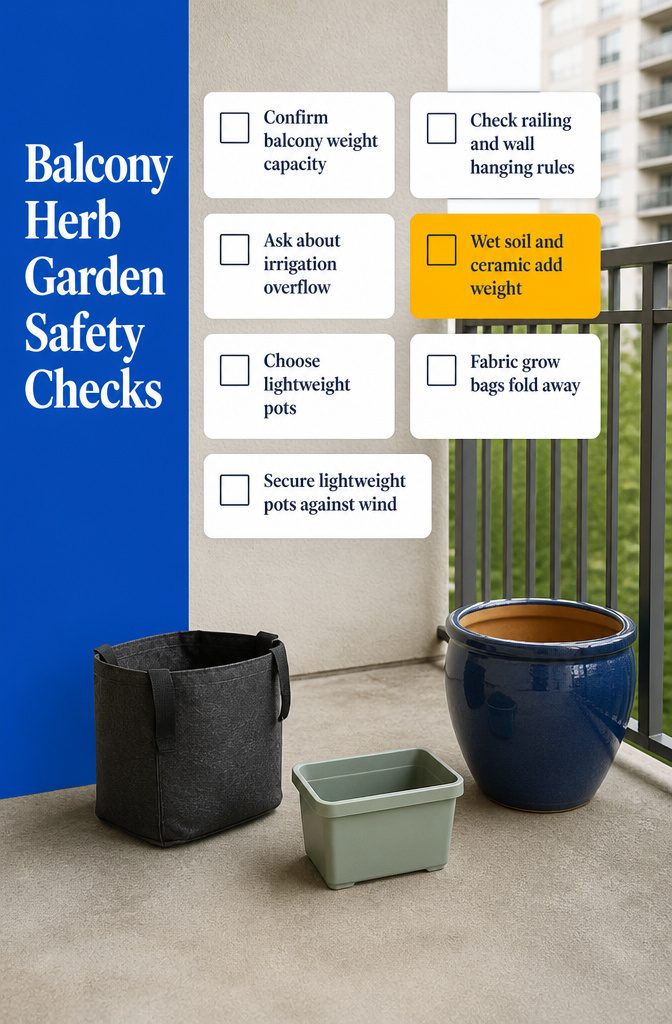
Before buying anything heavier than a few small pots, get answers on these points:
- Ask the building manager how much weight your balcony can safely hold. If the balcony is attached to your home, that number matters more than any décor idea.
- Check what you may hang from railings and walls. Some buildings restrict it outright.
- Ask about irrigation, too. Overflow from watering can flood the balcony or rain down on the neighbors below.
- Count the weight you can’t see: wet soil and large ceramic pots add up quickly, and terracotta is heavy even when it looks small.
- Choose plastic, resin, aluminum, or fiberglass pots. Herbs stay small, so lightweight containers fit them fine.
- Try fabric grow bags, which are light and fold away after the season.
- Keep big pots to a minimum, and stand lightweight ones against a wall or secure them, since plastic tips over in wind.
Soil and Fertilizer Mix
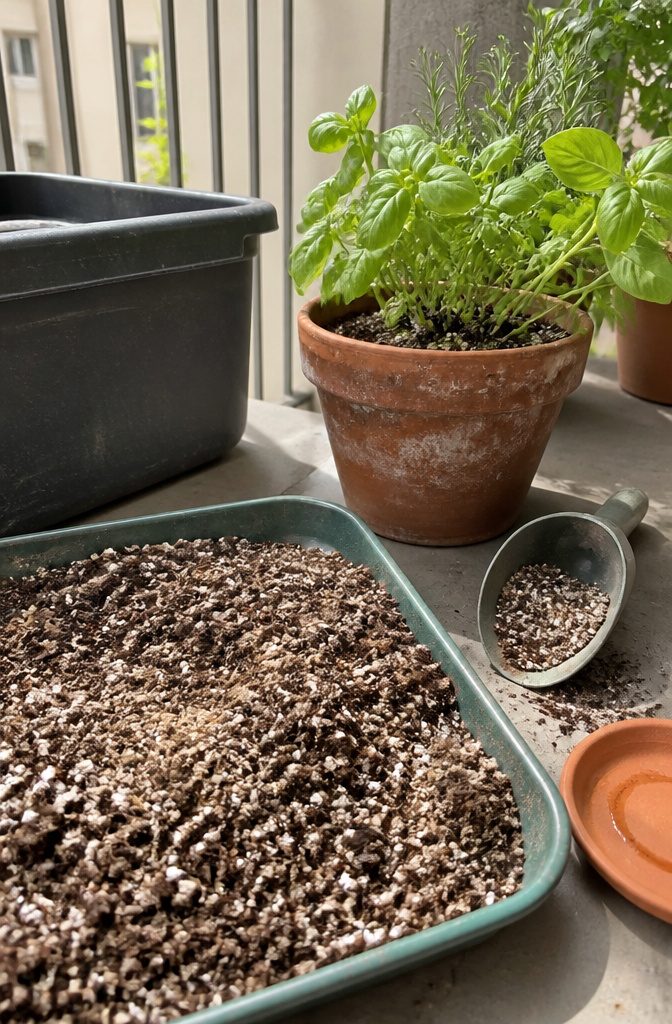
A balcony herb garden does best in a mix that drains fast, and herbs like it on the drier, coarser side.
A 1:1:1 blend of compost, peat and perlite (or sand) gets there: the compost holds some nutrients, the peat holds moisture, and the perlite keeps the mix from packing down.
Peat does compact over a year, so plan on topping it up. If you’d rather skip mixing, Nature’s Care Organic & Natural Potting Mix works straight from the bag.
Potting mix runs out of nutrients. Start feeding one month after planting, then feed monthly with a soluble food.
Nature’s Care Organic & Natural Vegetable, Fruit & Flower Food is the organic route. For fast leafy growth, Miracle-Gro 24-8-16 is high in nitrogen and shows results within 1–2 weeks.
Balcony Herb Kits
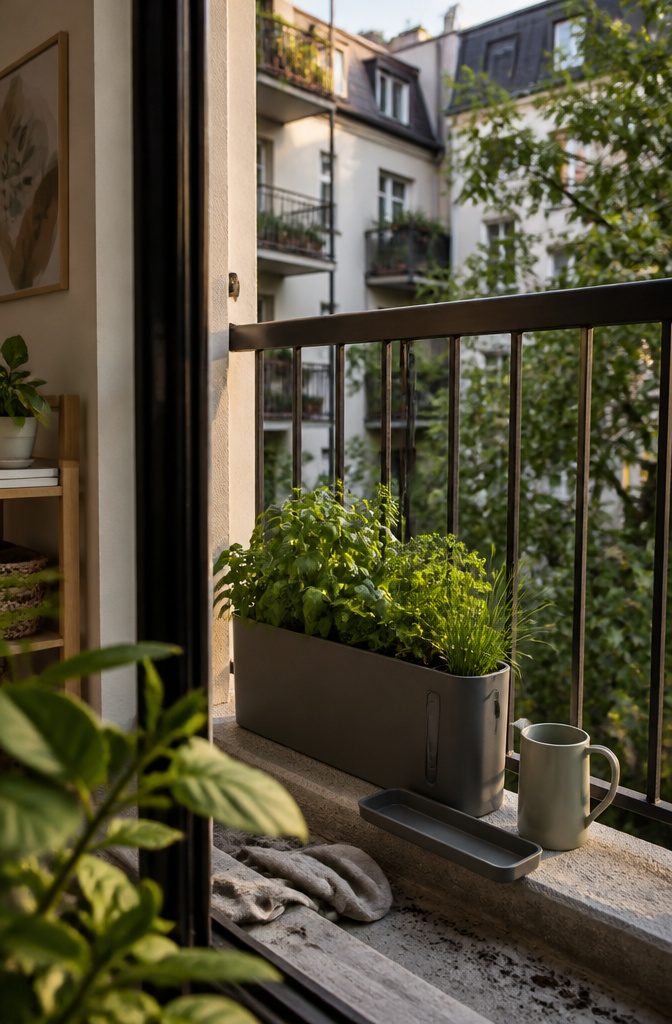
Kits come in four styles: modern minimalist planters, rustic wooden boxes, colorful ceramic pots and self-watering sets.
Pick by how much you want to think about watering. For a first balcony herb garden, self-watering wins, because it forgives the missed day that kills most beginner basil.
A kit puts the planter and the other pieces you would otherwise hunt down one at a time in a single box. That saves a lot of weekend errands, and it suits busy people.
The cost is choice. You take the kit’s container size and look, and a ceramic set will look better than it performs if you wanted something bigger.
Building your own setup gives you control over every piece, but it means sourcing each item yourself. I’d buy a kit first, then add to it.
Frequently Asked Questions
How much sun does a balcony herb garden need?
Plan on 6 hours of direct sun.
Sources range from 4–6 up to 6–8 hours, but 6 suits the most herbs, and the lower figure only works for forgiving ones. With less, stick to chives, parsley, mint, oregano and cilantro.
How do I start a balcony herb garden as a beginner?
Check how much sun your balcony gets, then start with 3–5 herbs in pots 8–12 inches wide with drainage holes.
Fill them with bagged potting mix, not garden soil. A small setup is enough to learn how quickly your pots dry out without creating a watering chore you’ll abandon.
What herbs are easiest on a beginner balcony?
Basil, parsley, chives, thyme, oregano and mint are reliable first picks when matched to your light. Basil, thyme, oregano and rosemary need the strongest sun, while parsley, chives, mint and cilantro tolerate partial shade.
Should balcony herbs share one big planter?
One herb per pot is easier for beginners, since watering and pruning stay simple.
Mint should always get its own pot. Herbs with similar light and water needs can share a container if you want to save space.
How often do balcony herbs need water?
Water when the soil feels dry an inch down, not on a fixed schedule.
A hot, windy balcony can need water up to twice a day. Pot size, herb type and weather all change the rhythm.
Are railing planters good for herbs?
They can work, but thin rail boxes dry out fast and tip more easily.
Roots also take more heat and wind there. Deeper pots 8–12 inches wide hold moisture longer, and anything on a railing should be fastened down.
What is the best layout for a small balcony herb garden?
Group herbs by sun and drying speed.
Put thyme, oregano and rosemary on the hot, sunny edge, basil, parsley and chives one step back, and mint in a softer corner. Leave gaps between pots so watering stays even.