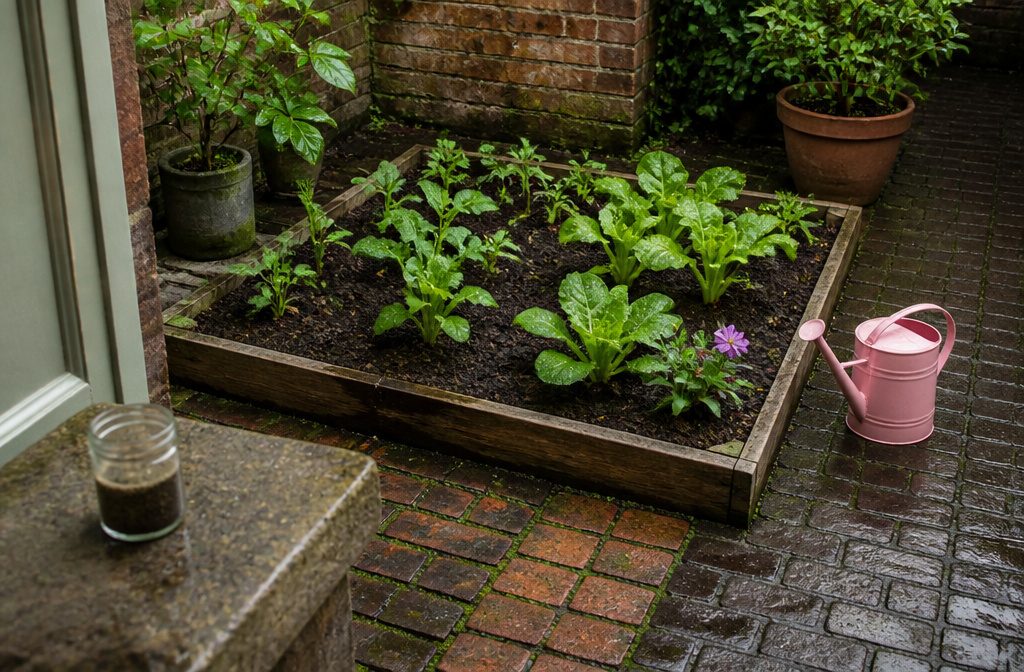
A first garden of 50–75 square feet, about 7×8 feet, takes a few weekends and some compost, and most people get the size wrong by starting far bigger.
The four-bed, 450-square-foot plan means a month of weekends and a real lumber bill. Test the soil first, though: lead above 400 ppm makes the ground unsafe to plant.
1. Decide What to Grow
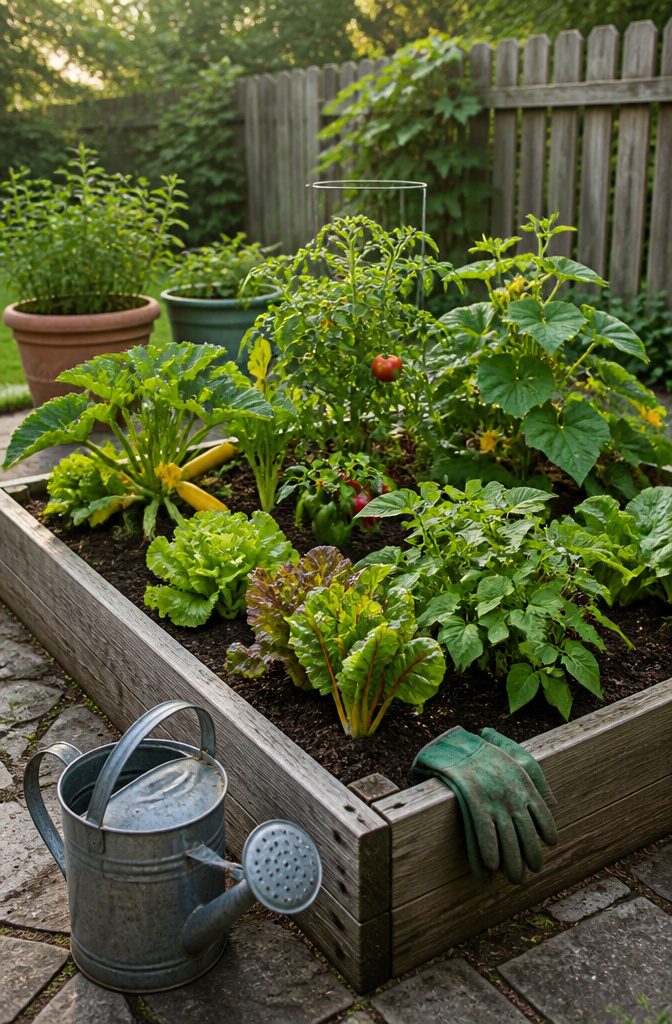
Start with 50–75 square feet, roughly a 7×8 foot plot, and grow what you already like to eat. Tomatoes, bush beans, cucumbers, peppers, lettuce, summer squash and chard are the easy ones, and they cost the most at the store.
For a first garden I’d pick regular beds or raised beds and skip rows, which only pay off if you plan to sell the harvest.
Raised beds start at 4×4 feet, and they win on rocky, soggy or new-build soil. Renters or anyone with only a patio should use containers.
Hugelkultur saves watering later, but the upfront work is heavy.
Keyhole beds waste less ground on paths, though they take more design. Save both for year two.
2. Pick the Timing and Site
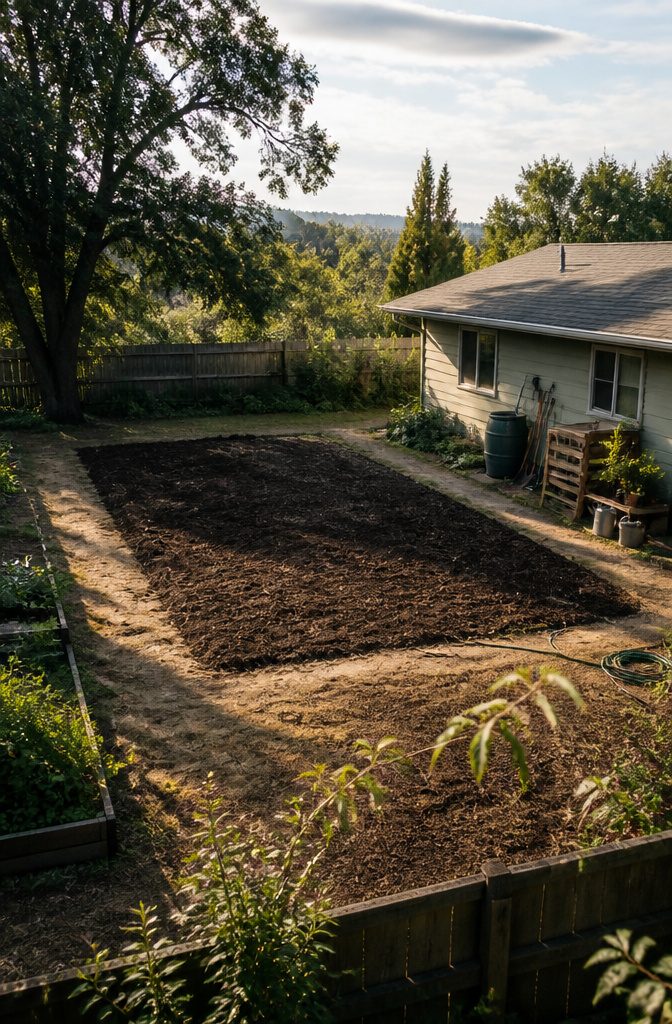
Plan in spring or summer, then start building beds in late summer or early fall.
Smother the lawn with mulch or compost and the grass breaks down over winter, so you skip the digging. Digging out sod by hand is slow work, and time does it for free.
Pick a spot that gets 6 or more hours of direct sun, sits close to the house, and has water and tool storage nearby.
Check that the ground is level, drains, and isn’t a wind tunnel, and leave room for paths to reach every part of the bed.
Sketch the fixed features first: patio, big tree, fence. Then watch the sun through one full day before you commit, because corners can bake while other spots stay shaded.
Most vegetables stall until night temperatures stay above 45°F, so hold off planting until then.
3. Set the Size and Protect It
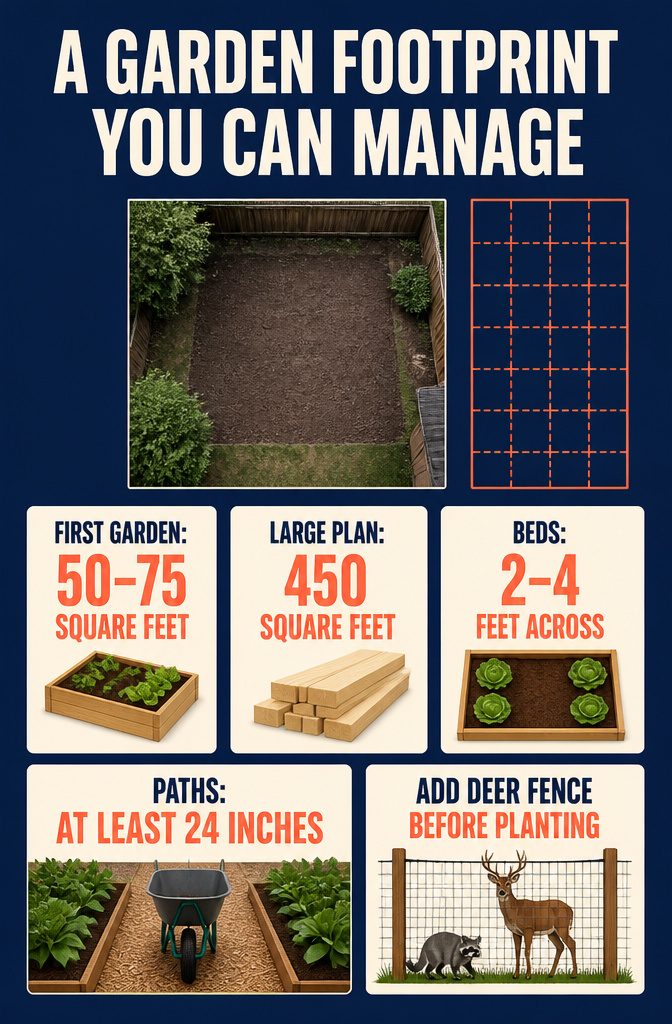
A first garden of 50–75 square feet is the one I’d build.
The larger plan, four 3×10 foot beds with 3–4 foot paths inside a 15×30 foot plot, is 450 square feet of ground to dig, fill and weed. That is a month of weekends and a real lumber bill, not one Saturday.
Whatever the footprint, you have to reach the middle.
Beds can be 2–4 feet across, and 4 feet only works if you can lean in from both sides. Keep paths at least 24 inches wide; narrower and a wheelbarrow stalls.
Before you buy a single board, find out who visits your yard. Deer, groundhogs and raccoons all eat vegetables, and a fence is far cheaper to add on day one than after your lettuce is gone.
4. Prepare the Soil and Beds
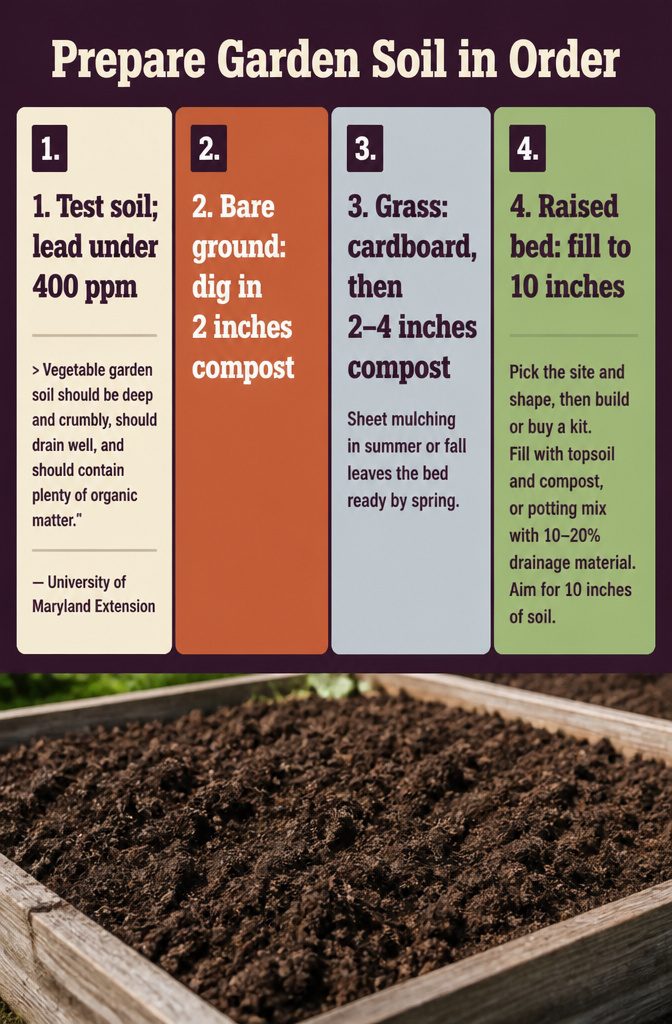
- Test the soil first. A lab or extension test reports nutrient levels and pH, and it tells you whether the ground is safe to plant in: lead under 400 ppm.
Vegetable garden soil should be deep and crumbly, should drain well, and should contain plenty of organic matter.
That is the target for every step below.
- On bare ground, spread at least 2 inches of compost and dig it in.
- Over grass, skip the digging. Lay cardboard or newspaper, then cover it with 2–4 inches of compost. Sheet mulching in summer or fall leaves the bed ready by spring.
- For raised beds, pick the site and shape, then build or buy a kit. Fill with topsoil and compost, or potting mix with 10–20% drainage material. Aim for 10 inches of soil.
5. Plant With Proper Spacing
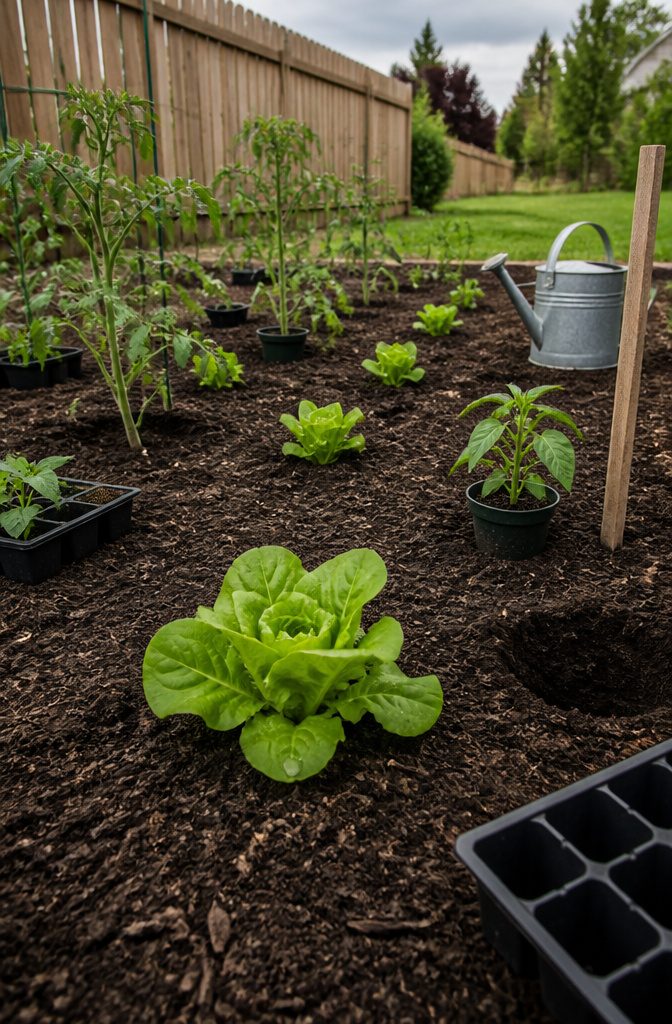
- Check whether each crop is best direct-seeded or started indoors to transplant size. If you buy seedlings, pass on any with roots circling the bottom of the pot.
- Harden off indoor-grown transplants by exposing them gradually to outdoor temperatures, light, and wind.
- Set every plant on top of the soil first. Leave room for mature spread, which is printed on the plant label, and put tall crops on the north and west sides so they don’t shade short ones.
- Group crops by season and days to maturity. Lettuce can give way to a late-season crop after harvest.
- Dig each hole twice the pot’s width. Loosen dense, potbound roots, backfill without air pockets, and tamp with a fist.
- Water well, ideally on a cloudy, calm afternoon.
6. Care for the Garden
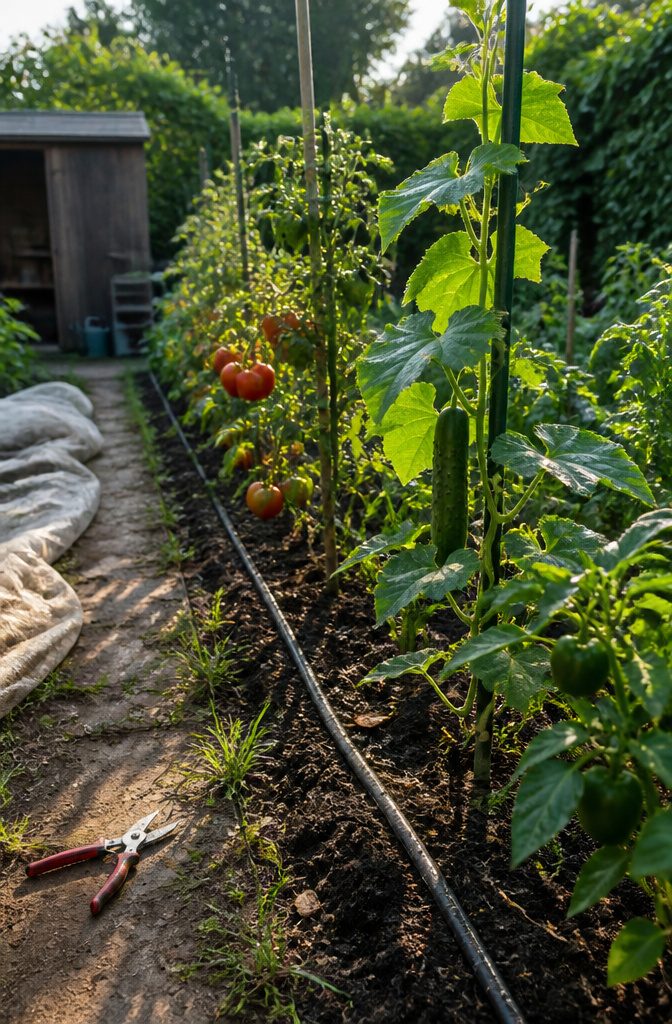
Water deeply at the base of each plant, in the morning, and less often once plants mature.
Seedlings and new transplants are the exception: they need frequent, shallow watering. A soaker hose or drip line puts the water where the roots are and wastes less of it.
Feed the soil, not the plant.
Spread about half an inch of compost over the bed each year and skip the digging, which tears up the fungal threads that do the feeding. Mulch also holds back weeds, so pull the first ones the day they show.
Stake tomatoes, peppers and cucumbers early. Walk the beds often, watch for pests, and cover tender crops when cold threatens.
Through the first and second seasons, fill gaps, move what struggles, then harvest.
Raised Beds, Containers or In-Ground
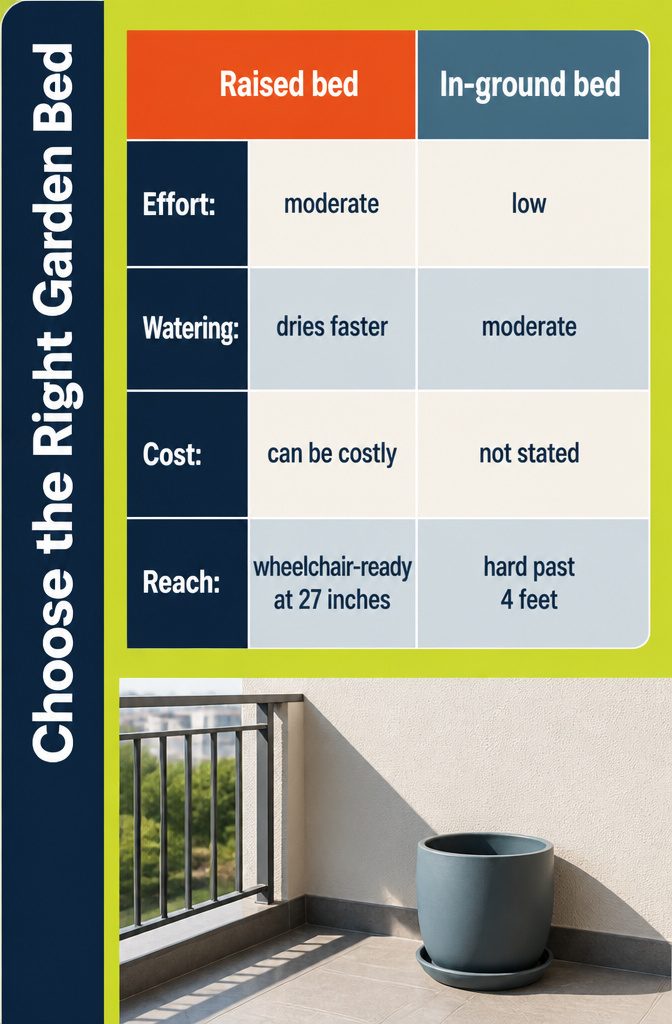
Raised beds or regular in-ground beds win for a first garden.
Containers suit a renter with a balcony, but rows only make sense if you plan to sell the harvest. Any bed wider than 4 feet is too wide to reach the middle without stepping on the soil.
Raised beds warm up fast in spring and see fewer frost problems, but they dry out quickly and cost more to build. At 27 inches tall, they work for wheelchair users.
| Option | Upfront effort | Watering | Main drawback |
|---|---|---|---|
| Raised bed | Moderate | Dries faster | Can be costly |
| In-ground bed | Low | Moderate | Hard to reach the middle past 4 feet |
| Rows | Low | n/a | Wastes space, invites pests |
| Hugelkultur | High | Much less | Needs lots of wood, looks messy |
| Keyhole | Moderate | n/a | Harder to design |
Compost and No-Dig Care
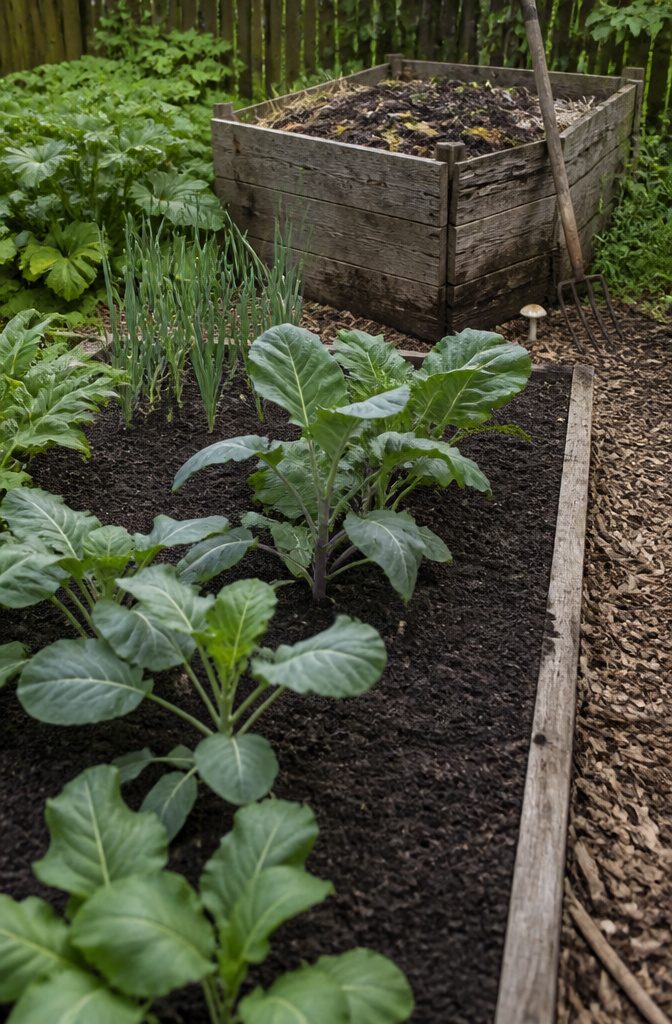
Plants do not eat what you scatter on the ground. About 90% of land plants partner with underground fungi, and those thread-like networks process the nutrients and trade them to the plant for sugars.
Feed the fungi and the plants follow, which is why I almost never think about NPK (nitrogen, phosphorus, potassium) beyond a struggling plant or fruiting tomatoes.
Compost is the feed.
Spread about half an inch on the surface each year once a no-dig bed is established; nothing gets forked in. Digging tears the fungal threads, so skipping it saves your back and protects the soil.
Cold composting is the lazy route: pile garden waste, leave it, and expect usable compost in about a year.
Wildlife and Pest Balance
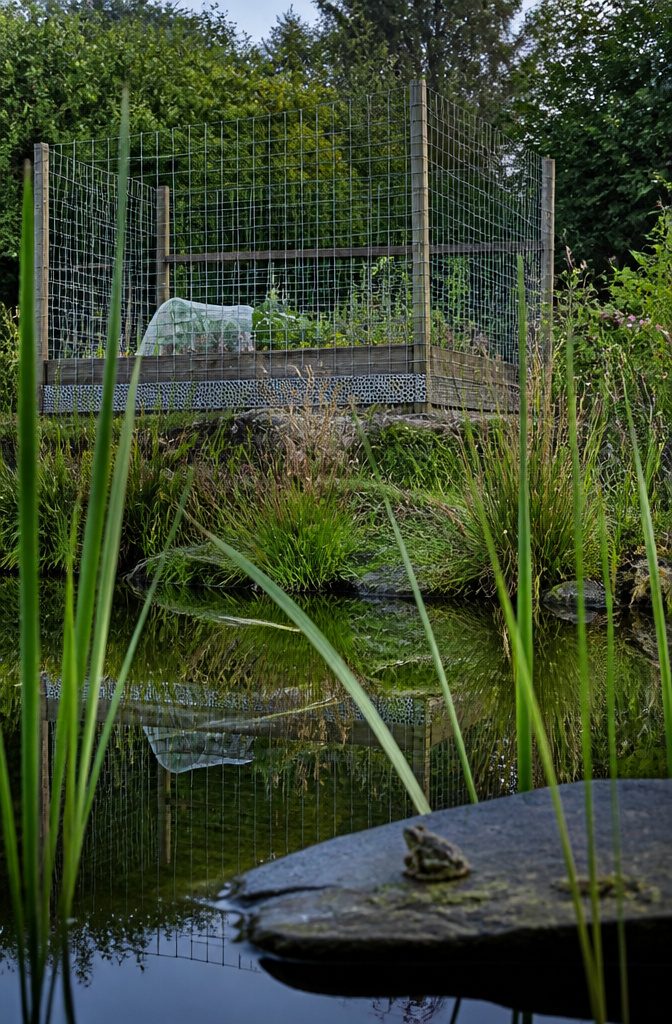
Watch your yard for a week or two before you buy any fencing, because the animals that visit decide what you build.
- Fence where the damage is serious. Deer and rabbits will eat a garden to the ground when predators don’t keep them moving. Fence the garden itself, not the whole property; a small bed also costs less to enclose.
- Make the deer fence tall, and dig galvanized steel mesh into the ground along the bottom to stop rabbits.
- Line raised beds with galvanized wire to keep out moles and groundhogs.
- Net crops to keep birds and insects off without harming them.
- Skip poisons and traps. They travel up the food chain.
- Add a small pond; frogs eat slugs and insects.
- Plant natives and leave wild patches so hawks, owls and coyotes keep voles in check.
Zones and Long-Term Design
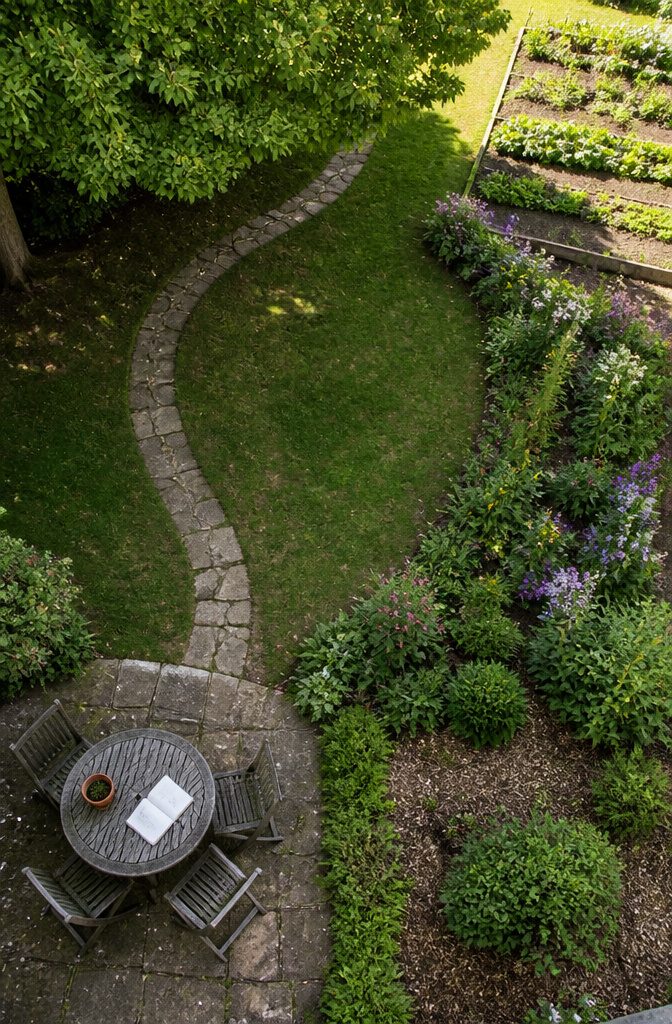
A notebook sketch is enough to start: rough boxes for the main areas, with anything you can’t move, like a patio or a large tree, marked first. It doesn’t need to be to scale.
Then watch where the sun goes. A patio can be bright in the morning and never warm, while corners at the far end bake and the whole yard sits in shade by about 5pm.
Mark sun and shade on the sketch before you buy a single plant, because labels say "full sun" or "part shade" and you’ll need to match them.
Assign each zone a use, do any hard landscaping first, and hold off on permanent choices. Plants follow sun, soil and water: blueberries want acid soil, so they don’t belong in a bed that can’t give it.
In a flower border, repeat a few plants along its length and leave gaps for self-seeders.
Frequently Asked Questions
How do I start my own garden at home?
Start small, with 50–75 square feet, and grow vegetables you already like to eat.
Pick a spot with 6 or more hours of direct sun, test the soil, then build a bed with compost. Plant once night temperatures stay above 45°F.
How do you keep weeds out of a garden?
Cover the soil with mulch and pull weeds the day they appear.
Mulch blocks light so fewer seeds sprout, and small weeds come out easily. A no-dig approach also helps, since digging brings buried weed seeds to the surface.
How do you plant a plant?
Dig a hole twice as wide as the pot, loosen any dense or circling roots, and set the plant in.
Backfill without air pockets, tamp lightly with a fist, and water well. A cloudy, calm afternoon is the easiest time on the plant.