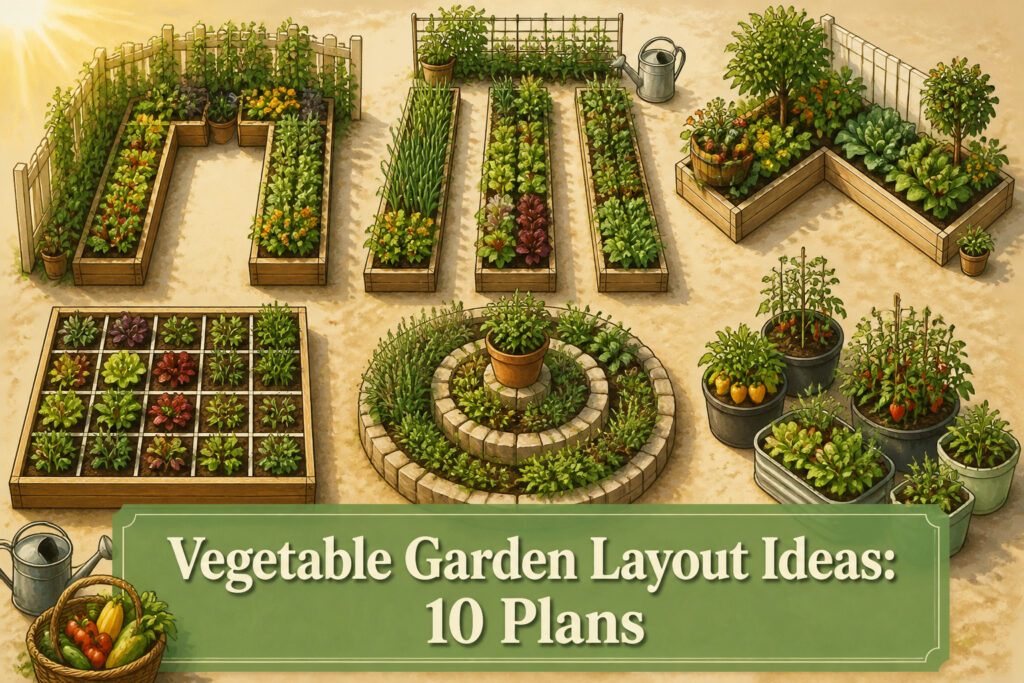
Vegetable garden layout ideas are plans for arranging crops in beds, rows, or containers so plants get light and you can reach them without stepping on soil. The catch is that no single layout works for every yard: a U-shaped bed against a fence solves the same access problem that an L-shaped corner fixes in a pie-slice lot, and choosing wrong means fighting shade or compacting the ground you just loosened. The article below details ten specific plans, including the 4×4-foot grid of square foot gardening and the 30-inch minimum path width that keeps a wheelbarrow from scraping your tomatoes.
Block Gardening
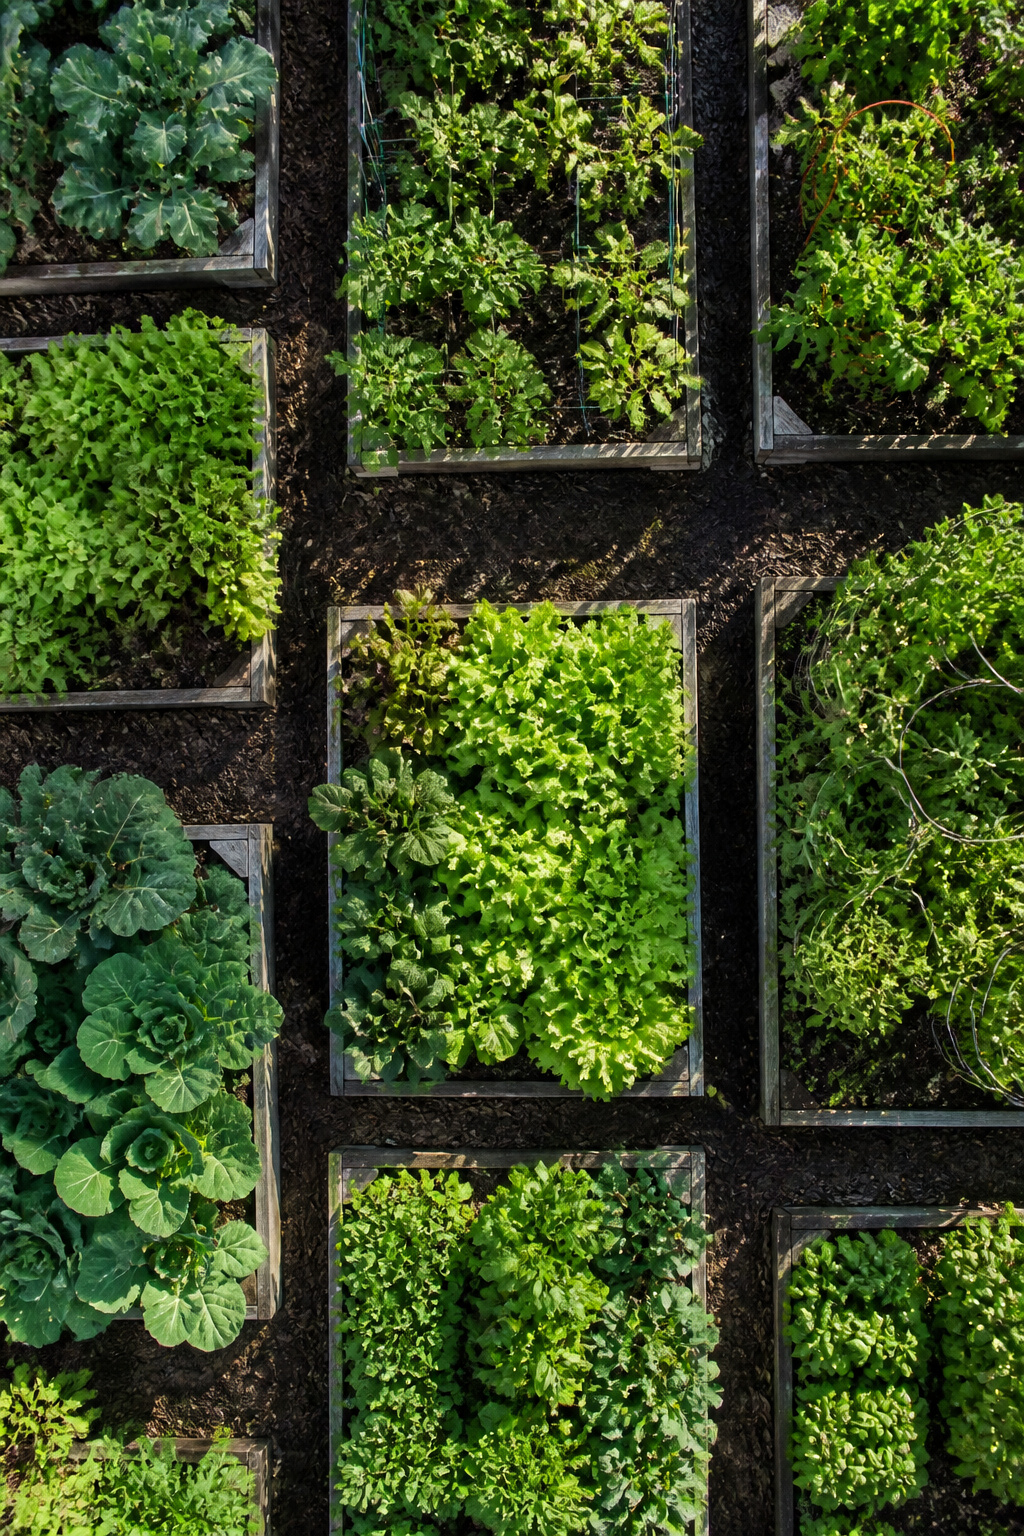
Block gardening swaps the long single rows your grandmother probably used for compact rectangles, usually 3 to 4 feet across, that let you pack far more food into the same footprint. I came to it after watching half my row-planted tomatoes drown in weeds while the bare dirt between them baked hard as concrete. In a block, plants fill that wasted aisle space from every direction, shading the soil so weeds struggle and moisture stays put longer.
The spacing still matters. Seed packets give you the distance each plant needs from its neighbors, and in a block you apply that in both directions rather than only across a row. Equal spacing on all sides keeps air moving so disease does not build in the crowded center. I treat blocks as intensive beds: if my packet says 12 inches for peppers, I mark a grid of 12-inch centers both ways and fill the rectangle until I run out of plants or room.
This method shines in raised beds, where the soil is already loose enough for roots to spread sideways instead of diving deep. Leafy greens, bush beans, and determinate tomatoes respond well; they do not need the long corridor a row provides for cultivation or harvest. Vining crops still want a trellis at the block’s edge, not the middle, or they shade everything behind them by July.

WATER EVERY PLANT, NOT JUST EMITTER SPOTS: Each of the 8 squares delivers 16 streams for even, soil-level irrigation around plants. This raised garden bed watering system prevents dry spots and removes guesswork laying drip line & positioning emitters.

HELPING YOU GARDEN BETTER: Get ready for a huge harvest from your vegetable garden! Inspired by the Square Foot Gardening method, our patented seed-spacing template is fun for all ages and experience levels.

DON’T RISK A SMALL HARVEST Avoid the frustration of low yields caused by overcrowded or poorly spaced plants. Inspired by Square Foot Gardening, Seed Spacer Tool prevents spacing mistakes that hold your garden back — giving you the big, healthy harvest you deserve.
Square Foot Gardening
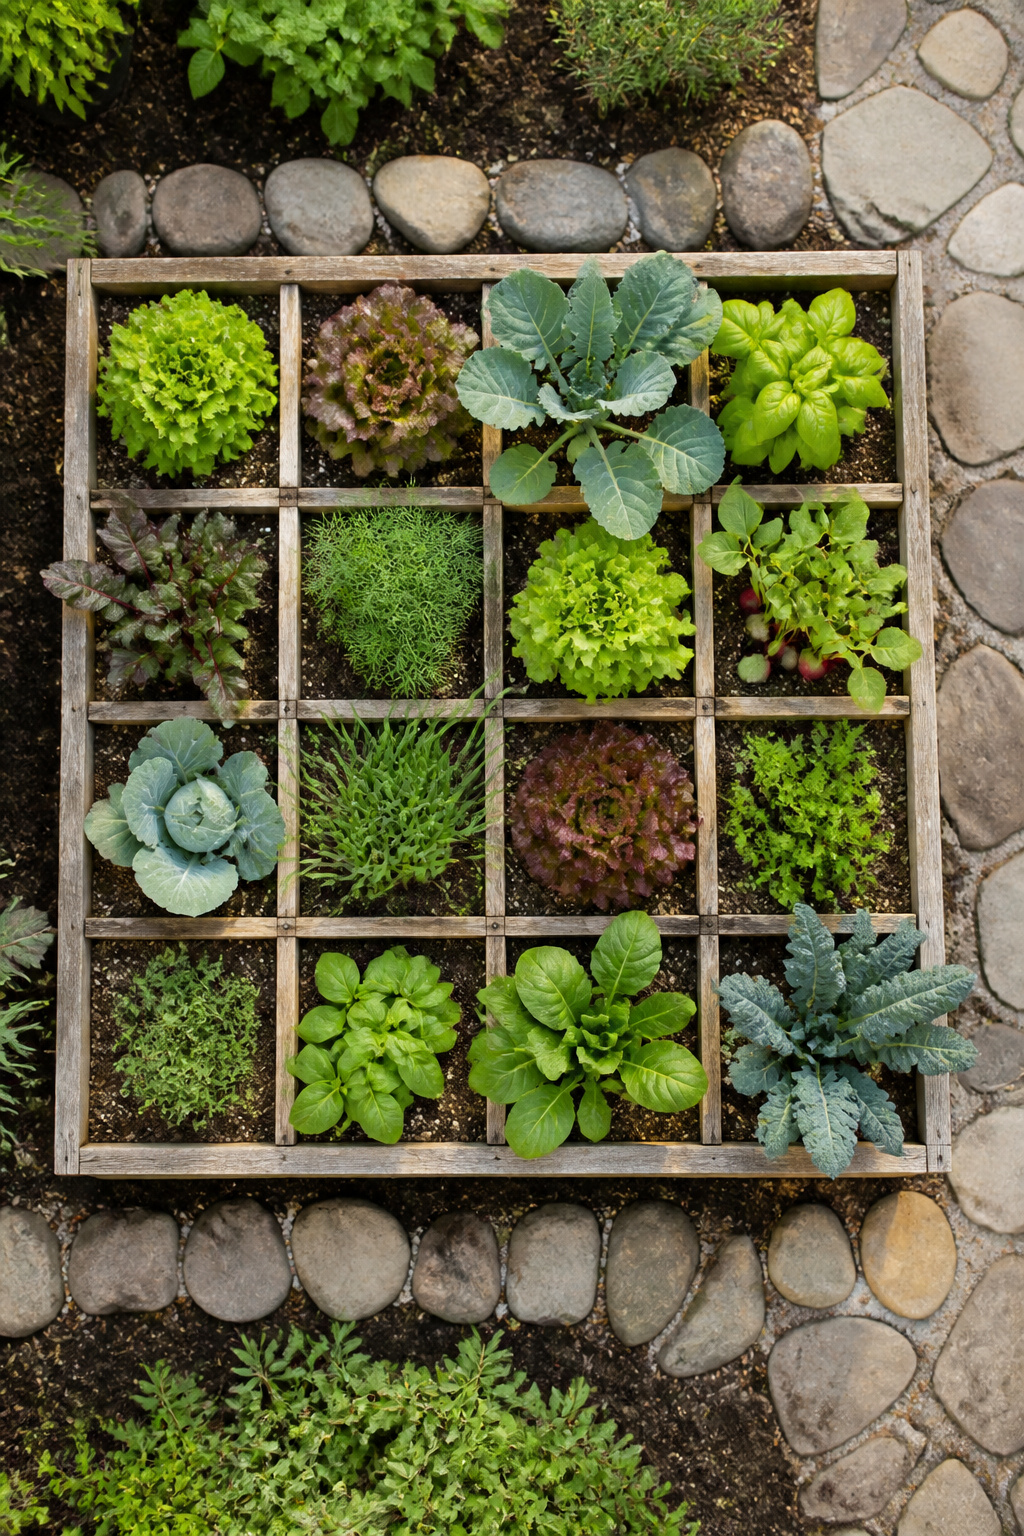
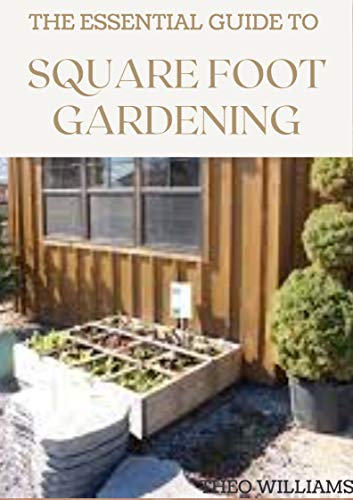
Square foot gardening turns a raised bed into a neat grid of 16 one-foot squares, each planted with its own crop. A 4×4 foot bed is the standard starting size; it is small enough to reach the center from any side, so you never step on the soil and compact it.
The grid itself can be string tied to stakes, thin wood strips, or whatever keeps the lines straight and visible. One vegetable type goes in each square, and the seed packet tells you how many plants fit. A crop needing 3 inches of spacing gives you 16 plants in that square, four rows of four. A crop needing more space, like 6 inches, drops the count to four.
Beginners gravitate toward this method because the math is built in. You are not estimating row spacing across a whole bed; you are filling discrete boxes, and the limits keep you from overcrowding. Labeling each square takes seconds, so you do not lose track of what you planted where, and the small scale means a single weekend of setup and planting.

Scientific Design: Bottom Water Reservoir and Air hole circulation system that provides ample moisture to the plants. This reservoir acts as a constant water source and oxygen, promoting healthy root development and overall plant vitality.
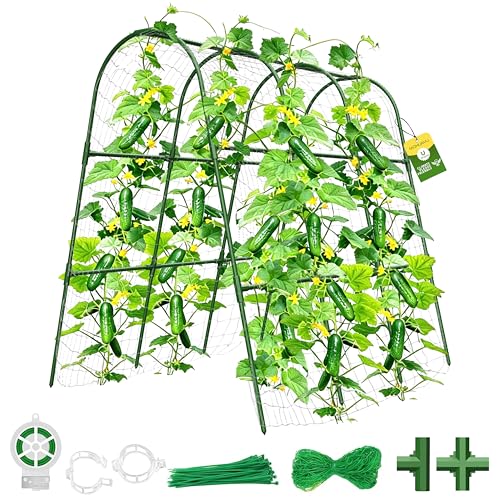
【U-Shape Stability Structure 】 U-frame trellis is more stable than A-frame trellis. Allowing you to plant a row on both sides. The arch design maximizes the garden space.

【U-Shape Stability Structure 】 U-frame trellis is more stable than A-frame trellis. Allowing you to plant a row on both sides. The arch design maximizes the garden space.
Raised Bed Gardening
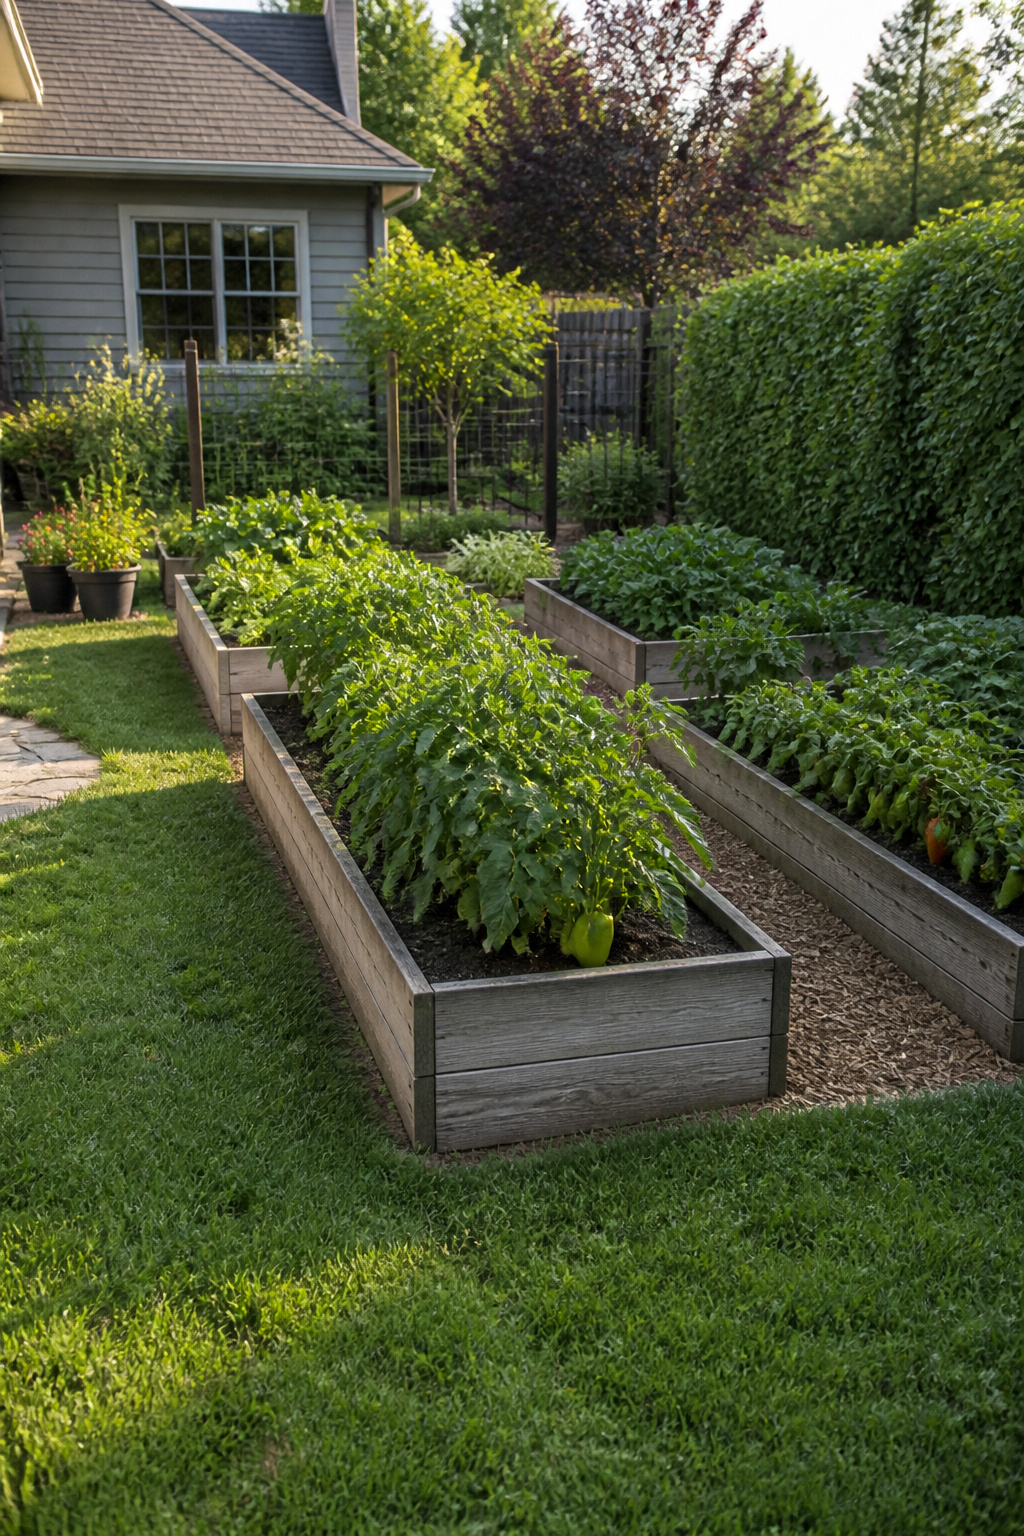
Raised beds solve problems you might not realize you have until you are kneeling in compacted clay, pulling the same dandelion for the third time. The soil inside stays loose and drains faster than ground-level dirt, and the framed edge blocks at least some of the grass that wants to march in from the lawn.
Keep the bed no wider than four feet if you want to reach the center without stepping onto the soil. That foot placement matters more than it sounds; every time you compress the bed by standing in it, you undo the loose structure that lets roots spread. I have seen gardeners build six-foot beds and then spend years leaning and straining, or worse, hopping inside to thin seedlings and packing the center down again.
Materials are a judgment call based on budget and how long you plan to stay in one place. Cedar or redwood lasts longer than pine but costs more up front. Composite lumber saves the rot problem entirely. Height is where personal need enters: six to eight inches is functional for drainage and warming soil early, but sixteen inches gives you a place to sit and saves your back if that matters to you.
Filling strategy is where first-timers stumble. A deep bed packed entirely with purchased garden soil gets expensive fast. The lower half can be logs, branches, and unfinished compost that will break down over seasons, with quality soil and compost layered on top for the actual root zone.
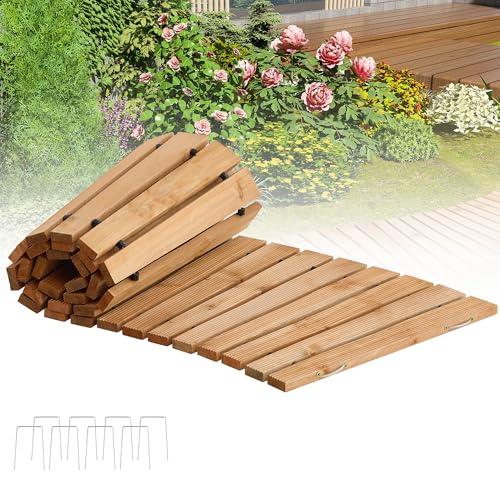
VERSATILE DESIGN: Roll-out wooden walkway that can be laid in curved or straight configurations for garden paths, beach access, or special event walkways

24Ft Large Size: this garden walkway is about 24 ft/ 7.3 meter long, 17 inches/ 0.43 meter wide, and 0.59 inch/ 1.5 cm thick, whether winding through flower beds or leading to a cozy patio, our walkways provide ample coverage

【Practical 8FT Wooden Pathway】The pathway measures:8ft(L)×17inch(W), to be a nice rustic paver decoration of your garden, and flexible enough to fit any ground,such as sandy beaches, gravel roads, grassy lawn etc. It can help keep your feet clean and dry away from dirt, grass, and sands.
Vertical Gardening
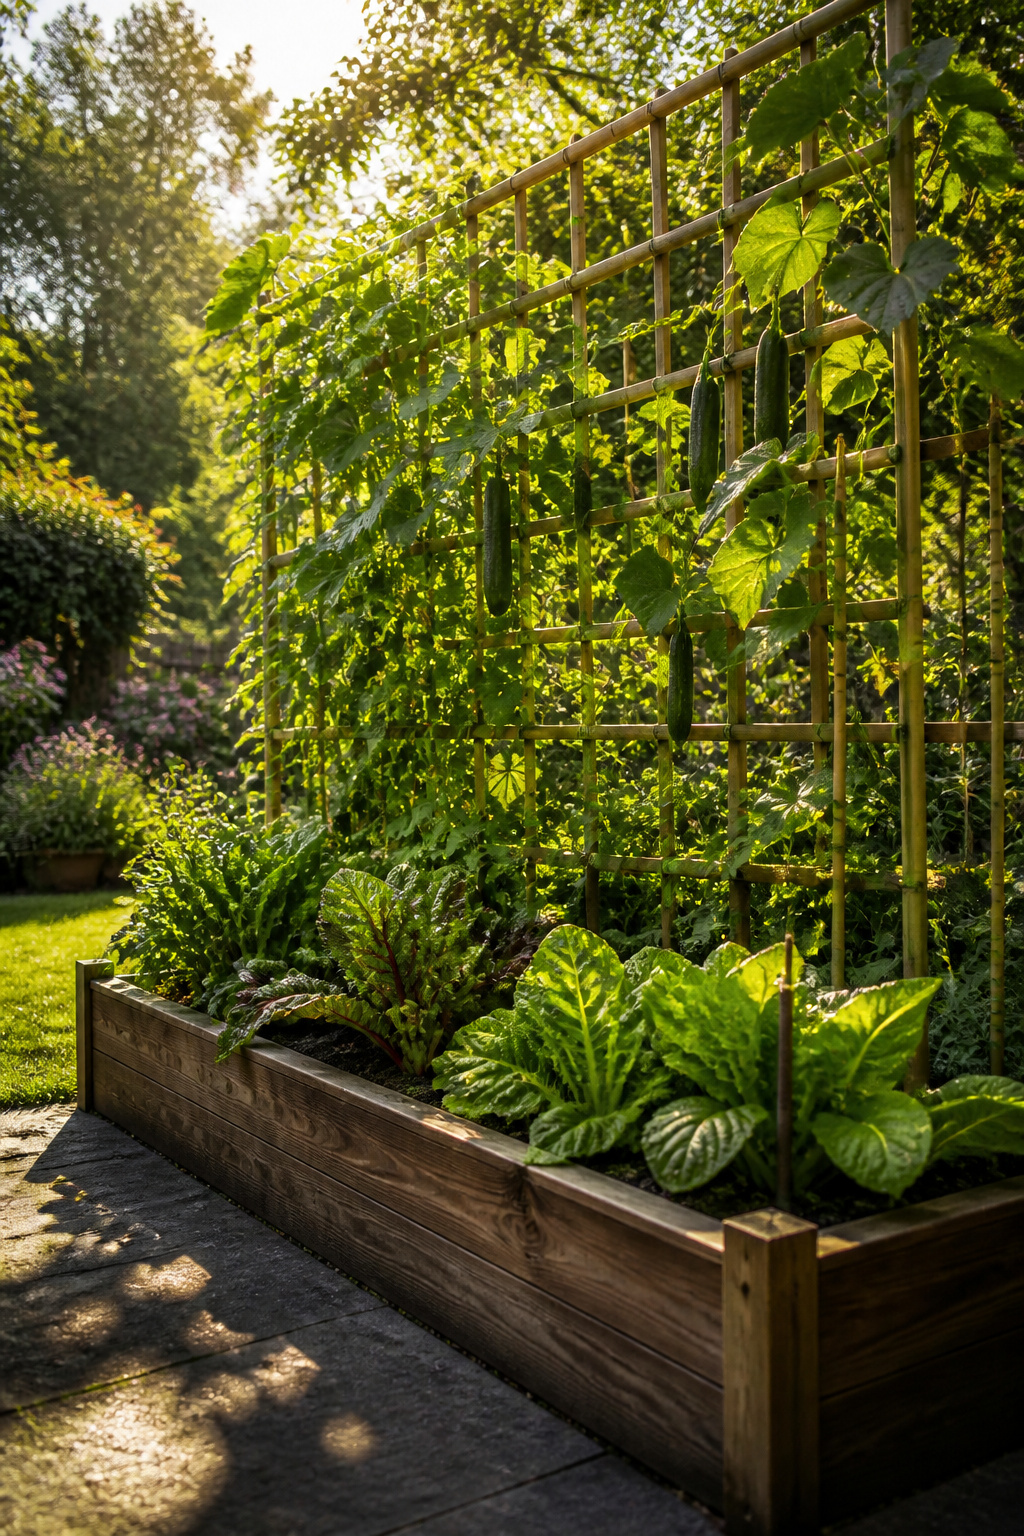
Vertical gardening buys back ground space you did not think you had. A trellis at the back of a bed trains cucumbers, pole beans, or peas upward, and the square feet they would have sprawled across stay open for something else. I have seen a bamboo-and-wire-mesh A-frame do this cleanly, with leafy greens tucked underneath where the shade from the climbing vines actually helps them through summer heat.
Position the trellis on the north side of the bed so the climbing plants do not cast afternoon shadow onto shorter neighbors. Medium crops like peppers or basil fill the middle ground; carrots, lettuce, or short herbs take the front row where the light is unobstructed. Arch trellises work well bridging two beds, while an obelisk trellis sits inside a single bed without eating floor space. Malabar spinach, achocha, runner beans, and small melons all climb willingly; peas and cucumbers are the reliable starters if you are unsure where to begin. Hanging baskets add one more layer above for herbs or greens, though they need daily water attention in heat.

Size: 60×29×11 in, 68 gallons of soil required.
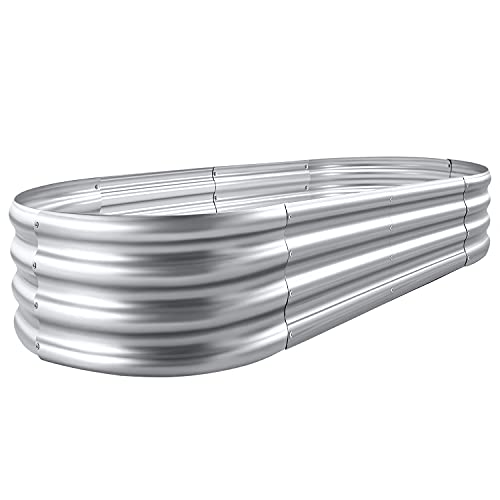
Each raised metal garden bed size: 4×2×1ft ,7.14Cu

【Fully Customizable Garden Solution】-Create the perfect raised garden bed layout by connecting multiple units into squares, rectangles. This modular planter raised bed system adapts to any space, making it ideal for both small balcony garden boxes and large backyard flower beds.
Companion Planting
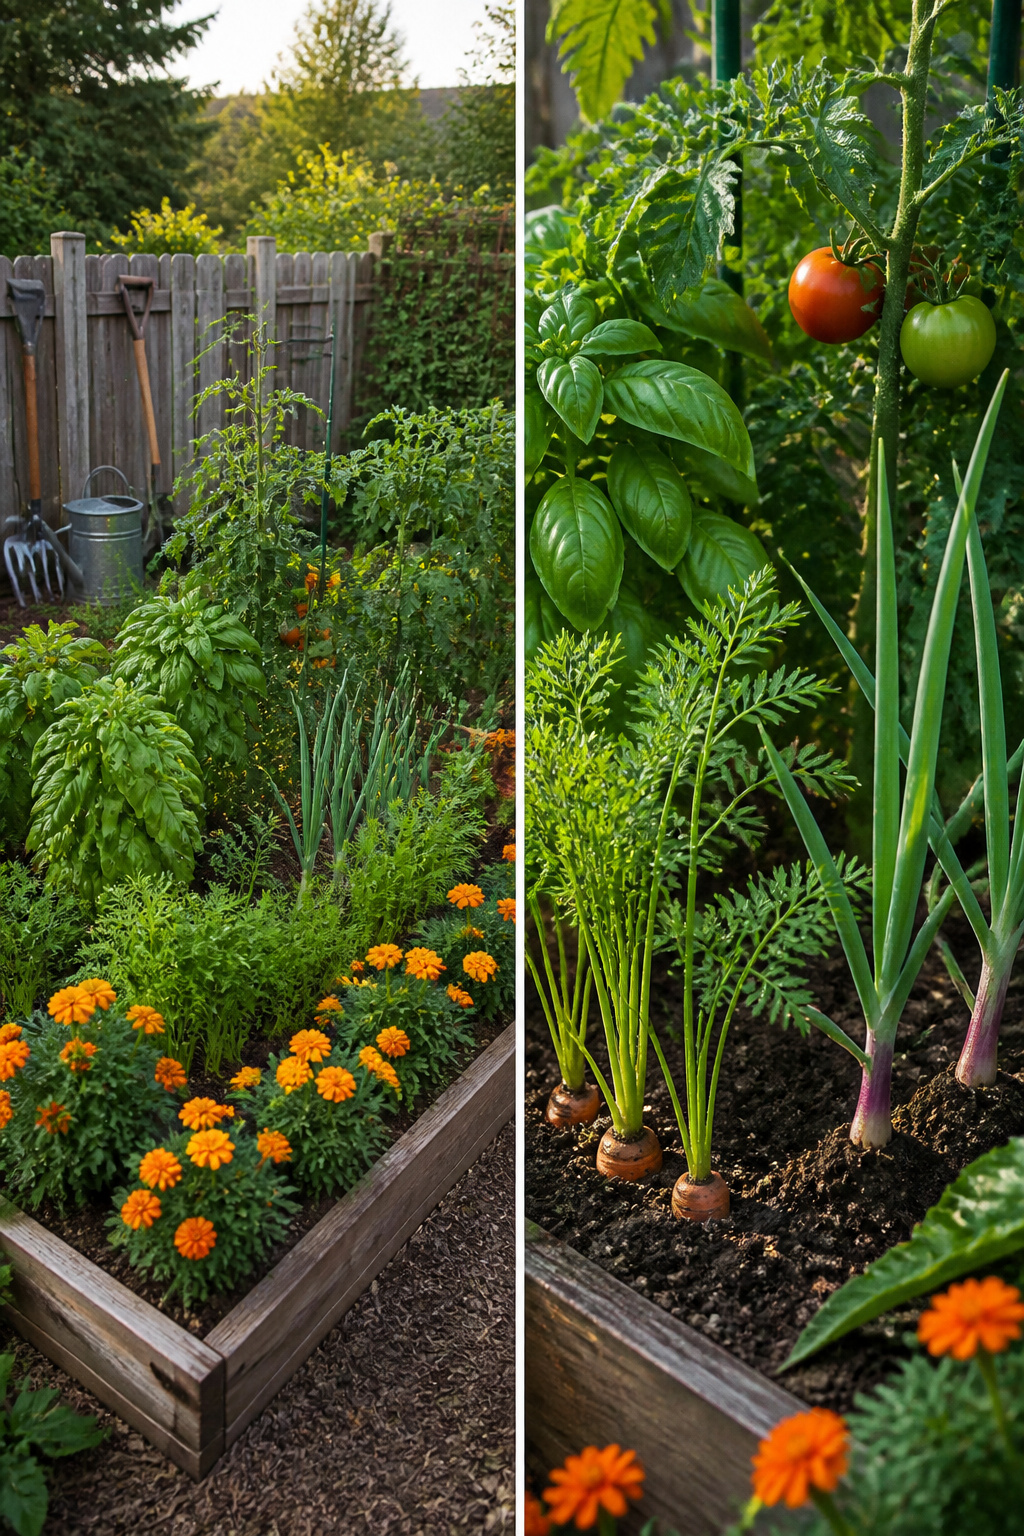
Some pairings in the vegetable garden work well enough that you start using them without thinking. Tomatoes and basil are the one most people know, and the basil does seem to help with whitefly while the tomatoes give it afternoon shade. Carrots with onions is another that holds up, the onion smell masking carrot fly. Marigolds planted thick at the edges of a bed will cut down nematodes and some aphids, though they need to be the French type, not the big pom-pom kinds.
The radish and carrot trick saves space in a way that actually works. Both go in the same row at the same time, radish seed scattered with the slower carrot seed. The radishes come out in three or four weeks, and pulling them loosens the soil right where the carrot seedlings are still small. It is the only companion combination I have seen described clearly enough to repeat with confidence.
Not every pairing lives up to the charts. Beans and onions fight, that much is consistent across most guides, and I would keep fennel away from most vegetables since it seems to stunt neighbors. Keep tomatoes clear of potatoes, shared pests make that one risky. The science-based book Plant Partners sorts out which combinations have backing and which are garden folklore repeated too often.
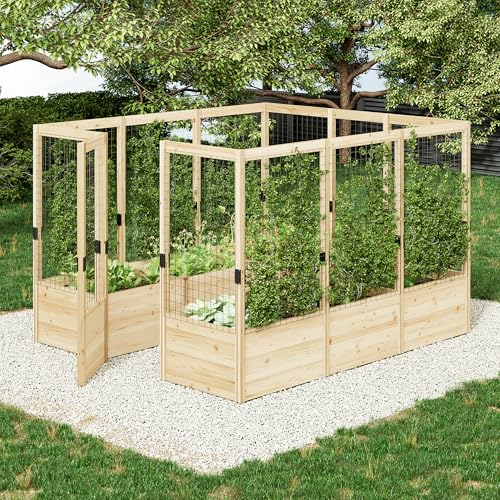
Deer Resistant Fence: Equipped with Deer Resistant fence, this raised garden bed kit provides an additional layer of protection, keeping unwanted animals at bay and safeguarding your plants.

Deer Resistant Fence: Equipped with Deer Resistant fence, this raised garden bed kit provides an additional layer of protection, keeping unwanted animals at bay and safeguarding your plants.

Tool-Free Mortise and Tenon Assembly - Featuring a precision dovetail construction, this raised garden bed can be assembled quickly without a single screw or tool, ensuring a stable and hassle-free setup experience for any outdoor space
Succession Planting
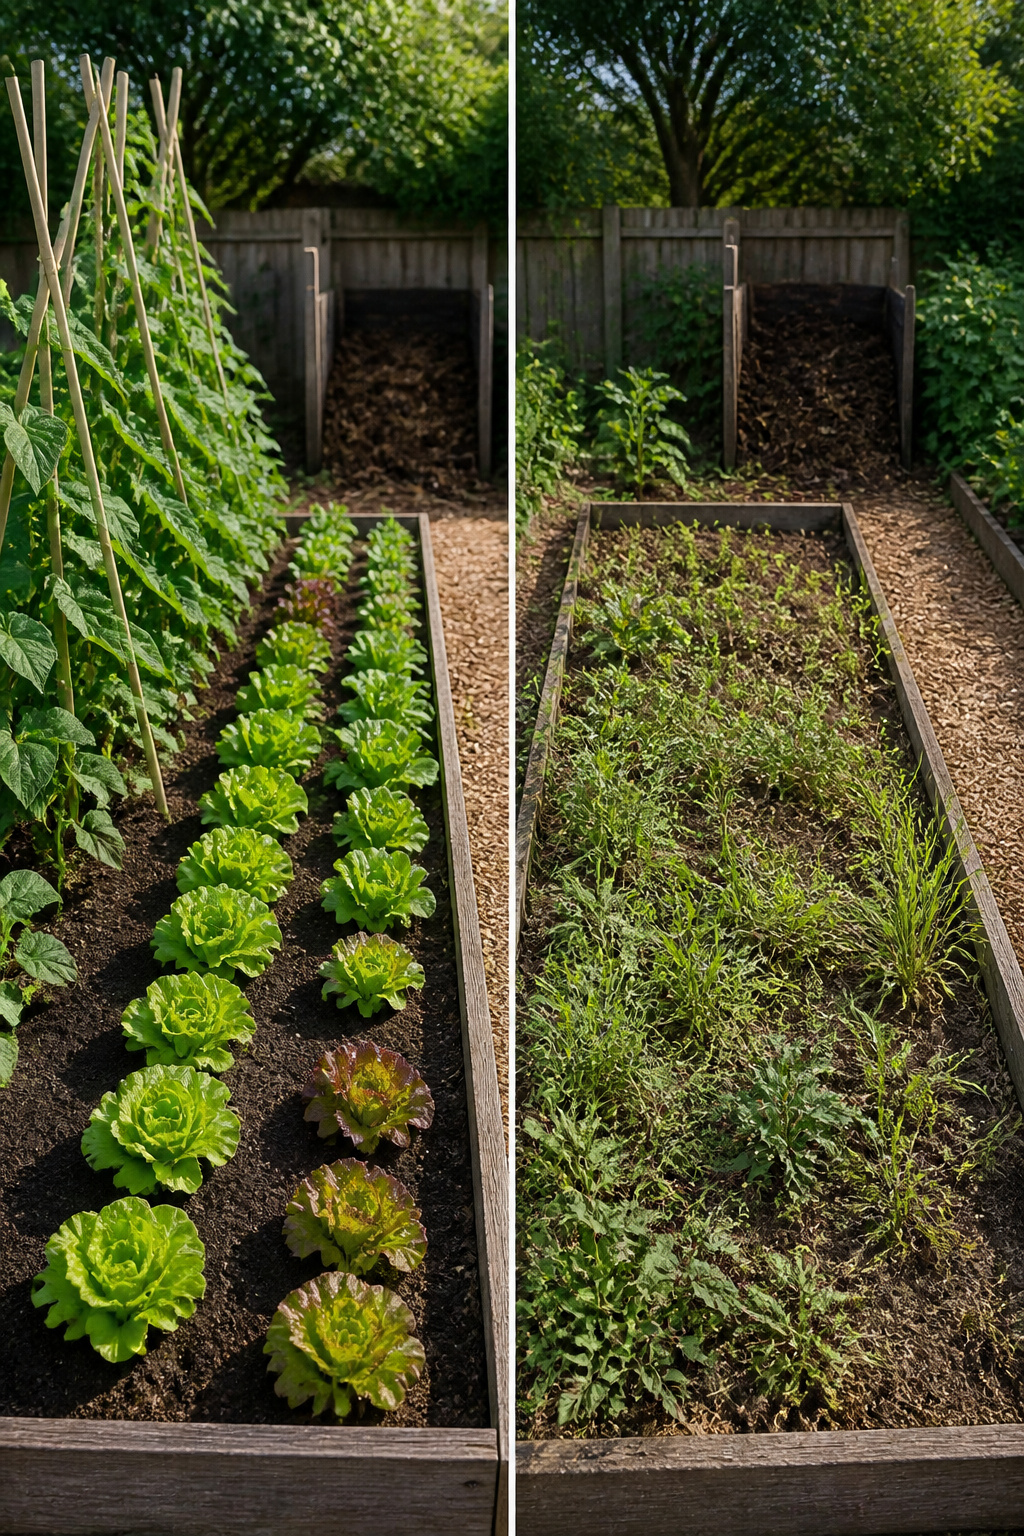
Succession planting turns the same square footage into two or three harvests instead of one. The trick is timing: spring cool-season crops like lettuce, spinach, or radishes finish just as soil warms, and that empty row becomes space for bush beans, beets, or carrots. I keep a simple calendar for this, because without one the window slips by while I’m still picking the last heads of lettuce.
Fast growers go in front, where they’re easy to reach and replace. Tomatoes and peppers hold the middle or back rows for the full season, so they never move. The layout stays tidy, but the ground underneath keeps working. Heat-loving crops follow cool ones; when garlic comes out in early summer, rapini goes in for a quick late crop. Container gardeners can run the same system with bush beans, lettuce, and spinach in pots, swapping varieties like ‘Tom Thumb’ peas or ‘Patio Baby’ eggplant as seasons shift. The goal isn’t one bulk harvest to freeze or give away, but a steady cut of fresh produce from April to October.

WATER EVERY PLANT, NOT JUST SOME: Full-coverage, soil-level irrigation at every plant - including the open corners. This raised garden bed watering system prevents dry spots and removes the guesswork of positioning drip line & emitters.

WATER EVERY PLANT, NOT JUST SOME: Full-coverage, soil-level irrigation at every plant - including the open corners. This raised garden bed watering system prevents dry spots and removes the guesswork of positioning drip line & emitters.
Container Gardening
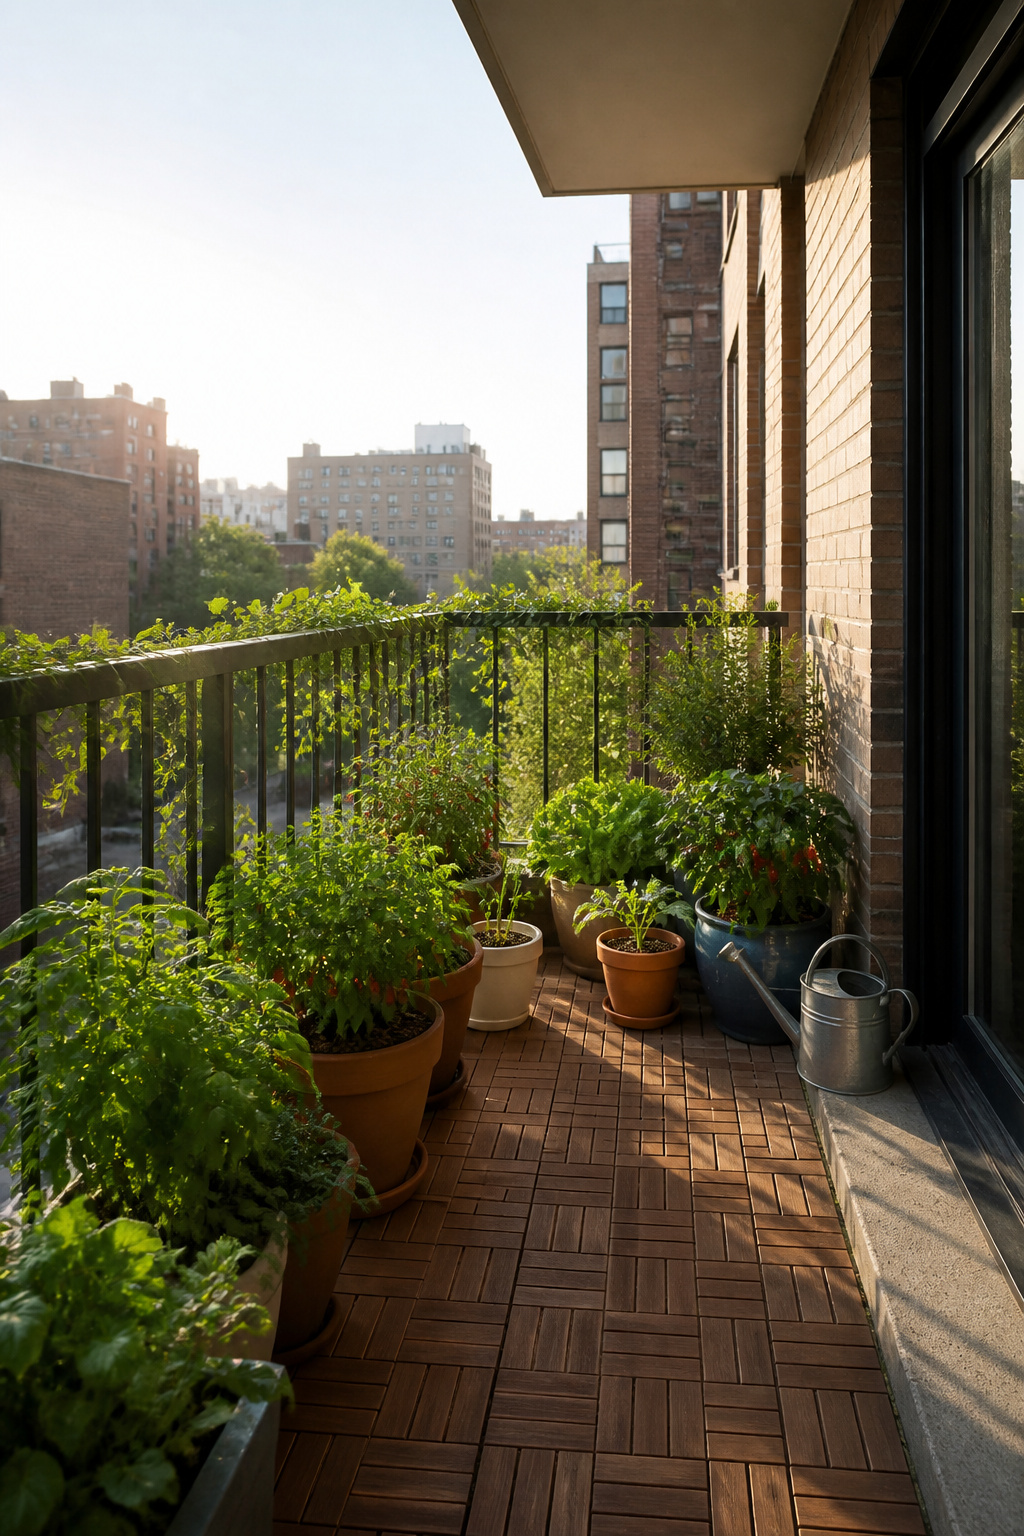
Containers turn balconies, patios, and rental concrete into workable vegetable garden layout ideas without asking permission from a landlord. The real limit is container size minimums by crop: tomatoes and peppers need large pots with enough soil volume to hold moisture through a hot afternoon, while herbs, lettuce, and compact greens manage in medium containers. I succession plant quick growers like bush beans, lettuce, and spinach in pots, pulling one crop and slipping in the next as the season rolls on.
Drainage sits higher on the priority list than most beginners expect. Every container needs holes; without them, roots drown in the saucer you meant as insurance. Potting mix, not garden soil, is the right fill. Bagged mix stays light, drains predictably, and won’t compact into the brick that backyard dirt becomes inside a pot. The mobility advantage is what sells containers to anyone in a rental or a space with shifting sun. A pot that starts against the railing in June can move to the driveway by August when the angle changes. Straw-bale gardens stretch this logic even further for paved spaces like driveways, though they trade some mobility for volume and cheap setup compared with permanent systems. Compact varieties help when square footage is tight: ‘Tom Thumb’ peas, ‘Patio Snacker’ cucumber, and ‘Patio Baby’ eggplant stay small enough that a balcony rail planter becomes reasonable real estate.

【Spacious and Versatile Design】: The CATMANOR raised garden beds outdoor provide ample growing space for a variety of vegetables, herbs, and flowers. The raised bed design maximizes planting capacity, making it an ideal solution for gardening enthusiasts who want to grow medium to deep-rooted plants such as broccoli, beans, and more.

【Package included】:Crafted from robust hollow steel, this garden stakes features a fade-resistant green plastic coating, offering reliable protection against wind, rain, and rust. This Trellis for Climbing Plants Outdoor comes complete with everything you need to get started: 17pcs metal stakes, 8pcs T shape connect pipe, 2 A-shaped connectors, and a 0.9x1.8meter bird net.

7 IN 1 Raised Garden Bed with Trellis: Our 8x4x2ft raised garden bed is capable of holding 479 gal of soil. The tomato cages provides sturdy support and ample growing space for fruits, guiding them upward to maximize sunlight and airflow.This sturdy triangular trellis stands firm in wind/rain, protecting climbing plants from toppling
U-Shaped Garden
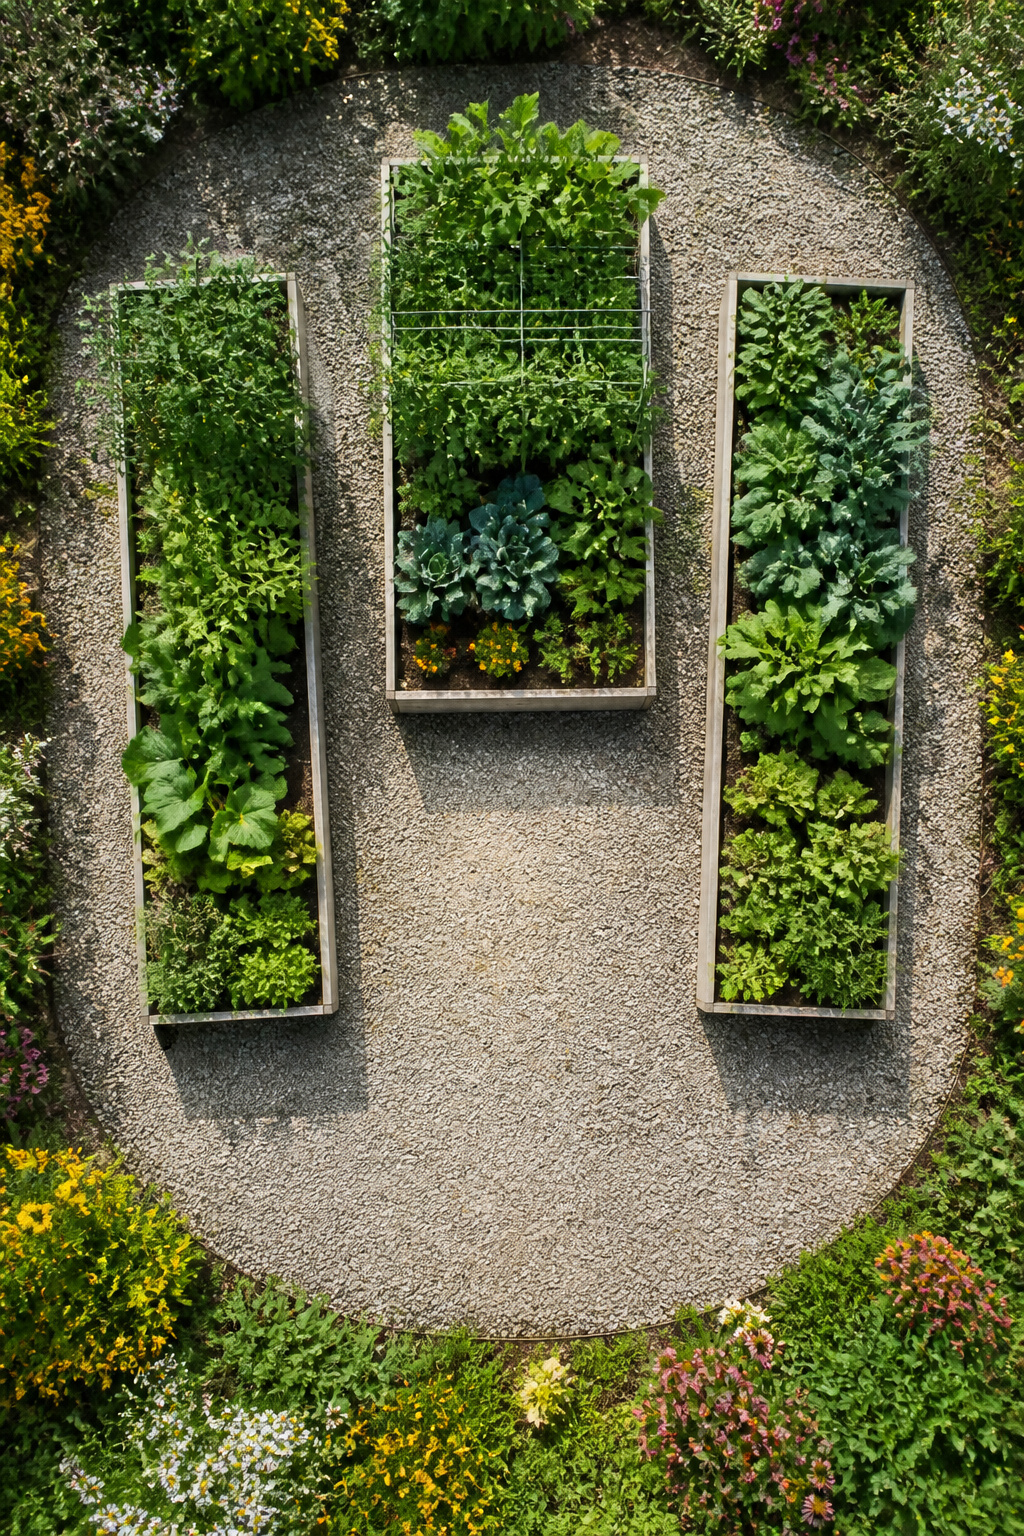
A U-shaped garden arranges three beds so you stand in the center and reach every plant without stepping on soil. The back bed holds tall crops like tomatoes or pole beans so they do not block sunlight from reaching the two side beds, which carry medium and low growers that need full sun. Each bed should stay under 4 feet wide, the width you can comfortably reach across from one side. The center opening needs to be large enough to turn around in, but the exact dimensions depend on your reach and whether you garden on your knees or from a stool.
The layout shines tucked against a fence or the back wall of a garage, where that fourth side is already closed off and you are not wasting growing space on a path you rarely use. Raised beds work especially well here, though in-ground rows can follow the same geometry if your soil is already decent. Even with modest 4-by-4 beds you end up with 64 square feet of growing space, enough to keep a small household in salad greens and summer vegetables through the season.
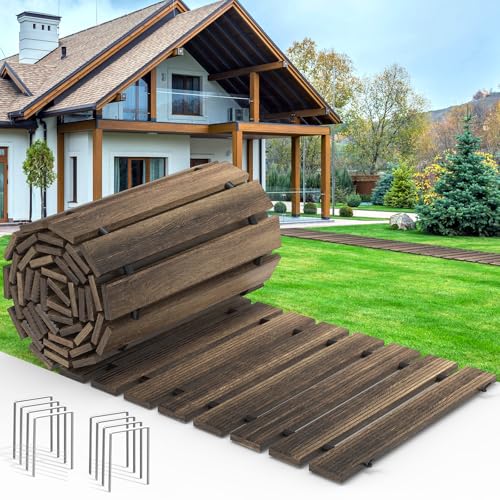
【Instant Outdoor Upgrade】- Measuring 8 ft long x 17 in wide, this wooden garden pathway creates a stable and comfortable walking surface for yards, gardens, patios, beaches, campsites, or event spaces. Adds rustic farmhouse charm while blending easily with outdoor landscapes and backyard décor. Ideal for protecting lawn from foot traffic damage and reducing muddy footprints
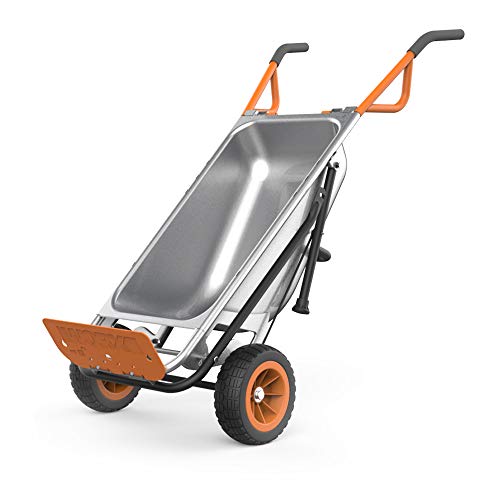
LIFT 200 LBS. LIKE LIFTING 17 LBS.: Move mountains with ease. Engineered for balance, the Aerocart's Turbo Lift design makes transporting heavy loads a breeze, making 200 lbs. feel like a fraction of its weight. Load up and lean back – it's that simple.

MULTIPURPOSE GARDEN CART: Deep wheelbarrow holds up to 5 cubic feet of soil, bricks, mulch, gravel, and more, so you can conveniently carry out landscaping and other home improvement projects
Four-Square Garden
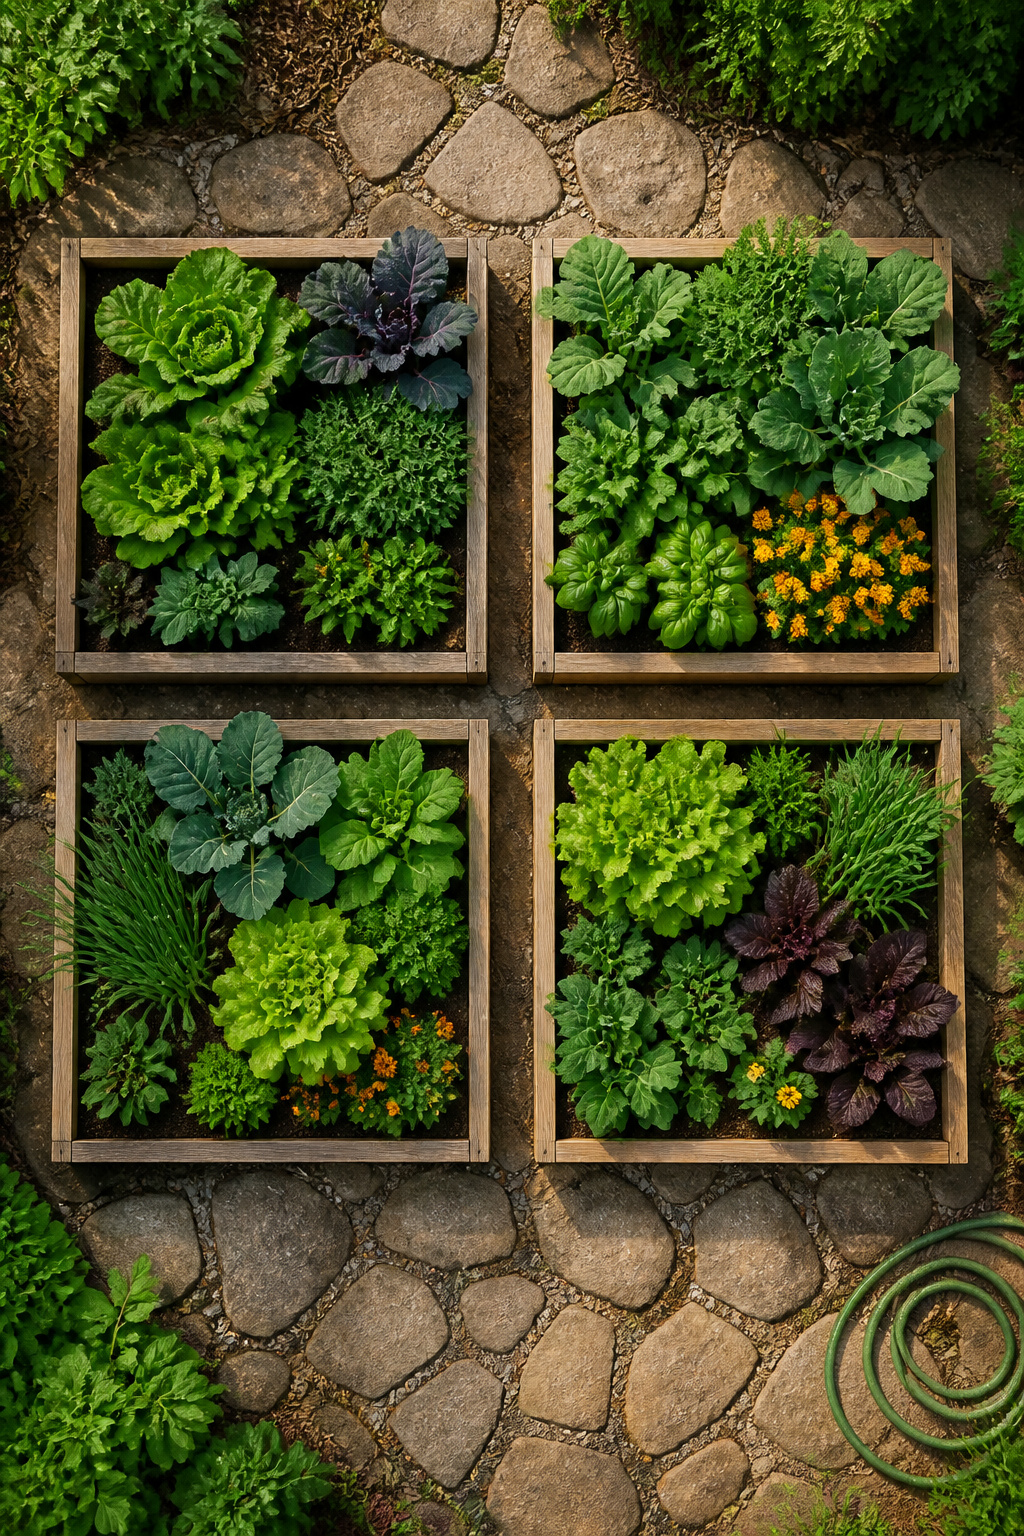
A four-square garden breaks your growing space into four equal beds, and that structure makes crop rotation almost automatic. The first year you might plant tomatoes and peppers in bed one, leafy greens in bed two, root vegetables in bed three, and legumes in bed four. The next season everything shifts clockwise: the nightshades move to where the greens were, the greens take over the root bed, and so on. No bed ever hosts the same plant family twice in a row.
That rotation matters because different crops pull different nutrients from the soil. Tomatoes are heavy feeders that deplete nitrogen; beans put nitrogen back. Switching their spots keeps the soil from running empty in any one spot. Pests and soil-borne diseases that target a specific family also lose their foothold when that family disappears for three years.
The layout works best on a square or nearly square plot at least fifteen feet across, with beds sized equally at 4×4, 4×8, or 4×10 feet. Even four 4×4 beds give you sixty-four square feet of growing space, enough to feed a small household through summer. For a beginner, the visual simplicity is the real advantage. You can see the whole rotation at a glance, and the fixed boundaries keep you from accidentally planting the same thing in the same corner out of habit.

High-Quality PE Material with Drainage Hole: Crafted from durable and flexible PE material, these grow bags are built to withstand outdoor conditions without cracking. The bottom drainage hole provides essential airflow to roots and prevent overwatering and root rot, ensuring your plants thrive in a well-aerated environment.

Raised Garden Bed - Add a new level of convenience to your gardening experience with the Galvanized Raised Garden Bed. Enjoy expanded yield and a more assembled garden layout with this garden accessory, each sized at 120 cm X 60 cm x 30 cm.

AMPLE PLANTING SPACE: Designed with a long bed space (2.65 CuFT) deep enough to provide your plants and vegetables with ample room to breathe and grow healthy; perfectly sized for kids and other fledgling gardeners!
L-Shaped Garden
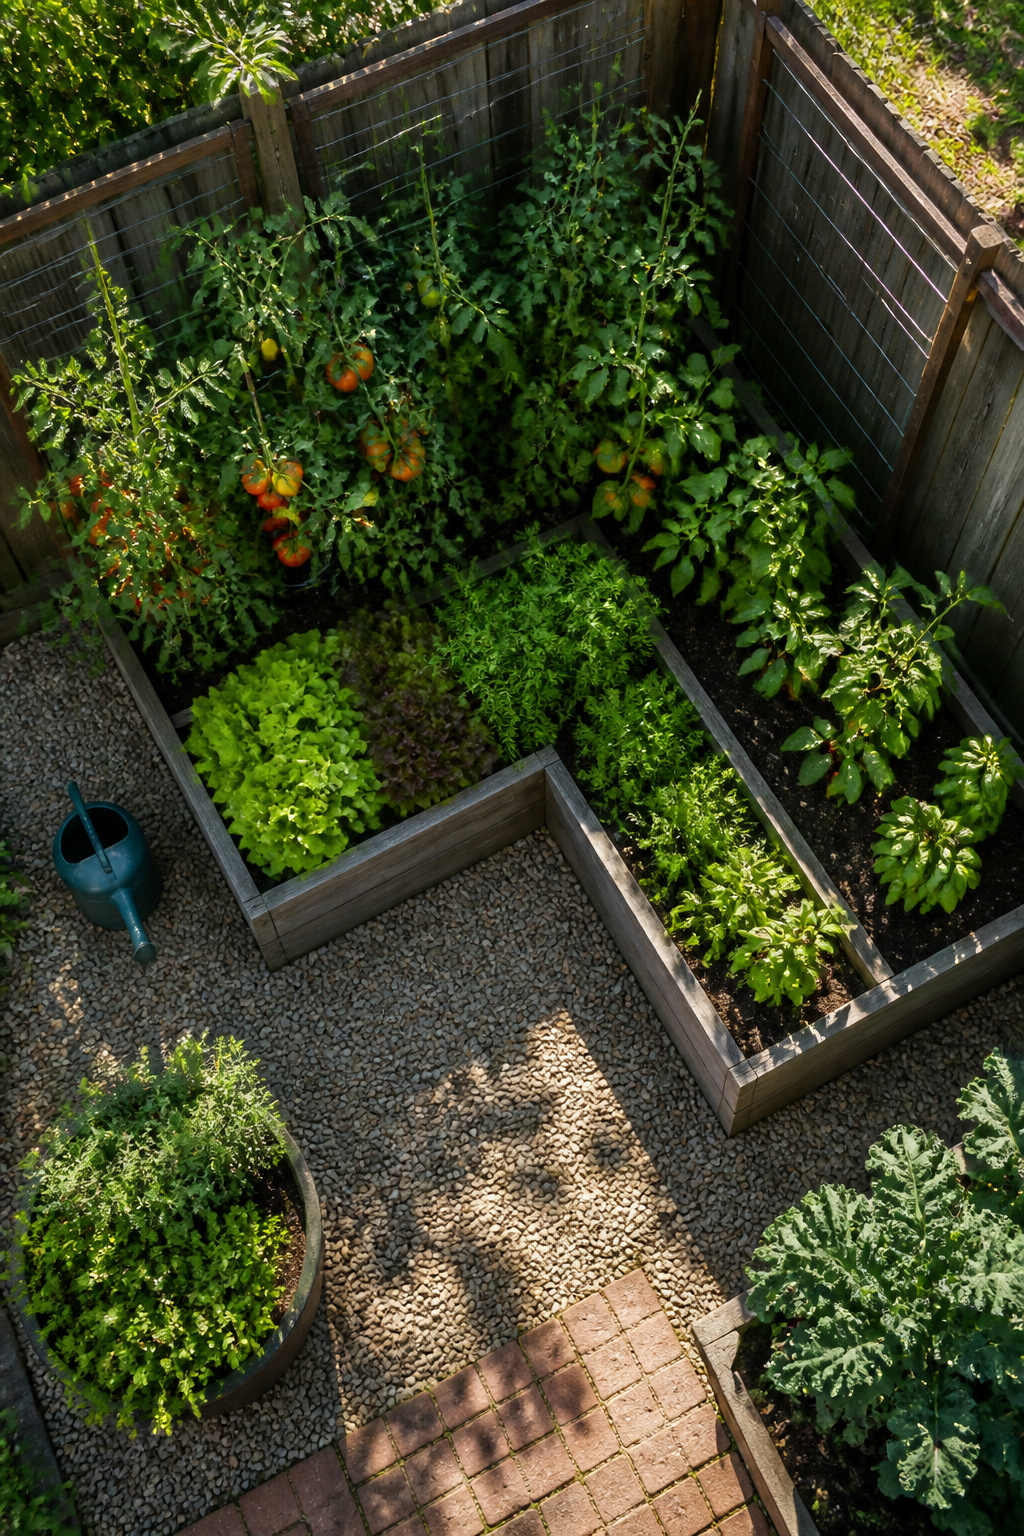
An L-shaped layout turns a corner most yards treat as dead space into the longest edge you can plant. The shape gives you two runs of bed meeting at a right angle, and that inside corner is where the growing happens. Spread the tall stuff, tomatoes or trellised beans, along the longer arm where it will not shade the rest. The shorter arm handles peppers, herbs, or bush crops. Tuck greens and carrots into the crook itself; they get light from two sides instead of one, and the geometry keeps them from being swallowed.
The real payoff is access. A single path running the inside of the L, narrow as a mower strip or wide enough to kneel in, puts every bed edge within reach. You are not stepping over soil to get to the back row. Two fences or walls become the back border for both arms, so the structure you already own does the windblocking and the trellis work. Panel trellises along the rear of the longer bed keep climbers off the fence itself; obelisk trellises down the shorter arm break up the line if the space feels like a corridor.
This is the layout for the yard that is not a rectangle: a pie-slice corner, a patio cutout, the strip where the garage jogs. It reads as intentional, not as a garden wedged where it fit. Keep the path inside the L, not outside it, or you will walk the long way around every time you harvest.
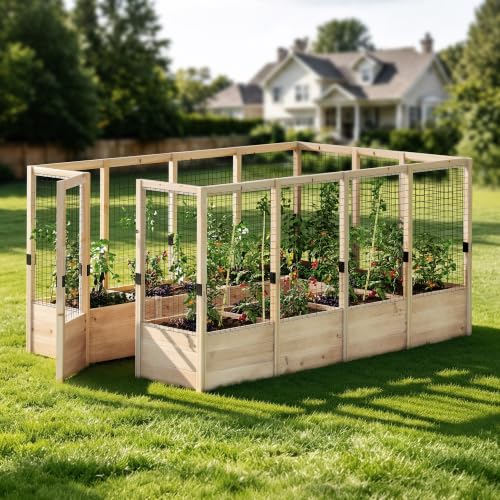
Deer-proof Fencing: This planter set comes with deer-proof fencing to provide extra protection for your plants, effectively keeping unwanted visitors at bay and safeguarding your greenery.
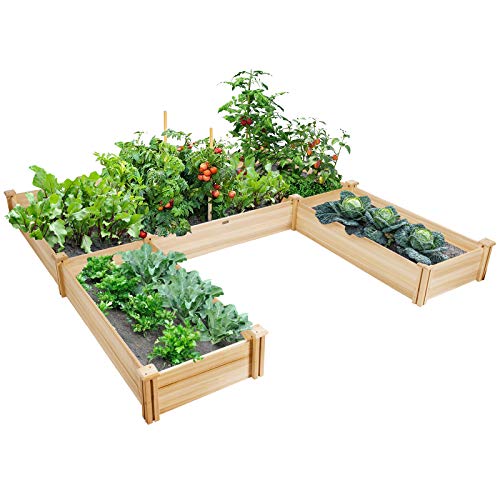
100% Solid Fir Wood: The frame of garden bed is made of natural fir wood, which is not easy to deform or crack. And the whole structure is sturdy enough to strongly support the weight of soil and plants.
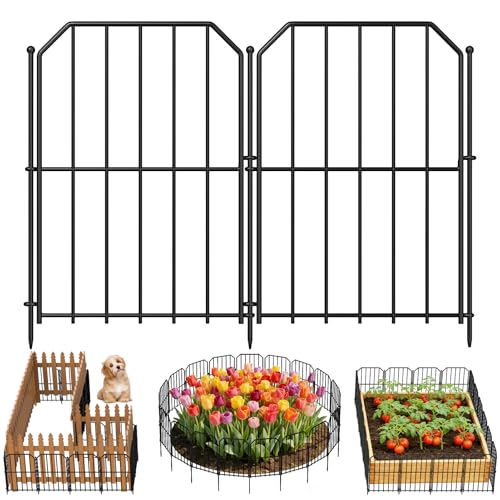
【Notice】Our animal barrier fence is not suitable for blocking large animals or pets.Overall height (stake & panel): 24". Installed working height: approx 15.83".
Sunlight and Placement
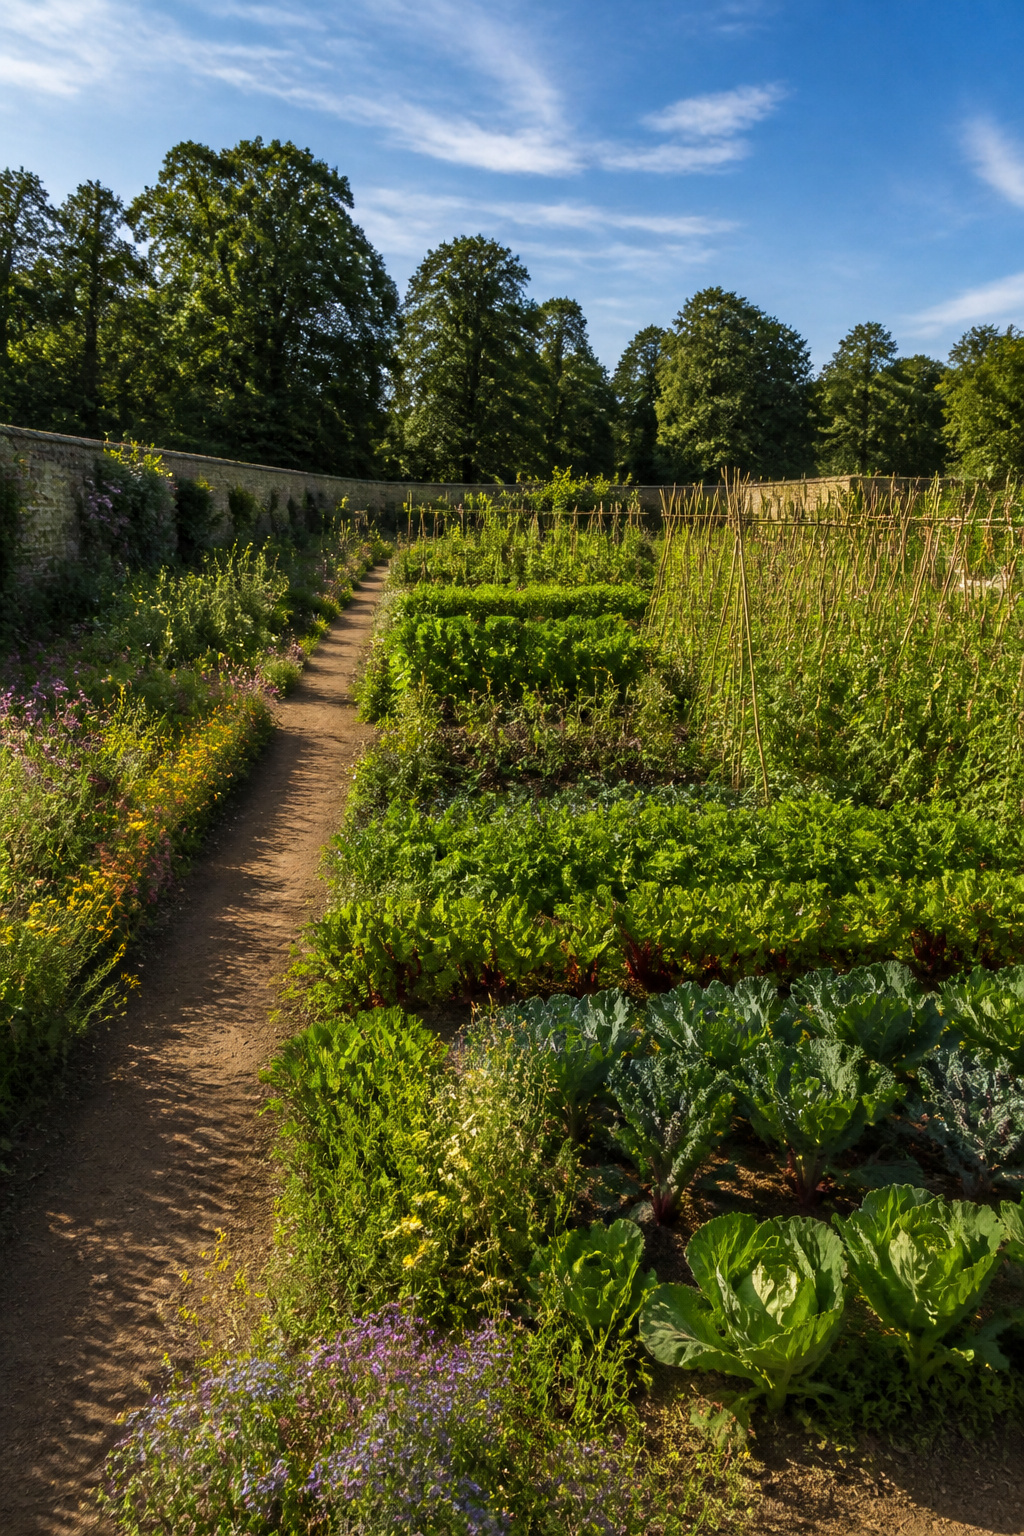
Most vegetables need 6 to 8 hours of direct sunlight daily to produce well, and the first mistake I made in my second year was assuming the sunny patch I picked in April would stay that way. By July my tomatoes were fighting shade from a neighbor’s oak I had barely noticed, because the summer sun sits higher and the tree’s shadow fell shorter than I expected. The fix is simple but dull: spend one day in March or April marking where shadows fall at 9 a.m., noon, and 4 p.m., then watch again in June. The difference between those two maps tells you which beds stay reliably bright.
Taller plants go on the north side of any bed, shorter ones to the south, so rows running north-south catch the most even exposure. Pole beans, tomatoes, and fava beans will shade out cabbage or zucchini behind them if you flip that order. On a slope this gets harder, and I have seen gardens where the only workable compromise is accepting that the lower end will stay cooler and wetter.
Partial shade is not a total loss. Leafy greens tolerate less sun than fruiting crops, so a bed that gets only five hours is still useful if you match the plant to the light. The late-fall through early-spring angle of the sun is lower, which means a tree or building casts a much longer shadow than its summer footprint suggests. Plan for the worst month, not the best.
Soil Preparation
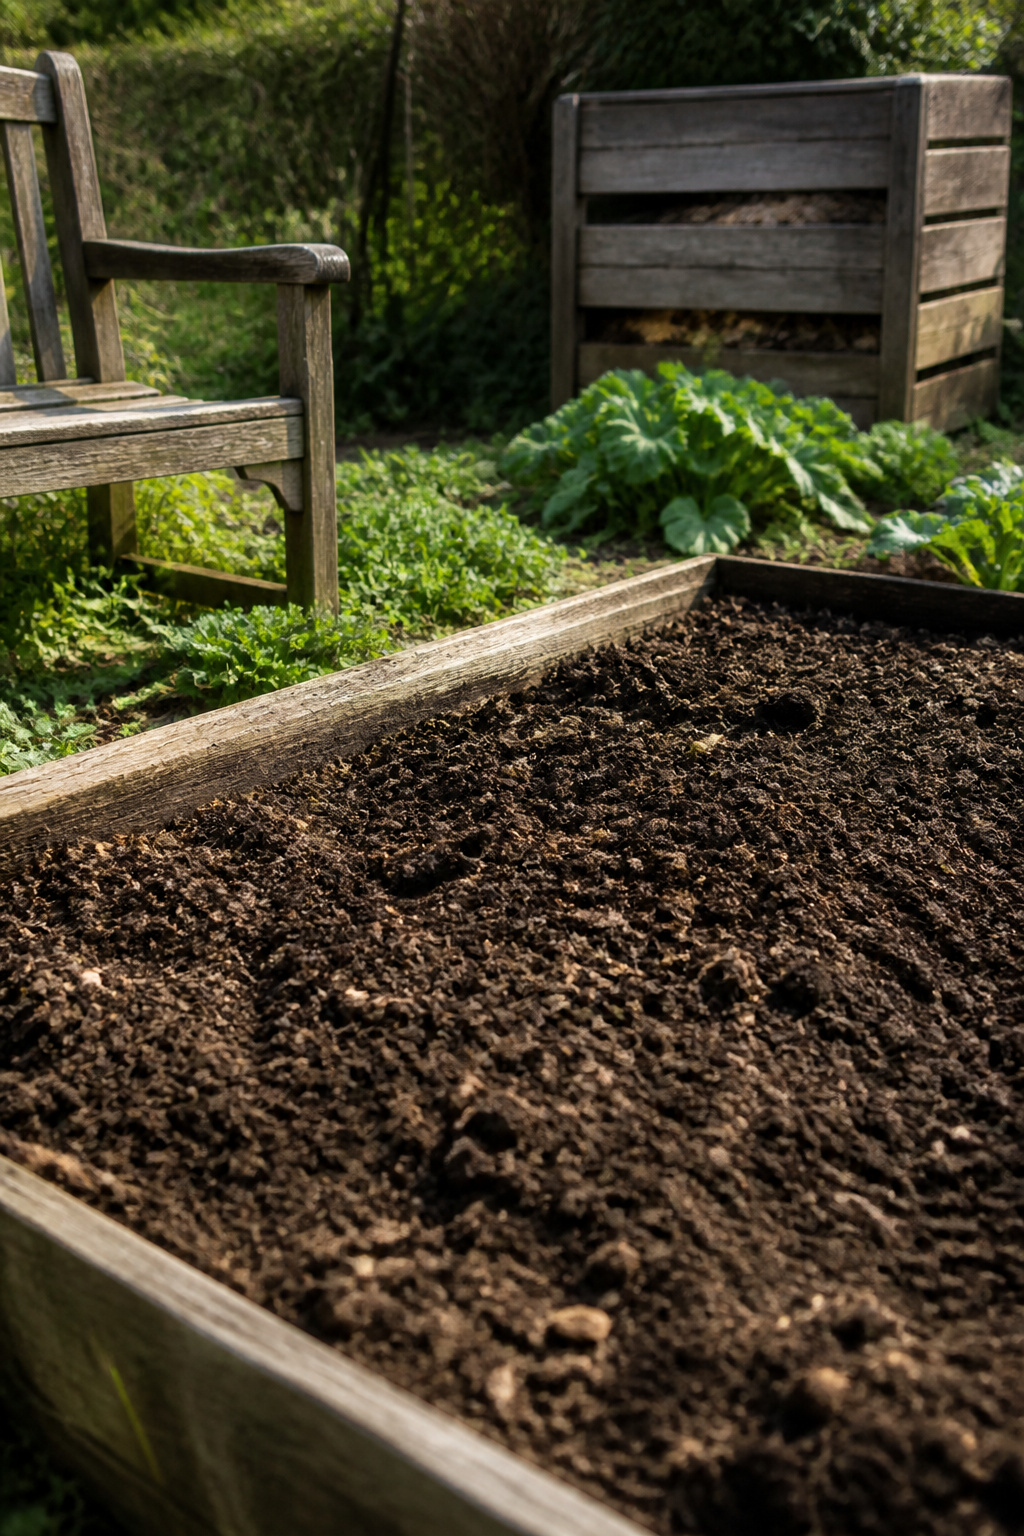
Good soil decides whether a layout lives or dies on paper or in dirt. The beds I plan each spring start with what is already there, and most of the time that means clay that holds water like a bathtub or sand that forgets it rained yesterday. Testing pH costs about fifteen dollars at the county extension office and saves a season of watching tomatoes struggle in soil too acidic to let roots take up calcium. Most vegetables want something close to neutral, 6.5 to 7.0, and lime or sulfur will shift it if you have six weeks before planting.
Compost is the amendment I actually add in volume, not bags of branded garden soil. A three-inch layer across a new bed, worked into the top six to eight inches, gives drainage to clay and water retention to sand both at once. I aim for roughly one part finished compost to three parts native soil by the time it is turned in. Blood meal or a balanced organic fertilizer goes in at half the rate the label suggests for row crops; raised beds run richer and you can always top-dress later if leaves yellow.
Buying blended garden soil by the truckload is the faster route, and I have done it for a single 4-by-8 bed when time was short. Building soil with compost and cover crops over two or three years costs less and grows better food, but it asks for patience most weekend projects do not have. Start beds with what you can make; buy only the gap.
Pathway Width
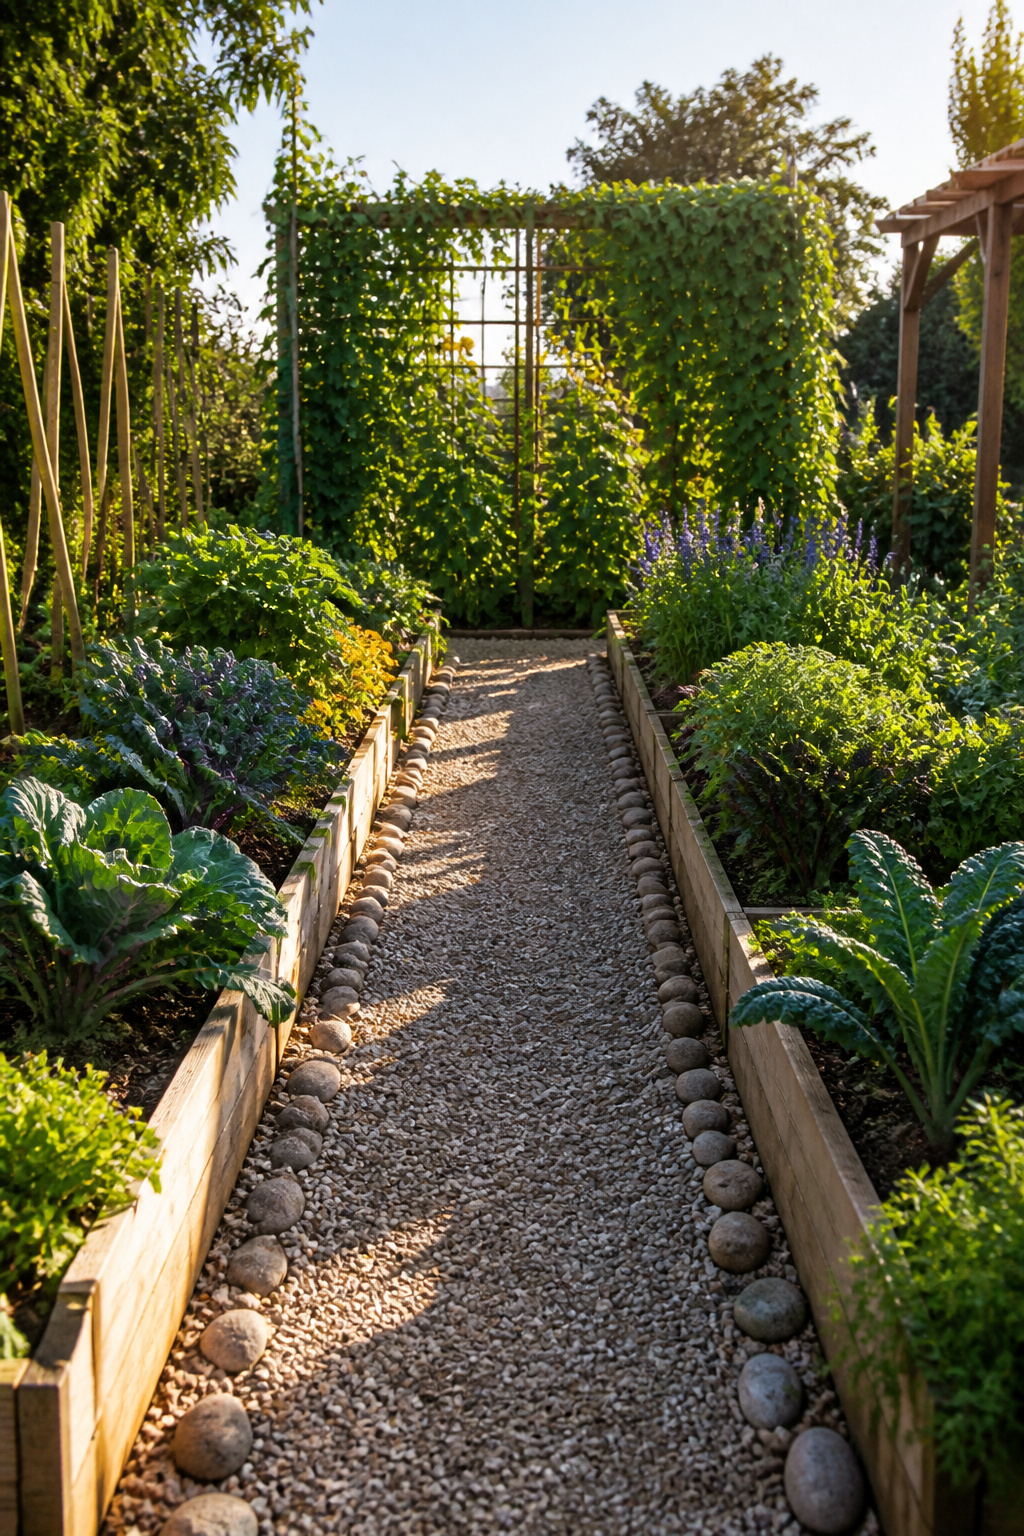
Path width is the detail that separates a garden you tend from one you abandon. A main path needs to be at least 30 inches across for comfortable movement, and if you plan to roll a wheelbarrow through, 2 to 4 feet is the range that actually works without scraping plants or tipping loads. Narrower paths between beds are fine for walking, but they turn every harvest into a balancing act.
Bed width and path width are locked together. Keep growing areas to a maximum of 4 feet across, measured from path edge to path edge. That span lets you reach the center of the soil from either side without stepping onto the bed itself. Compacted soil from foot traffic is one of the harder mistakes to undo, and it starts with one shortcut.
Materials for paths run from bare soil to grass to full paving. Woodchip laid over cardboard has the advantage of feeding the soil as it breaks down, though it needs topping up as it decomposes. A U-shaped layout with three raised beds and an open center puts this principle to work in tight corners, giving access from all sides while keeping every inch of soil within arm’s reach.
Crop Rotation Basics
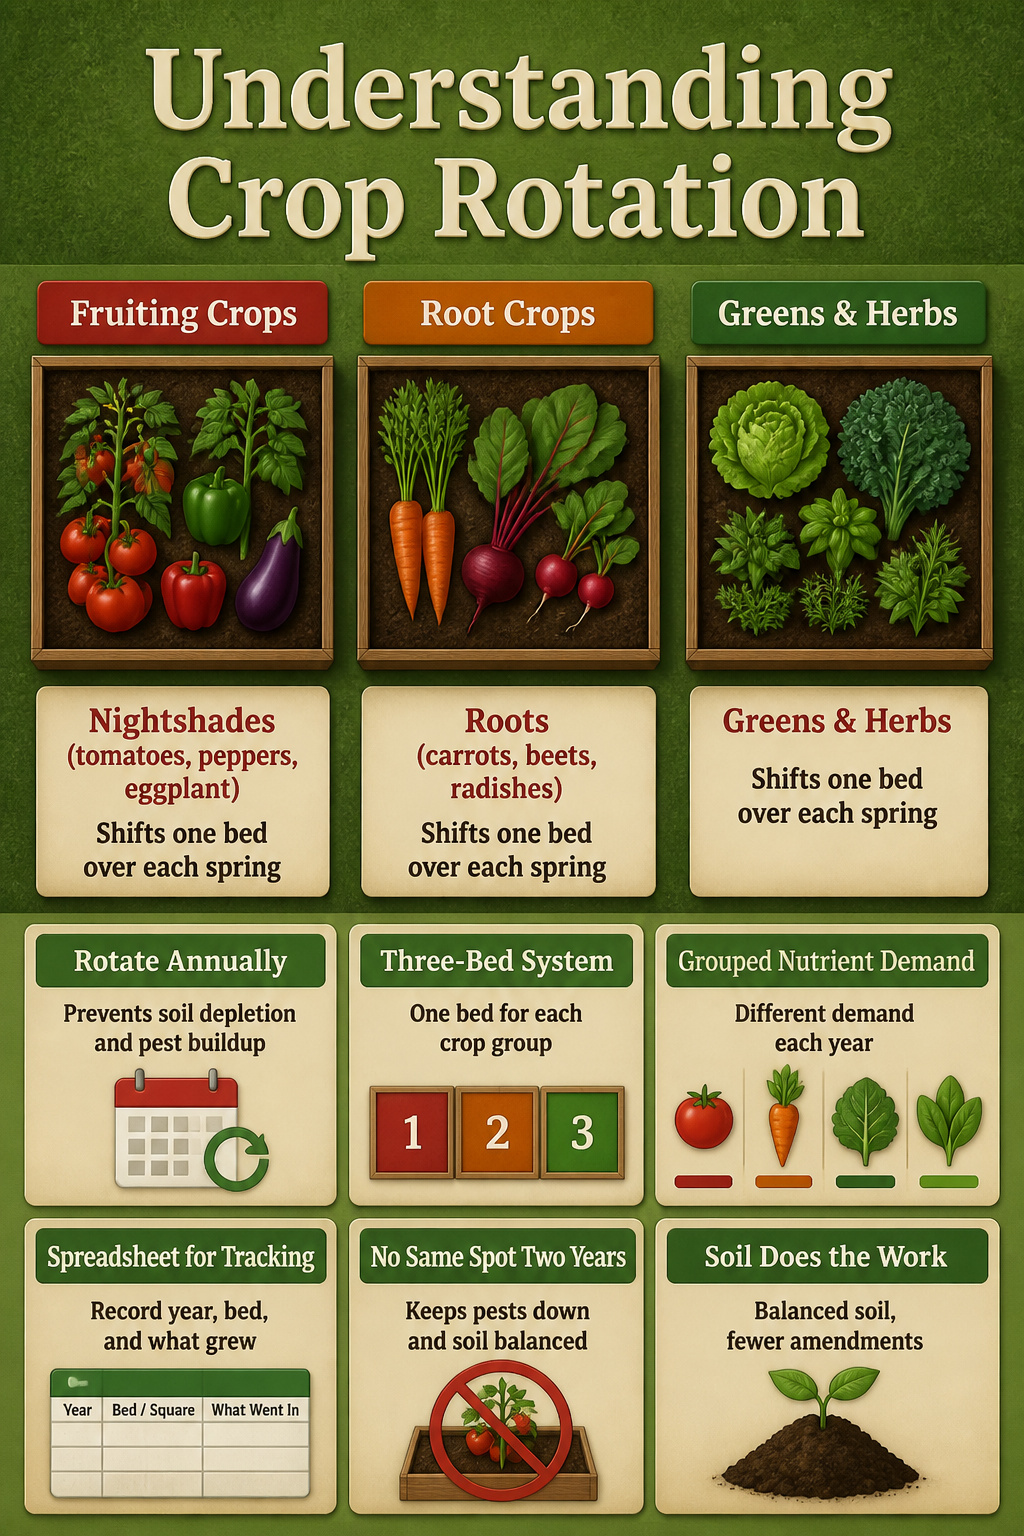
Rotating crops annually prevents soil depletion and pest buildup, but the real mistake is trying to remember it all in your head. I started with a three-bed system: one bed for fruiting crops like tomatoes and peppers, the second for root crops such as carrots and beets, and the third for greens and herbs. Each spring everything shifts one bed over. The four-square layout works the same way, just with four sections instead of three, and you rotate clockwise every season so no plant family sits in the same spot two years running.
The families that move together are nightshades (tomatoes, peppers, eggplant), roots (carrots, beets, radishes), brassicas (kale, cabbage, broccoli), and legumes plus leafy greens. Keeping them grouped means each bed gets a different nutrient demand and pest profile every year.
A spreadsheet with separate rows for each crop is what saves you from standing in the garden in April trying to remember what grew where. I make one column for the year, one for the bed or square number, and one for what actually went in. After three or four seasons the pattern runs itself, and the soil does the work of staying balanced instead of you buying amendments to fix what sitting in the same spot broke.
Seasonal Timing
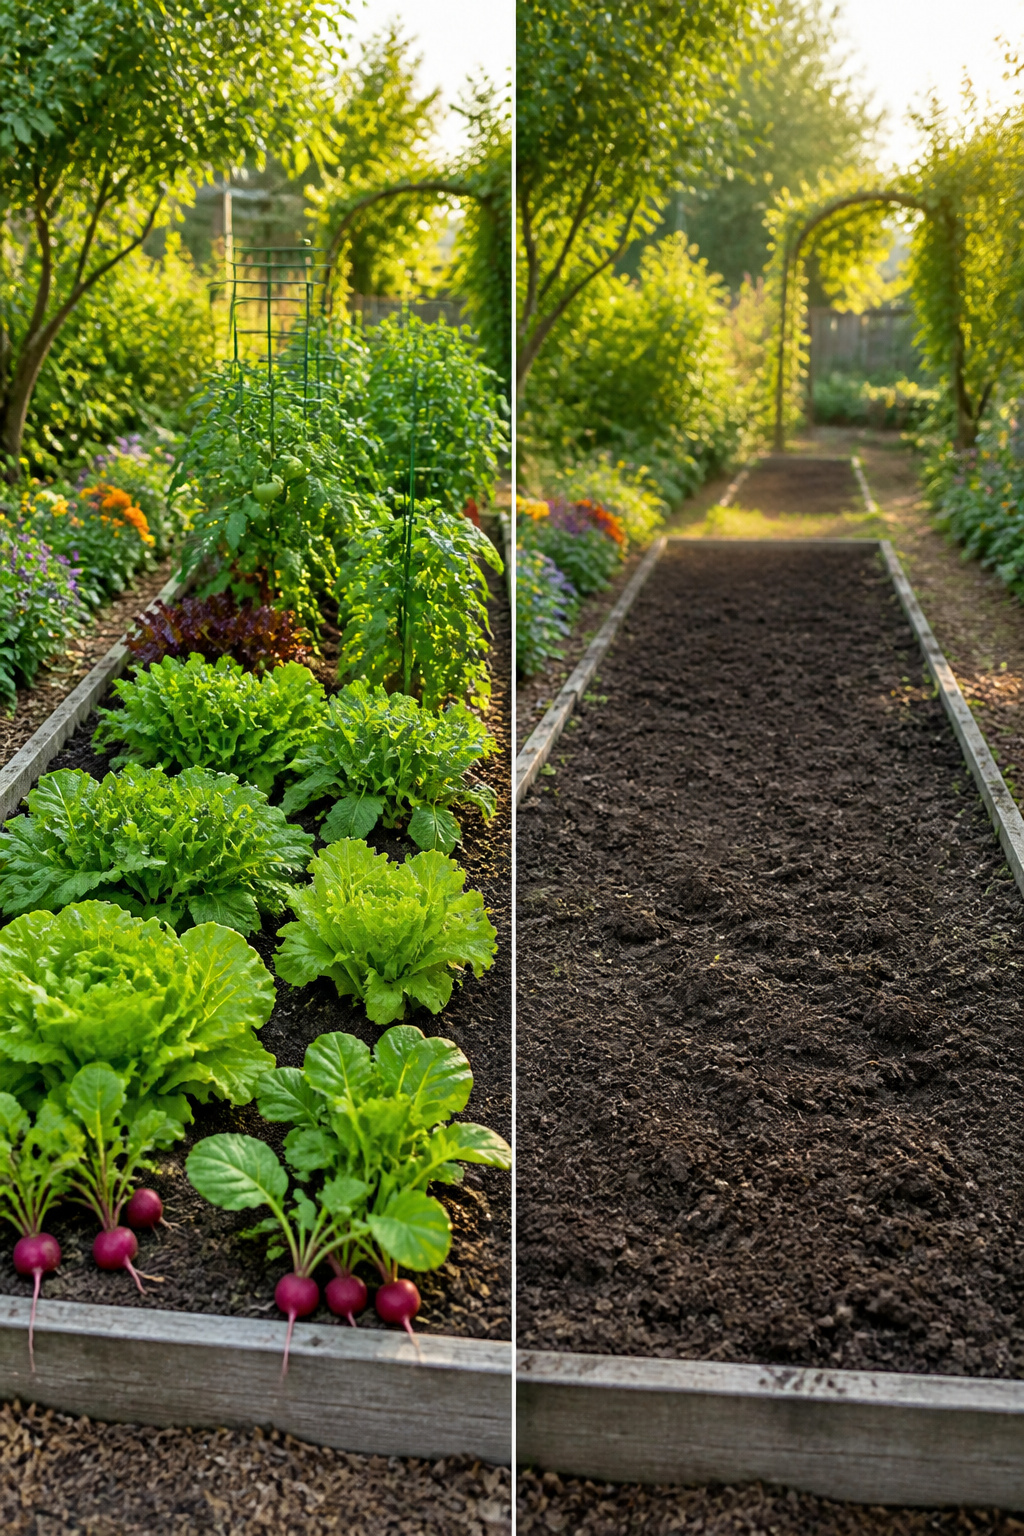
Cool-season crops, warm-season crops, and cold-season crops each want their own window, and your average spring and fall frost dates are the anchors that keep them from colliding. I mark mine on the calendar first thing every January. Cool-season vegetables like lettuce, spinach, and broccoli go in a few weeks before the last spring frost, while tomatoes, peppers, and squash wait until that date has passed entirely. In my zone 5 garden, that gap can stretch to six weeks or more, which is long enough to harvest a full round of spring carrots before the bush beans even break soil.
Succession planting lives or dies on these boundaries. When my spring beets finish in early June, that same square footage flips to heat-loving crops for summer. Garlic comes out in July and rapini goes in behind it. The trick is counting backward from your first fall frost for anything destined for cold-season harvest: Napoli carrots need about 58 days from seed to maturity, so I sow them accordingly if I want them under a mini hoop tunnel come November.
The lines blur, of course. Carrots thrive in both cool seasons, spring and fall, yet with a layer of protection they keep producing straight through the cold, dark stretch between. Some cold-season crops like purple sprouting broccoli or winter leeks need the entire summer just to size up before the cold even arrives. Others, like kale and scallions, slide neatly into whatever gap opens. The layout has to account for this overlap: a bed that holds one thing in April may need to feed three different crops before December, each one stepping in the moment the last one steps out.
Frequently Asked Questions
What is the best vegetable garden layout for beginners?
Square-foot gardening is the easiest starting point for beginners because the math is built in. A 4×4 foot bed divided into 16 one-foot squares lets you plant each square with its own crop, and the seed packet tells you exactly how many plants fit. The small scale means you can set up and plant in a single weekend, and labeling each square takes seconds so you never lose track of what went where.
How do I determine the spacing for my vegetables?
Check the seed packet for the distance each plant needs from its neighbors, and apply that spacing in both directions rather than only across a row. In a block layout, mark a grid with centers at the packet’s spacing distance both ways and fill the rectangle until you run out of plants or room. Equal spacing on all sides keeps air moving so disease does not build in the crowded center.
Can I mix different vegetables in the same garden layout?
Yes, and companion planting lets some pairings actually help each other. Tomatoes and basil work together, with the basil discouraging whitefly while the tomatoes provide afternoon shade. Carrots and onions also pair well, since onion smell masks carrot fly. Just avoid bad combinations like beans with onions, or tomatoes with potatoes, which share pests and compete poorly.
What are the benefits of raised bed gardening?
Raised beds keep soil loose and drain faster than ground-level dirt, and the framed edge blocks grass from marching in from the lawn. The contained soil warms earlier in spring, and you never have to kneel in compacted clay or fight the same dandelion repeatedly. Keep the bed no wider than four feet so you can reach the center without stepping on and compacting the soil.
How do I plan a vegetable garden layout?
Start by spending one day in March or April marking where shadows fall at 9 a.m., noon, and 4 p.m., then check again in June to see which beds stay reliably bright. Most vegetables need 6 to 8 hours of direct sunlight daily. With that map in hand, sketch your beds with taller plants on the north side and shorter ones to the south, and leave main paths at least 30 inches wide, 2 to 4 feet if you plan to roll a wheelbarrow through.